This is an old revision of the document!
SLQ Wiki - Basics
Getting Around
On the left you can see our navigation menu. This menu is automatically generated, and uses the page names and namepaces (more on namespaces later) to create the structure.
On the right is the Table of Contents (TOC) for the page you are one.
Before you start editing or creating, you will need to be logged in. Please check out the Dokuwiki syntax and the SLQ Wiki Style Guide.
Exporting Content
You can export a PDF or ODT file of the page you are on by using the buttons in floating tool bar on the right.
![]()
Namespaces and Page Names
A page in a dokuwiki is just a text file. You can see it in the bottom right of this page - in this case its called “start.txt”. The page is always the last word in the URL link to the page (provided you are not editing it). A namespace is like a folder or section - a namespace can contain pages or other namepaces.
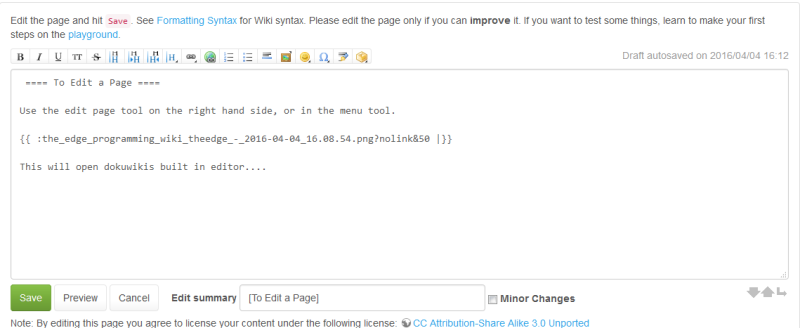
To Edit a Page
To edit a whole page, use the edit page button in the floating tool bar, or in the top menu.
This will open dokuwikis built in editor….
Dokuwiki uses simple syntax for generating HTML, somewhat like markdown . The is easy to use, but the editor also has a built in cheat menu, where you can click and add formatting. The syntax keeps our documentation in txt format, ready to be converted to any other format imaginable..
You can also edit just sections of a page by clicking on the edit button below each section.
To Create a Page
Creating a page is as simple as writing a link - to a page that doesn't exist….
The simplest way is to enter a new link directly in the address bar. For example the link to this page is:
https://wiki.edgeqld.org.au/doku.php?id=facilities:slq_wiki:start
If you change the last word from “start” to “my new page” (and you have the correct access privileges) you will be directed to the “create a new page”.
https://wiki.edgeqld.org.au/doku.php?id=facilities:slq_wiki:my_new_page
Before you create a page, decide which namespace you want to put it in. For example the prototypes namespace contains all our prototyping documentation. The first page in a namespace by convention is called “start”. So to create a new prototype page in this space for my new pocket time machine I would use this syntax.
[[prototypes:pocket time machine:start]]
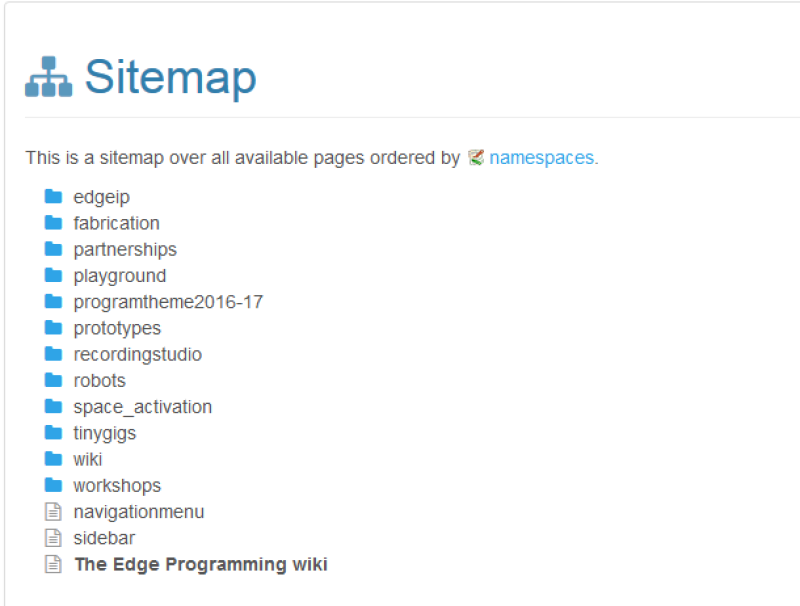
Once your page is created, it will appear in sidebar, but if you can't find it - don't panic - check the sitemap, which is in the top page tools menu.
Now you know how to edit - its time to learn some syntax.
Dokuwiki Syntax
For a full explanation of Dokuwiki syntax check out Formatting Syntax.
More Editing
Some commonly used extra functionality for the site are the RevealJS slide show and the PDF export function.
Using the Include Function for Documentation
we can use the include plugin to insert information from one page into other pages.
As a first example we will modify an existing page to create a pre-production page, then we'll make a preprod page from scratch.
Modify an Existing Page
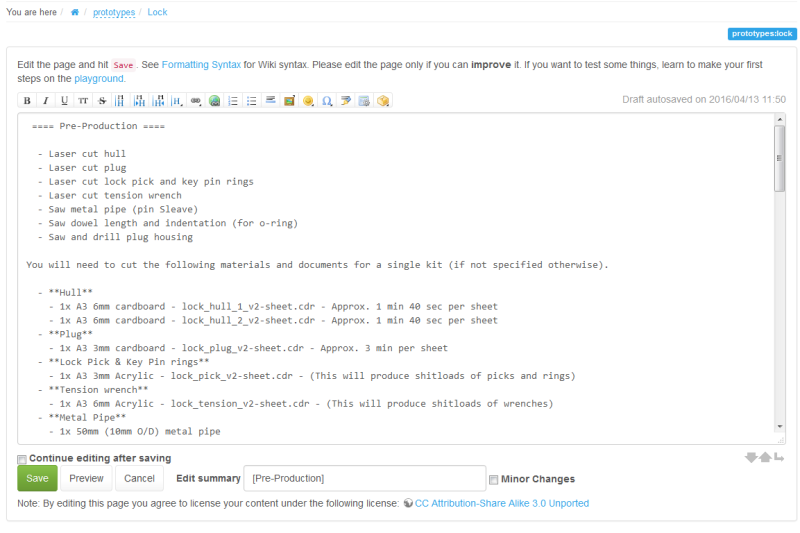
1) I'll start with the locks prototype. Mick has helpfully made some prep-production info for use to experiment with. Lets try removing that section from the main page and including it from another page called preprod.
First up, make a page in protypes:lock using;
[[prototypes:lock:preprod]]
2) Right click on the new link - it will be red to indicate the page does not yet exist.

3) Now go back to the lock page and edit it. Select the pre-production information and copy it.
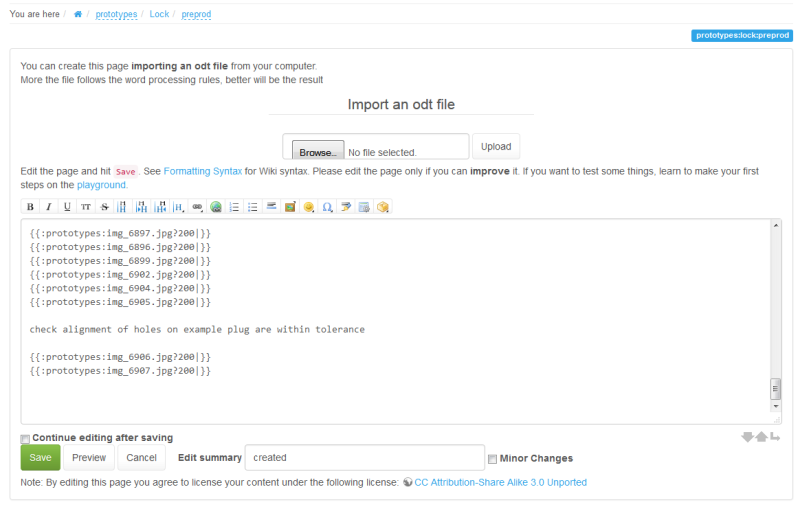
4) Jump back to your :lock:preprod page and 'create page' then paste the pre-production content in.
5) Click save and check it looks good.

6) Go back to your prototypes:lock page and delete the pre-production content, and add in an include tage to point to the new page wherever you want.
{{page>prototypes:lock:preprod}}
7) This will insert the preprod page seamlessly into the locks page. For staff and admin the page will look like this;
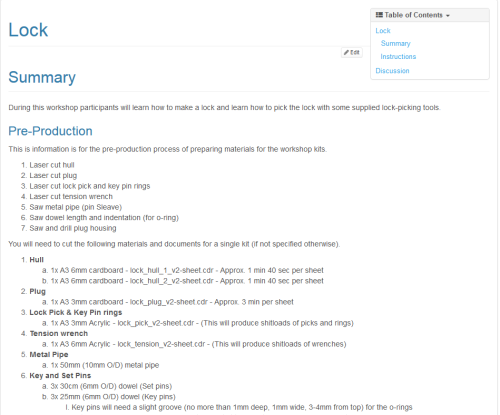
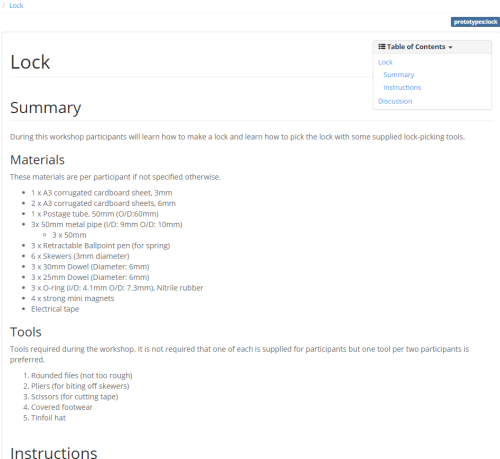
But as a standard user this is what you will see.
Create a Pre-Production Page from Scratch
This is simpler - just create your preprod page the same as in step 1) above, and do all your pre-production documentation in there. Once its complete, use and include tag to insert the pre-prod information into your main page.
Using Regex to fix formating
Regex is handy to bulk replace syntax. This requires an external editor that supports regex - I recommend SublimeText 3 as it supports standard regex (PHP).
You can also test your regex with this neat site. https://regex101.com/r/vF7jY9/4
Say I want to replace the tags <wrap em></wrap> with <WRAP hide></WRAP>
The tricky part about this is the closing tag </wrap> is used over and over. Sometimes to close <wrap em> but also with <wrap lo> or <wrap box> .. etc. etc.
As an example say we want to replace
<wrap em>{{background>::hp8100:082_cpu_thermal_paste_apply_1920.jpg}}</wrap>
With
<WRAP hide>{{background>::hp8100:082_cpu_thermal_paste_apply_1920.jpg}}</WRAP>
Using the regex to find
<wrap em>(.*?)</wrap>
we the get the matches for:
- <wrap em> matches the characters <wrap em> literally (case sensitive)
Then we get a whole bunch of stuff matching inside the braces (called a capture group)
- . matches any character (except for line terminators)
- *? Quantifier — Matches between zero and unlimited times, as few times as possible, expanding as needed (lazy)
Finally we have
< matches the character < literally (case sensitive) \/ matches the character / literally (case sensitive) wrap> matches the characters wrap> literally (case sensitive)
Then we need to replace with the regex
<WRAP hide>\1</WRAP>
Finding big text chunks
It gets a little trickier if we want to find entire sections of text that may include line breaks.
In this case we can use the ^ character.
<wrap lo>([^]+)<\/wrap>
This is close to our previous example. We get the matches for:
- <wrap lo> matches the characters <wrap lo> literally (case sensitive)
Then we get the first capture group ([^]+)
- [^] matches any character, including newline
- + Quantifier — Matches between one and unlimited times, as many times as possible, giving back as needed
Finally we have ;
* < matches the character < literally (case sensitive)
* \/ matches the character / literally (case sensitive)
* wrap> matches the characters wrap> literally (case sensitive)
Displaying External Sites in Dokuwiki
There are a couple of ways to embed external web content in dokuwiki. The easiest way it to use the iframe plugin.
iframe plugin
The iframe plugin can be used to directly embed a website in an iframe.
{{url> http://www.example.com/somepage.html}}
Integrating Google Sheets
The CSV dokuwiki plugin can be used to insert google sheet.
- The sheet will updated automatically (but slowly!),
- links will not display in the tables - this is a known issue and will not be implemented.
- Its not pretty.
As an example this sheet:

Looks like this:
Failed to fetch remote CSV datarefer to the documentation for details.