Table of Contents
Photoshop - Recolour Vintage Photographs
Today we'll source a vintage photograph from the State Library archives and bring it to life with colour using Photoshop. Here's an example of what we'll be creating:

Source an Image to Recolour
Let's start by finding a suitable image from the archives. Go to http://onesearch.slq.qld.gov.au/

Select ‘image’ and search for an image to colourise.

Today we’ll use the search term ‘Portrait of Jack Davis’, to locate a suitable image to colourise - but you can use any black and white image you'd prefer.
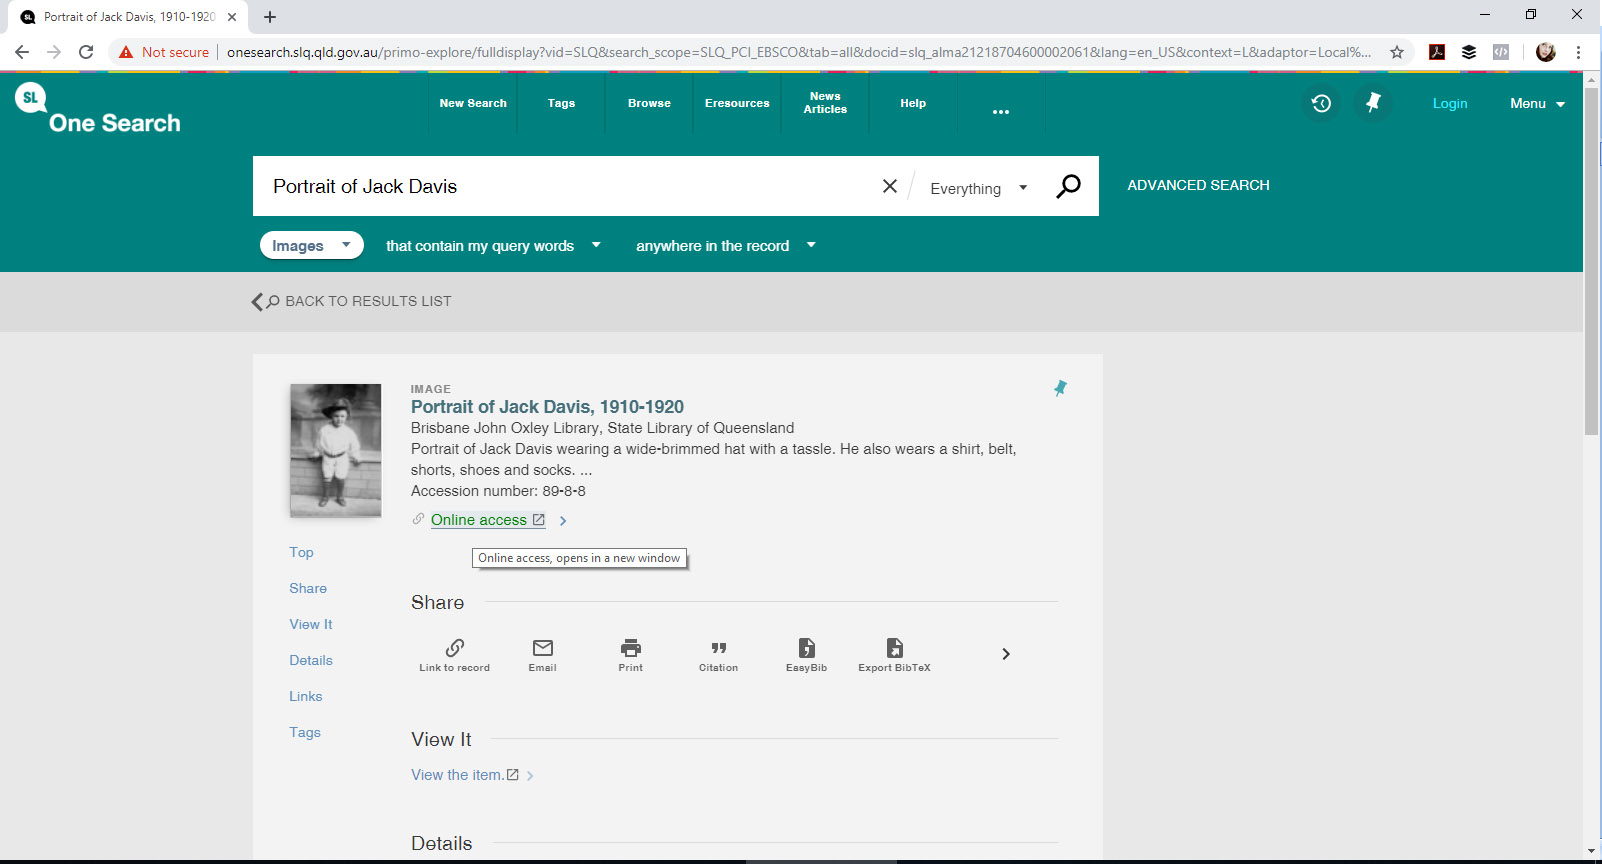
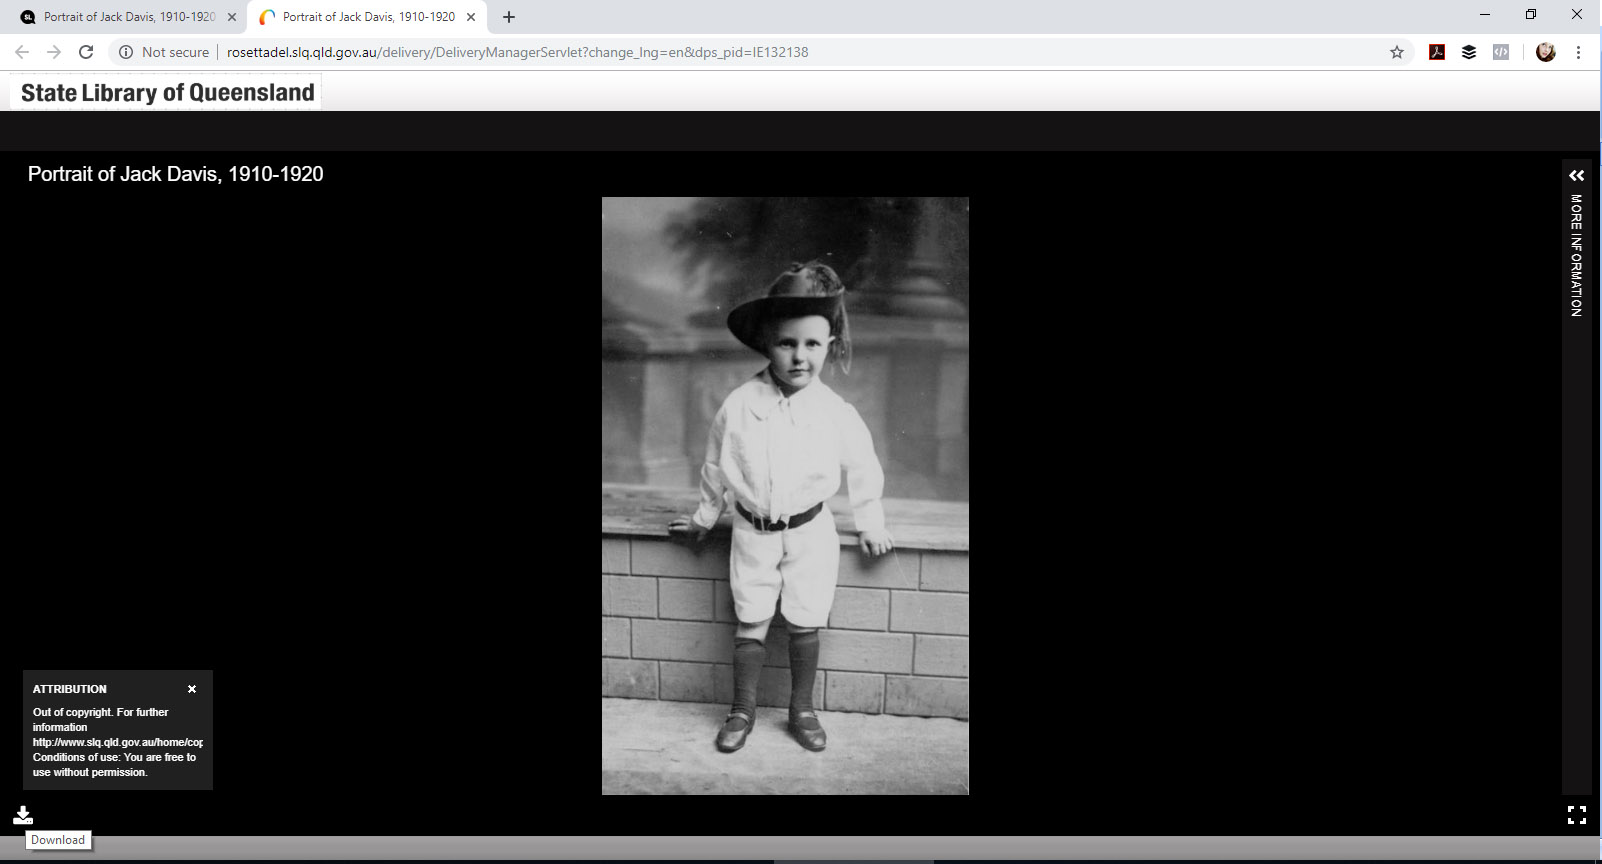
Click on ‘online access’ to access the photo, and then select ‘download’ in the bottom left hand corner. You will also see copyright and other information about the image you have selected. Download in as high a resolution as available. (Please only edit or alter images with the appropriate permissions)
Some Notes Before We Start
- A good understanding of light will help when it comes to colouring. Look at similar photographs taken in similar conditions now, and see how the light interacts with different surfaces and textures. Eg, a white top beside a red surface might look pinkish, where the light bounces off of the red surface and onto the white.
- Consider doing some research to discover what colours may have been present - eg, someone's hair and eye colour might be documented or known. If you have outfit information and colour guides, it can help you create more realistic images. Eg, if recolouring an image with a person in a military uniform, using the correct colours will make the overall image appear more accurate.
- Build your colours up gradually. Play around with multiple layers and varied transparency levels to create subtle variation. Because you’ll be working separate layers, you can always choose to change something later.
- Periodically compare it to the original, to make sure you’re on the right track (we'll make a copy so you can do that!).
This is just one of a variety of ways you can recolour a photograph. There is no ‘right’ way, so experiment and try a variety of approaches. This method was chosen because it is relatively easy to do, yields a clean result, and can produce vivid colour without becoming unrealistic.
Another method many people use is to use the ‘curves’ adjustment layer to adjust individual colour channels (cyan, magenta, yellow and black) to develop those colour variations.
Prepare your Photo for Recolouring
Open in Photoshop
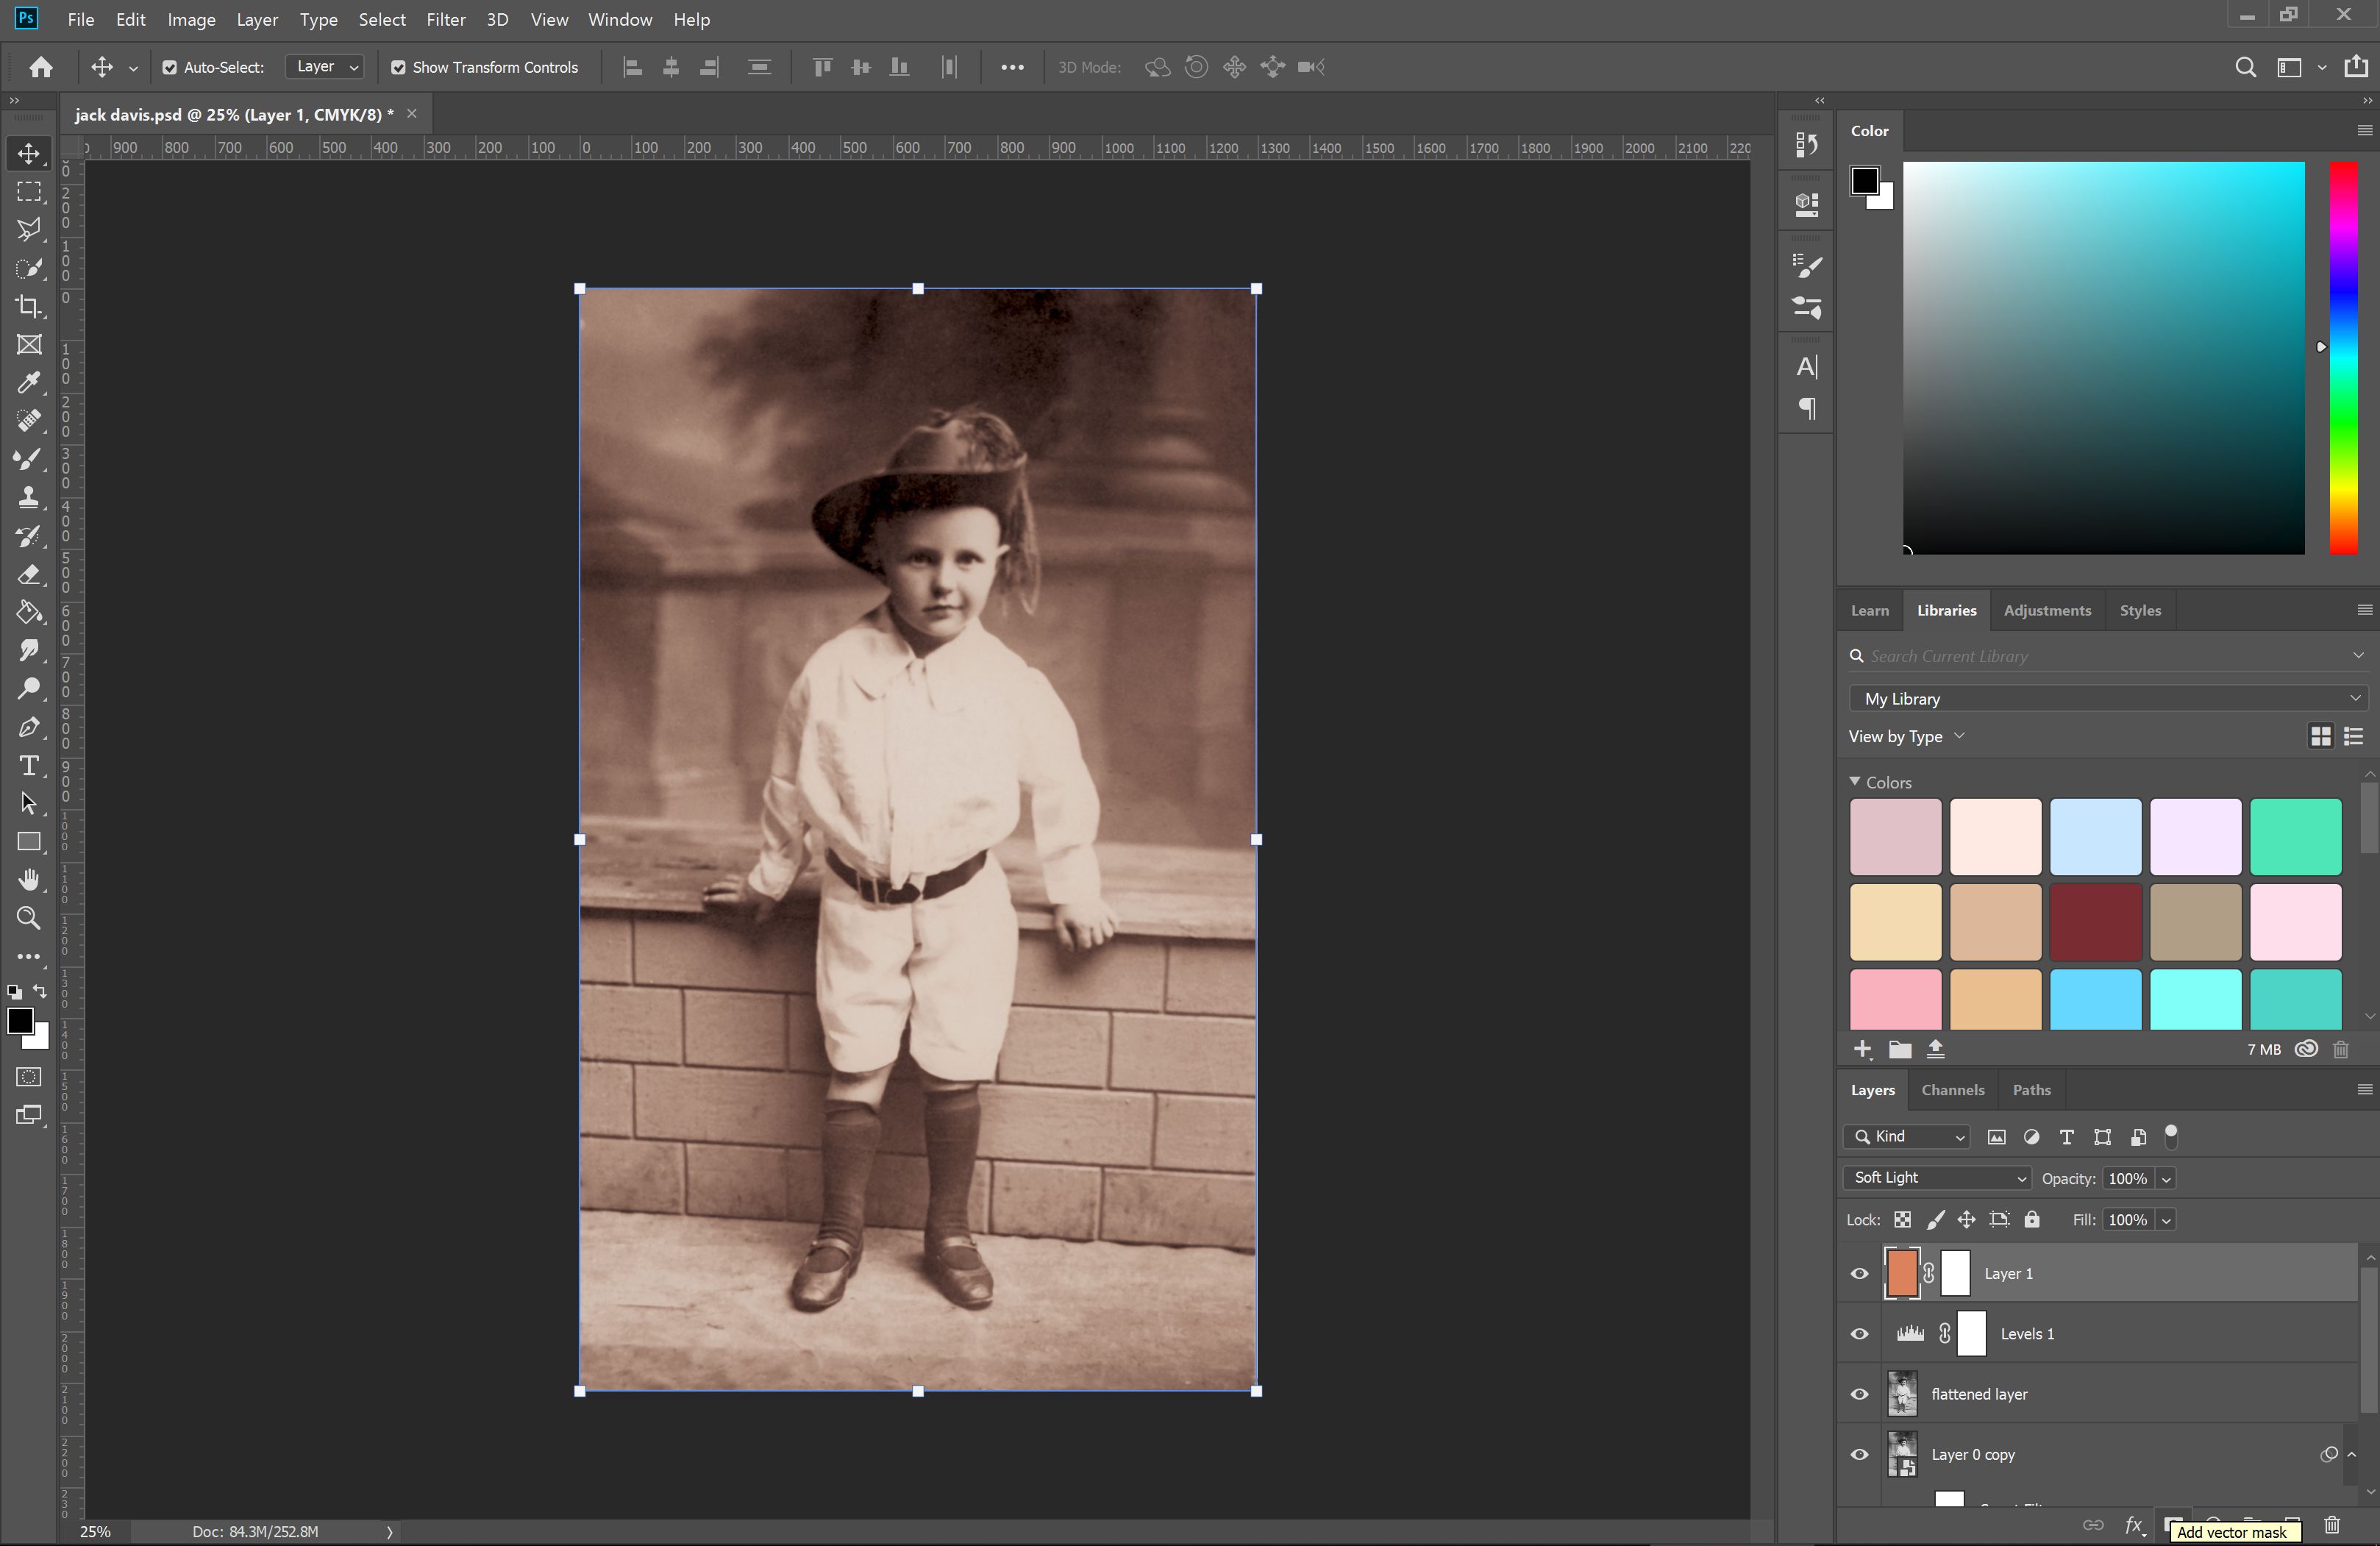
Open the image in photoshop. If it has opened in a ‘greyscale’ colour mode, we can change that under ‘Image’ and ‘mode’.
- We will use CMYK (Cyan, magenta, yellow and Black) instead of RGB (Red, green and blue) as it is generally easier for people to visualize the colour mixing, and it tends to be less 'intense' for colourising. RGB generally appears more saturated in a way that doesn't necessarily lend itself to vintage recolours.
- CMYK is generally used for print media (pigment) – all colours combined create black
- RGB is generally used for screens (light) – all colours combined create white
How your recoloured picture looks on the screen is slightly different from how it will appear when printed.

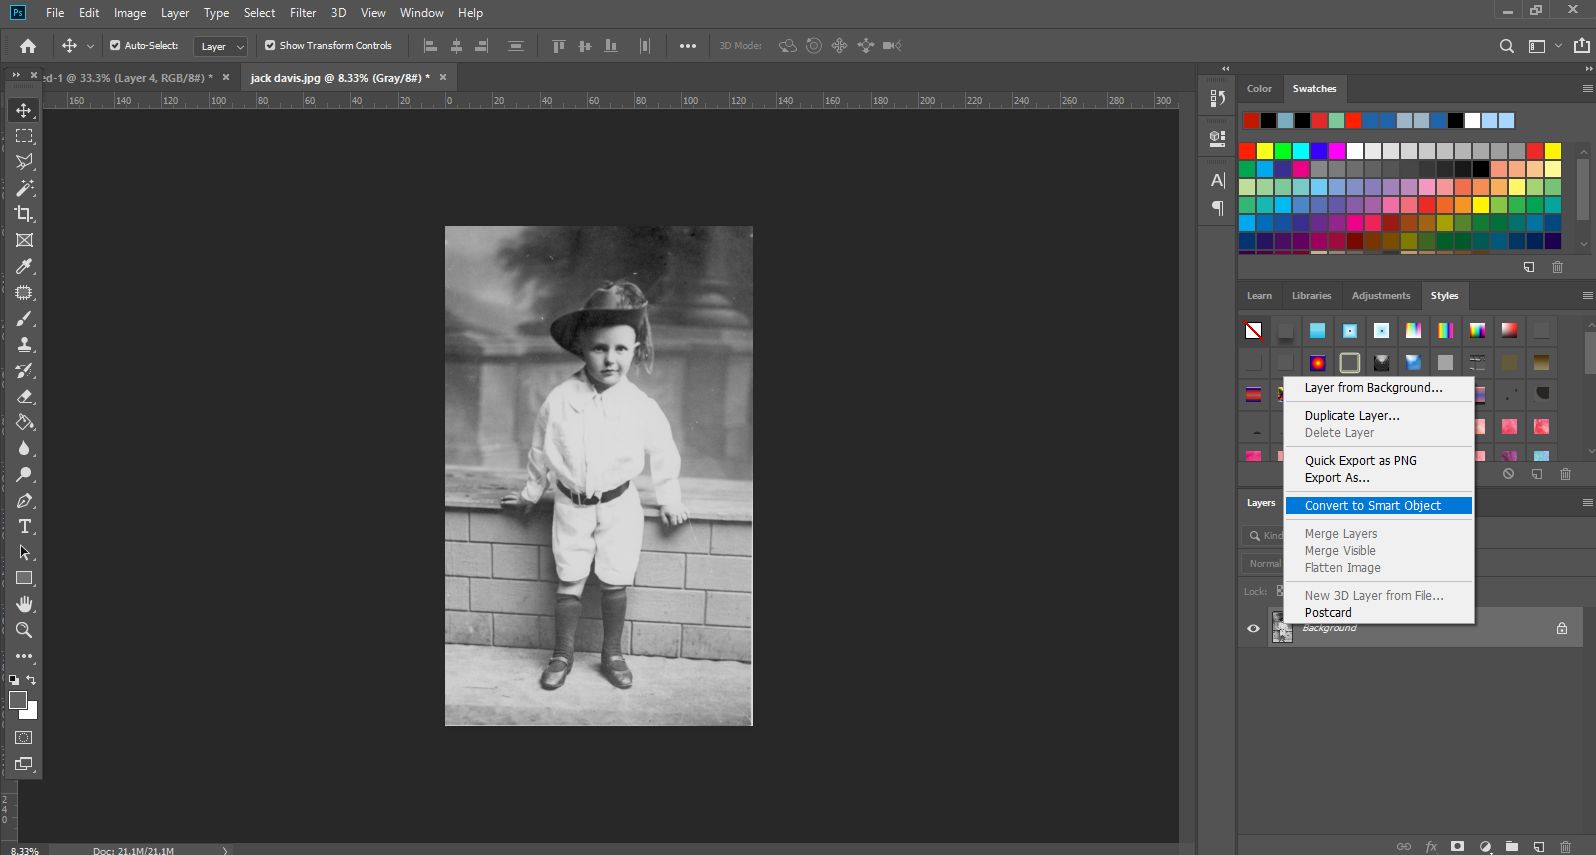
Convert to Smart Object
Right-click on the layer in the layers panel, and select ‘Convert to smart object’. Smart Objects preserve an image's source content with all its original characteristics, enabling you to nondestructively edit the layer.
Create a Copy for your Reference
We’ll then create a copy by right clicking and selecting ‘duplicate layer’. This ensures we always have an original to refer back to. This allows for easy side-by-side comparison between the original and your edited/recoloured version by dragging it to the top layer and turning on/off visibility.

Clean Up the Photograph
Remove Dust and Scratches
Let’s remove some of the aging and speckles from the image. Zoom in a little closer to see the effect of a filter, then go to ‘Filter’, ‘Noise’, ‘Dust & Scratches’ to bring up the filter options.
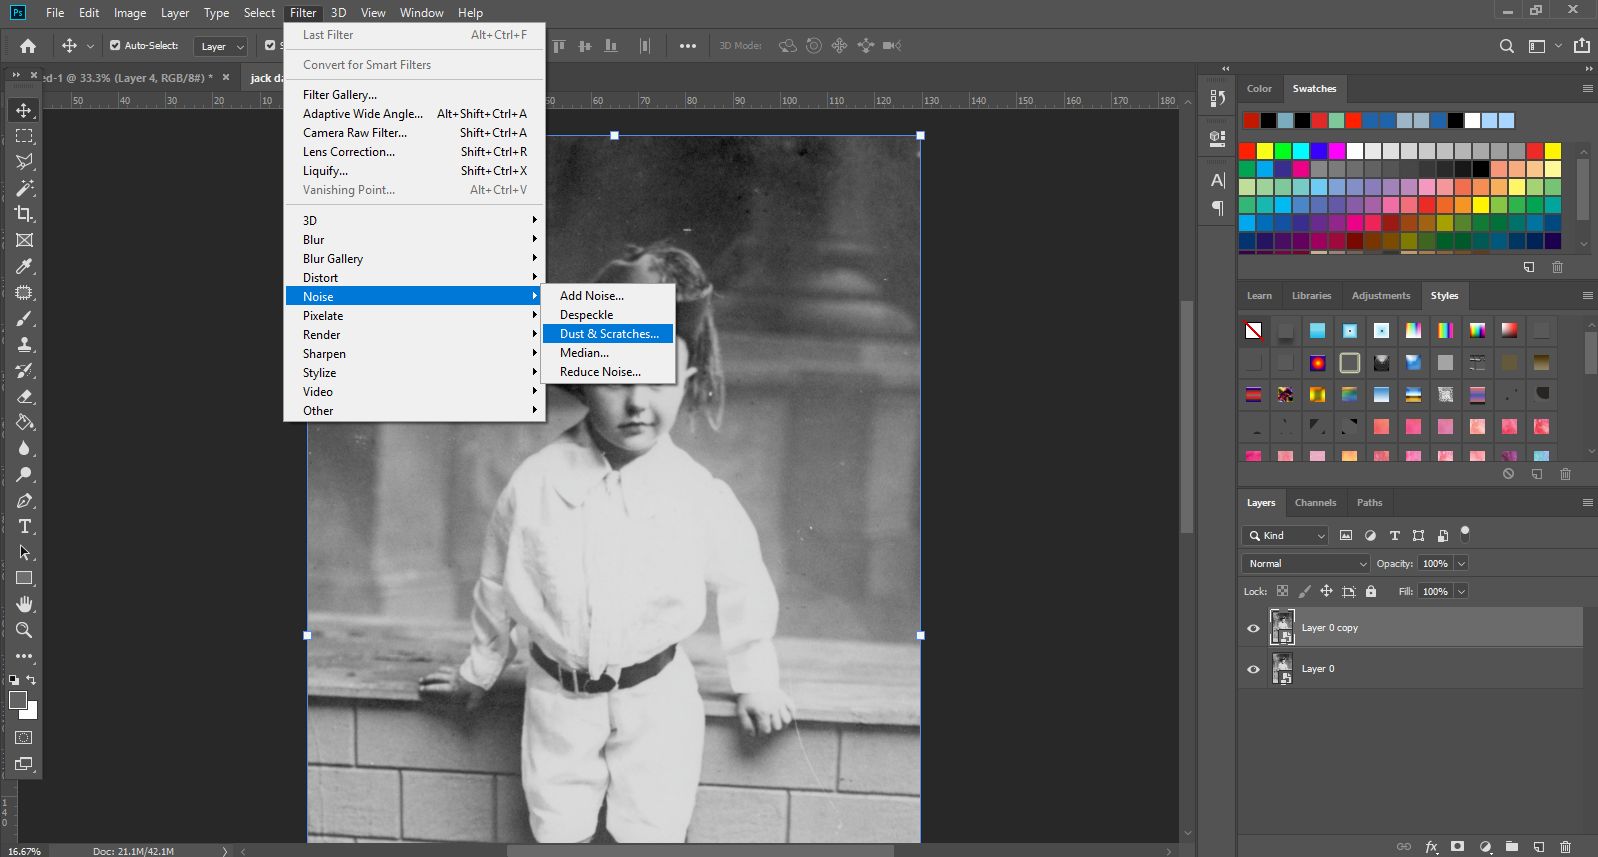
Set a radius that works for your image (set threshold if necessary), and make sure to click preview to see it take effect on the image in your window as well as within the preview pane.
- You want to select a radius level that evens out your image without compromising quality.
- It’s always good to compare it against the original at that point.
- Because we’re using smart objects, we can go back to adjust the radius and other filter details by double-clicking the ‘Dust & Scratches’ title in the smart object drop-down on the layer. By using smart objects instead of applying the effect to a normal layer, these additional adjustments do not compromise image quality.

Remove Larger Faults
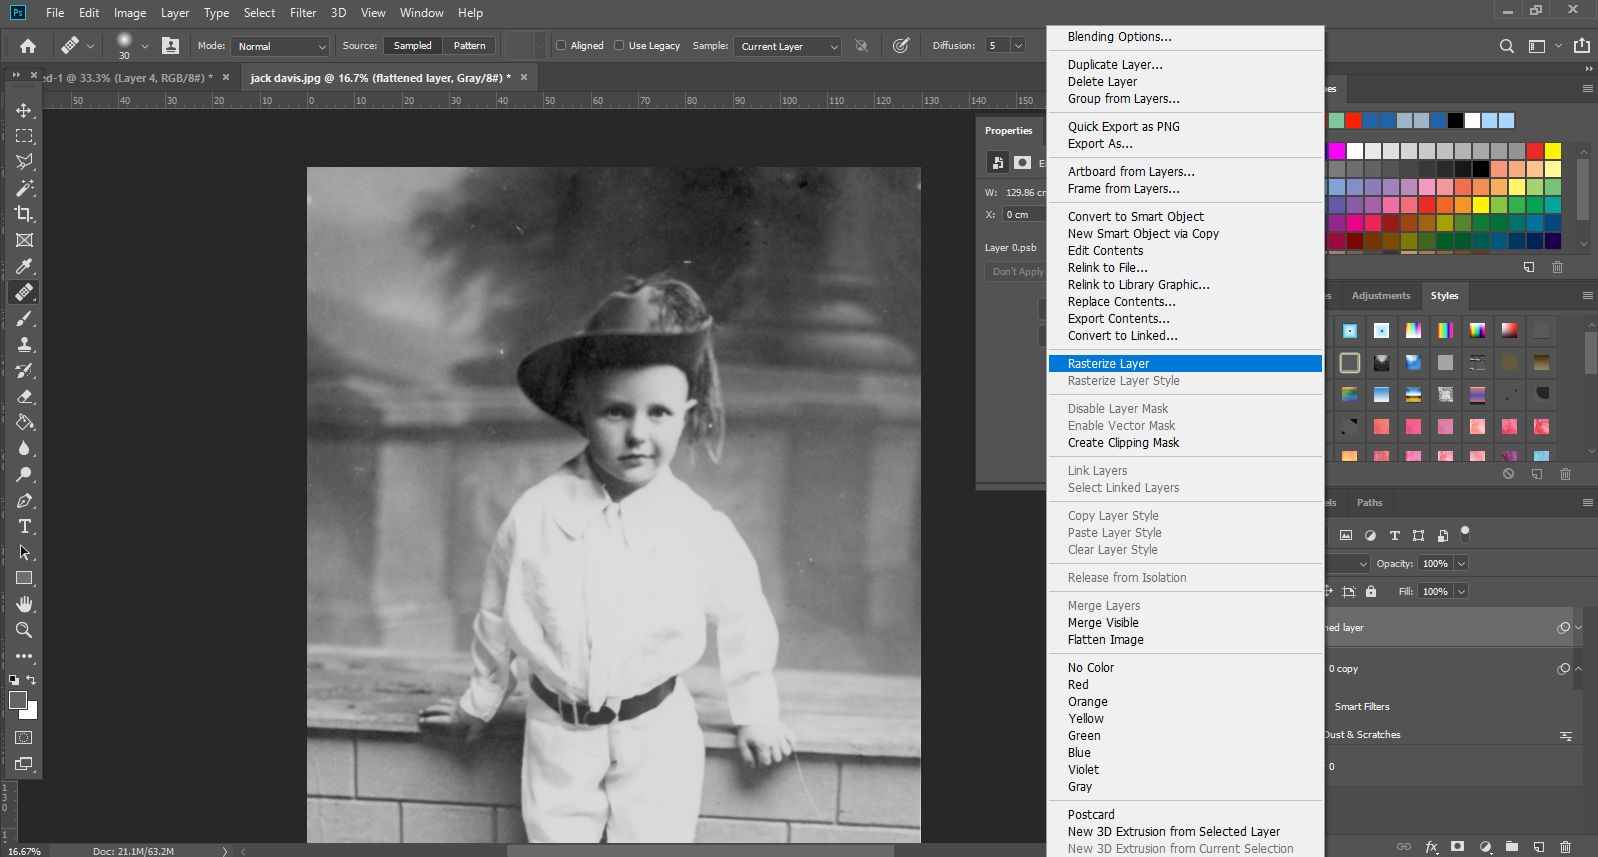
Once you’re happy with your removal of base noise, we’re going to try to clean up some of those more significant specks. We can’t do that with a smart layer, so we’re going to create another copy and ‘rasterise’ it so that we can edit individual pixels, rather than the whole layer. To do so, right click your copied layer, and select ‘rasterise layer’.
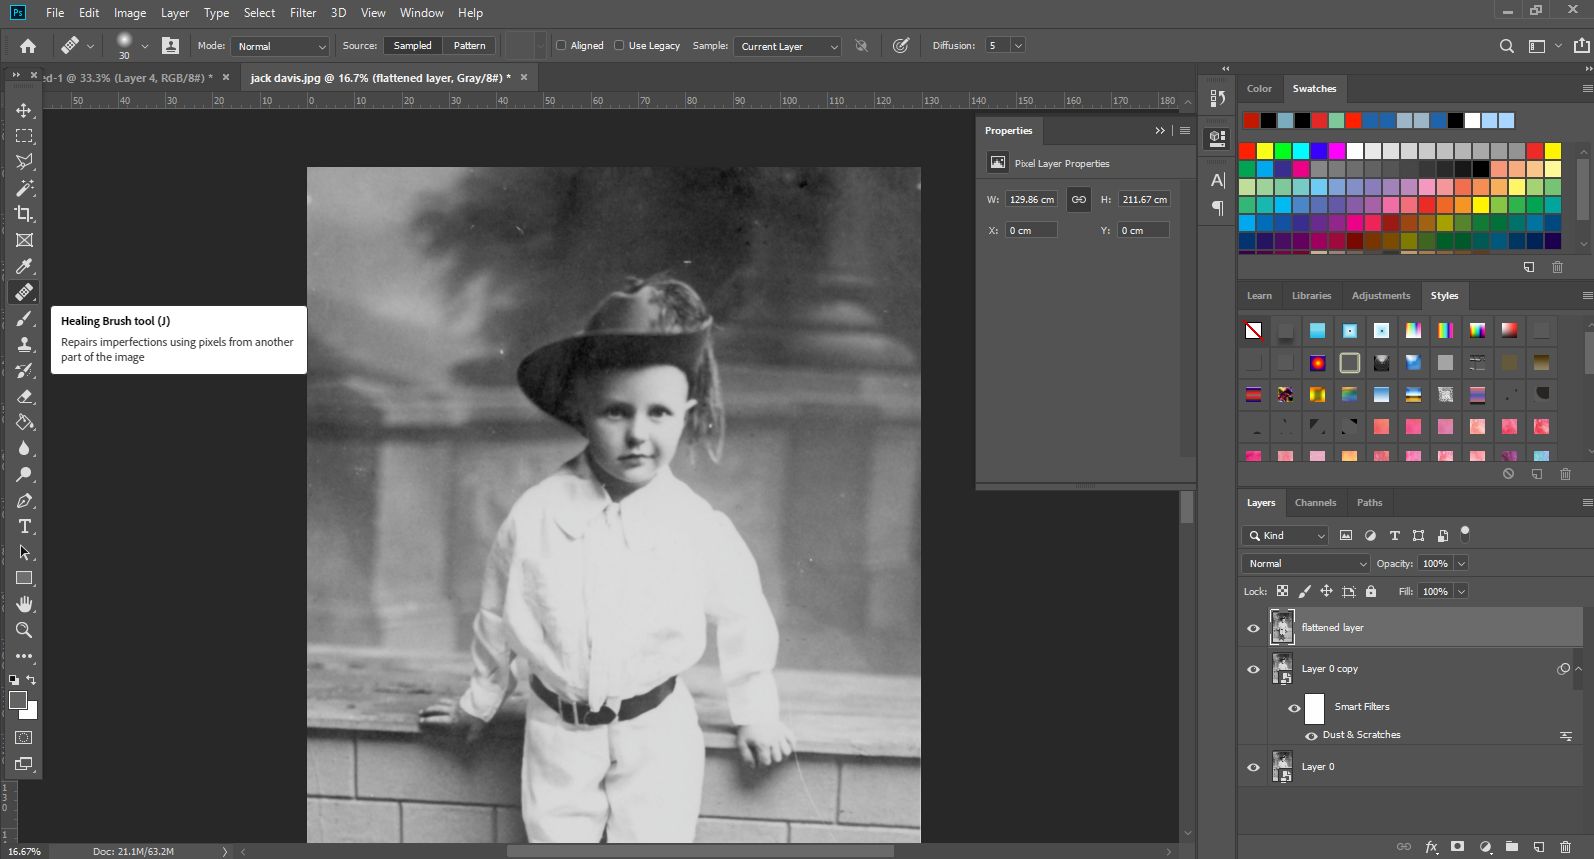
The Healing Tool
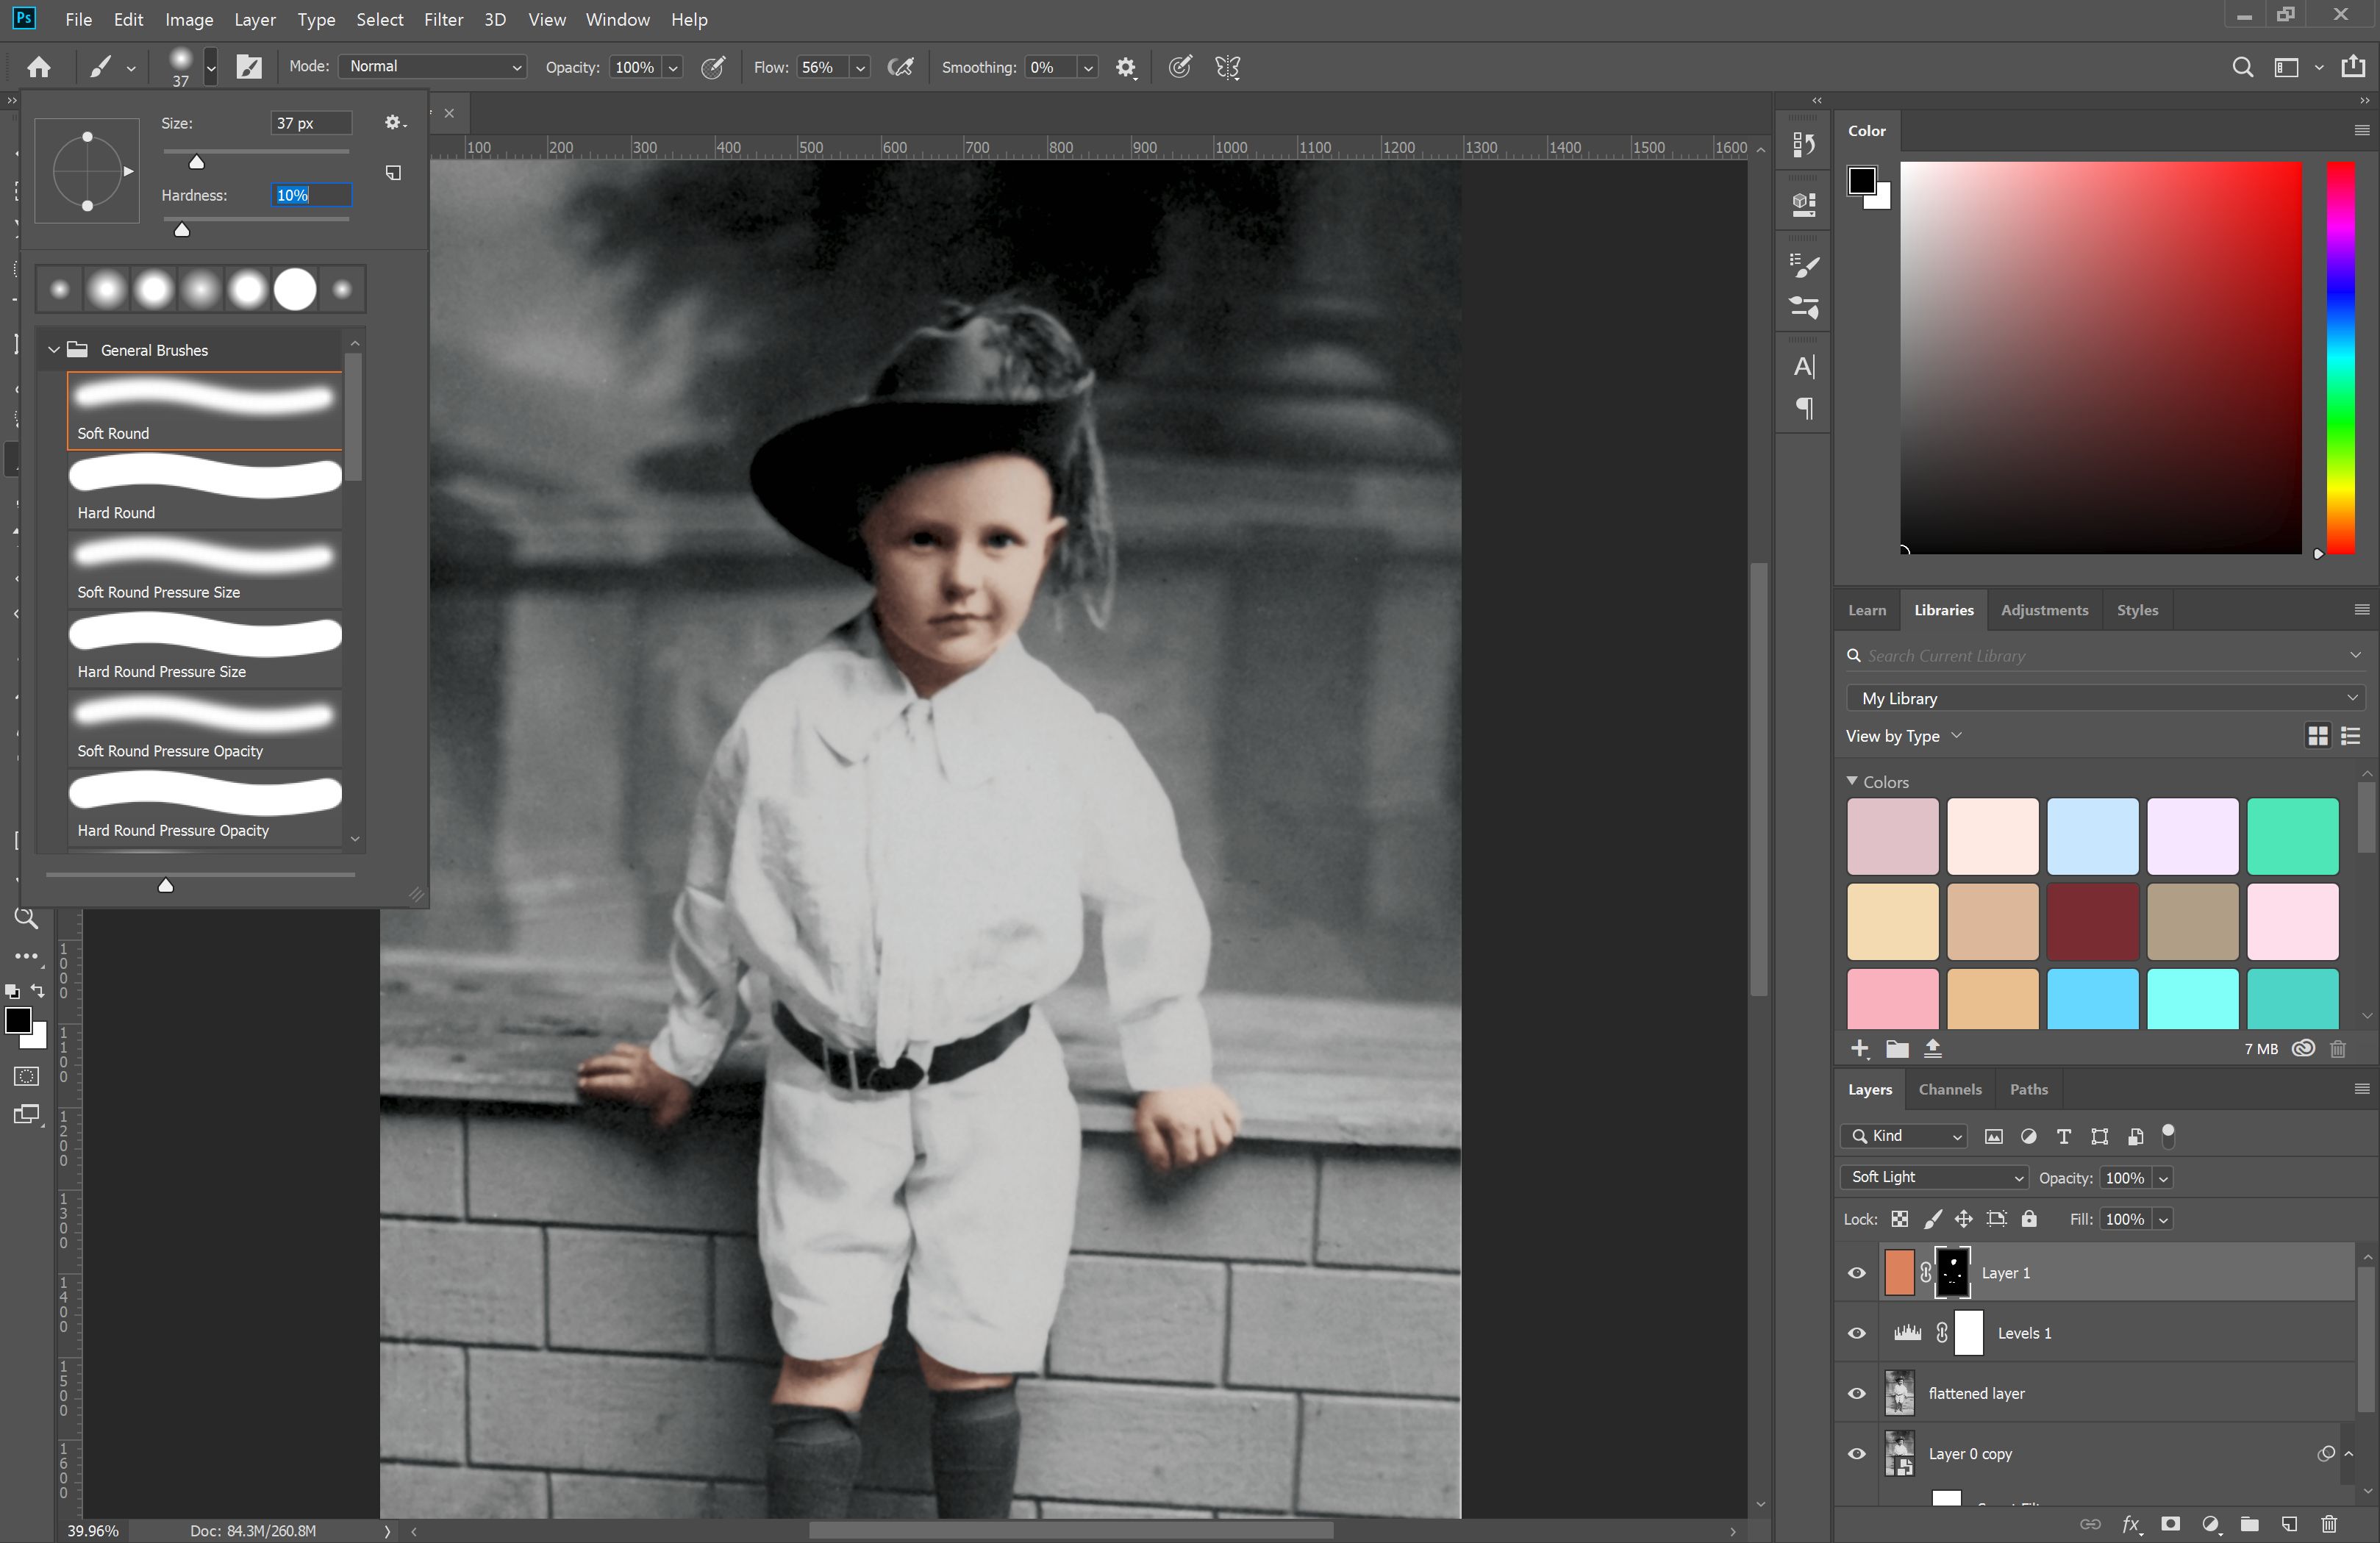
To clean up those larger specks, we’re going to use the ‘healing tool’. Zoom in on the area you want to fix, and select the ‘healing tool’.
- Set your brush size a little larger than the area you want to fix. Make sure that the ‘hardness’ is set to a low level, so that the tool doesn't leave harsh edges.
- Hold down ‘alt’ as you click an area similar to the area you want to fix. This creates a 'sample' of this area.
- Paint over the area you with to fix. Photoshop will fill the area according to the sample you have taken. Unlike the ‘clone’ tool, it will not make a direct copy of the sample area, but will use an algorithm to calculate what it thinks you want.
- The healing brush tool works well on large, mostly flat planes. It does not work well on ‘edges’ where dark meets light in a harsh line. You are better off using the cloning tool to reconstruct the area, and then the healing tool in these circumstances.
The Clone Tool
In this picture, this area is better served by the cloning tool before finishing it off with healing to make it blend, because it has a harsh edge near his finger. If we used heal, it would simply blend the area and make it muddy. Clone works much more like a stamping tool, creating a direct copy of your sample area.
- Select the clone tool, and set a brush size slightly larger than the area you want to work from.
- Use ‘alt’ as you click to sample an area as closely matched to the area you want to fix. Directly beside it in this case is probably best.
- Brush over the areas you wish you ‘clone’.
- Because cloning creates a direct copy, it can be easy to spot sometimes. Use the ‘heal’ tool to blend it into the surrounding areas so that it is not so easily spotted. It can take a bit of trial and error to get a great result.

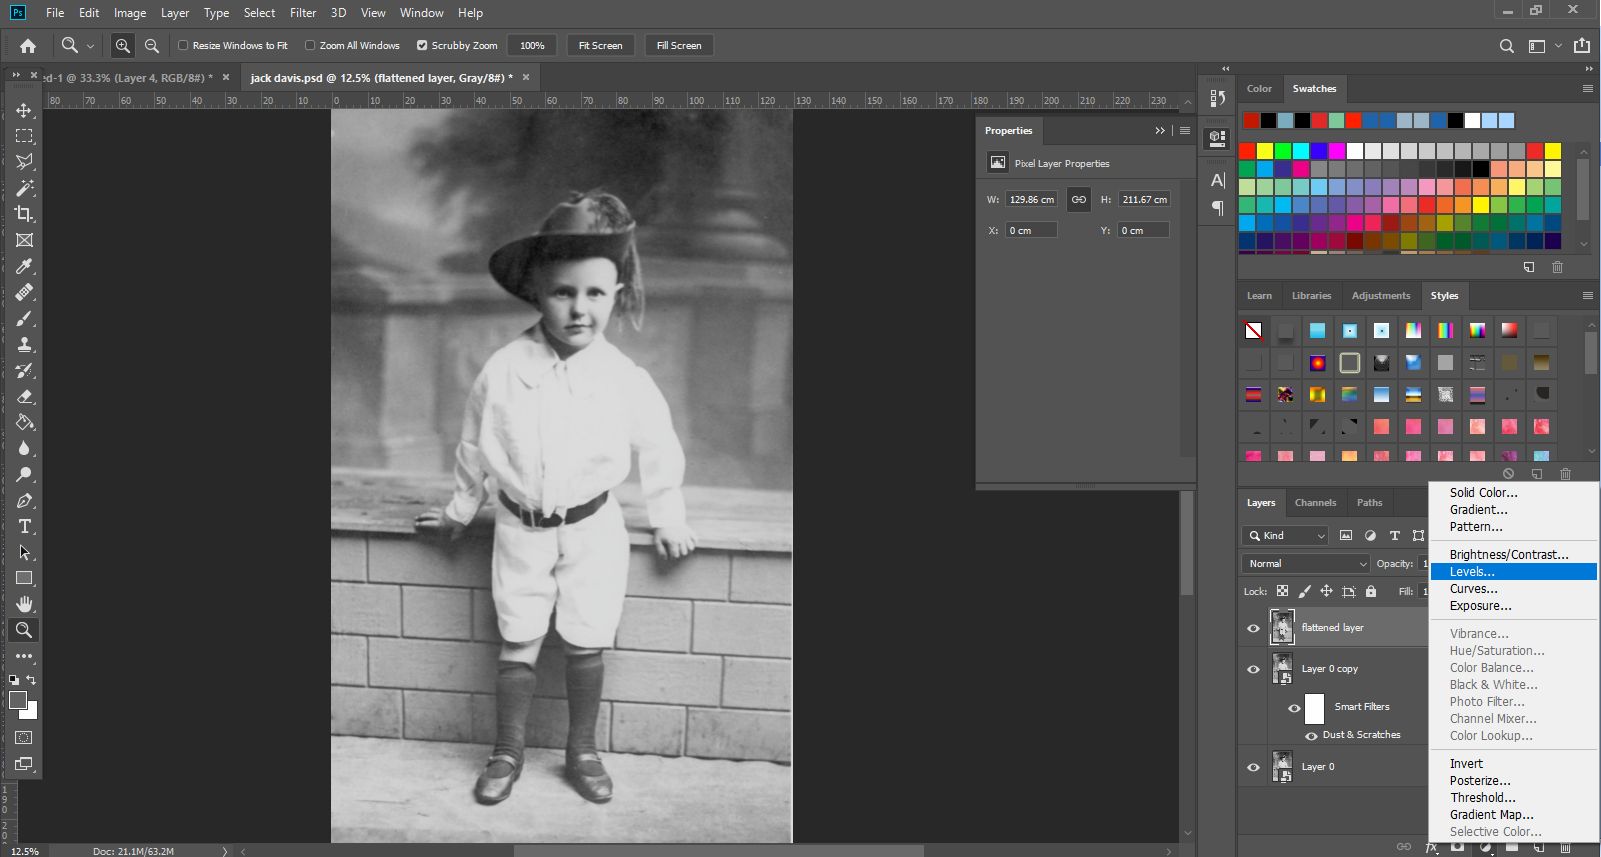
Adjust the Contrast
Now that we have a relatively clean image, let’s start working with colour. The contrast is not as high as it possibly should be (on this image), so let’s create an adjustment layer. You can do so by clicking the ‘add adjustment layer’ button at the bottom of the layers panel, and then selecting ‘levels’.
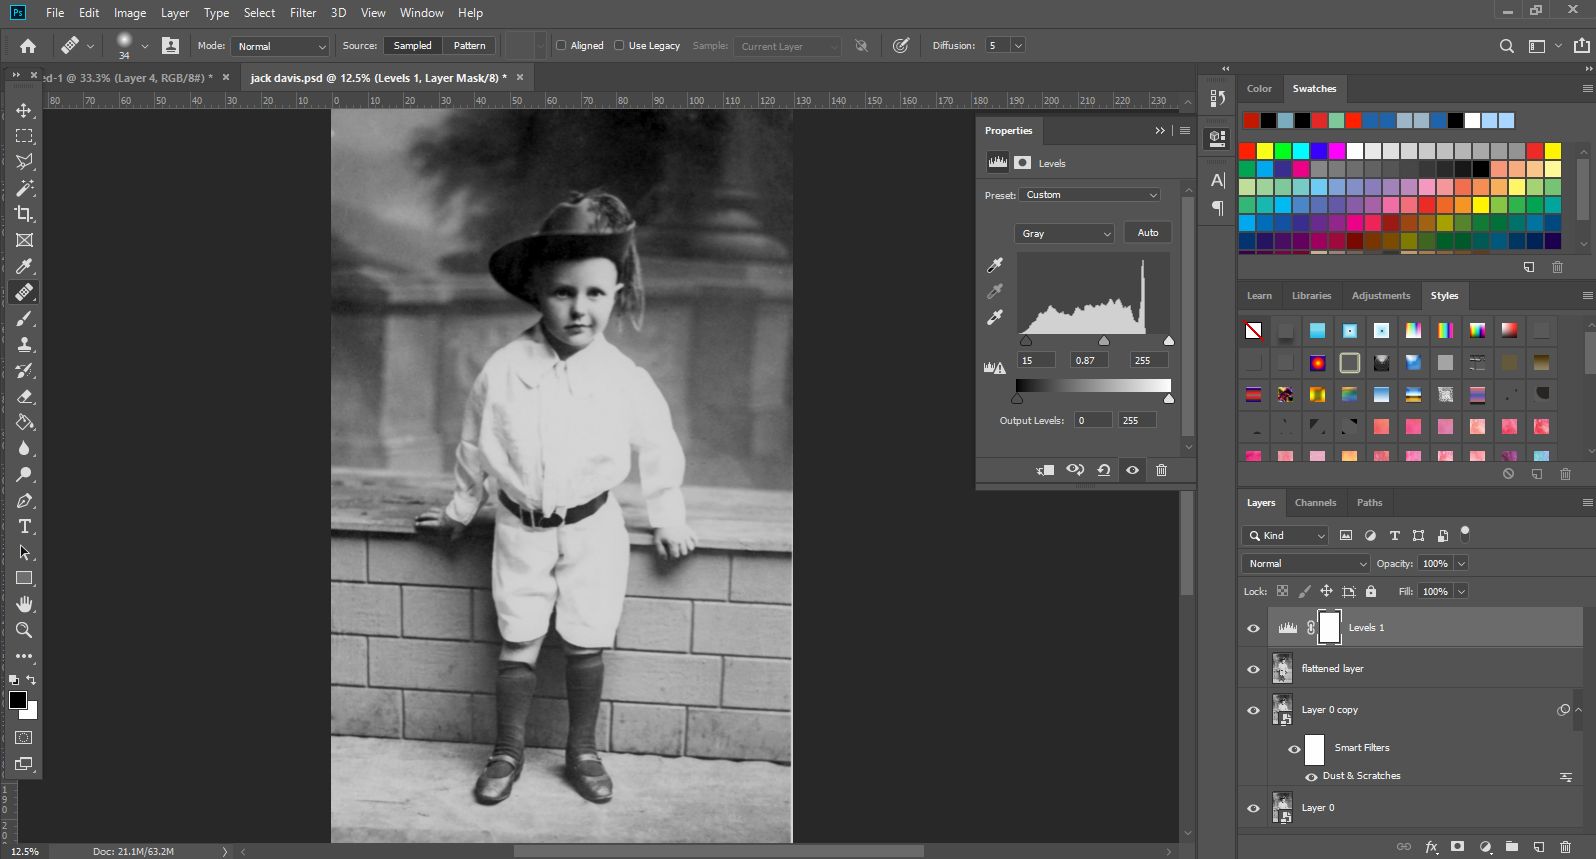
In the levels pane, you can set the level of your ‘dark’, ‘light’, and ‘midpoint’ by dragging the little arrows left and right. Find the levels that work for you. Again, you can always fine-tune this again later. Sometimes adjusting levels makes flaws more obvious, so now is the time to go in and use that heal brush again if you need to, to correct them.
Recolour your Photograph
Let’s start colourising!
Add Your First Colour with a Mask
- Create a new layer by clicking the new layer button in the bottom right corner of the layers panel, and fill it with a skin-type colour - don’t worry, you can adjust this later if you need to.
- Set the layer mode to ‘soft light’ so that it still shows the layer below through your added colour.

- Add a layer mask, so that you can choose where the colour shows. Add this by clicking the 'add layer mask' button in the bottom right corner of the layers panel - it looks like a dark dot on a white background.
- Enter the layer mask by Alt-clicking on the right panel in the layer (currently showing as a blank white field) and use the paint bucket tool to fill it with black.
On a layer mask, wherever is black will hide what’s on that layer - wherever it is white, the layer will show through. The main advantage to using Layer Masks is they can be changed at any time – they are 'non-destructive', meaning they will never destroy image pixels.
Clicking the '\' button with the mask selected will cycle the layer mask visibility. A wash of pink across your image indicates the 'black' of your layer mask.
- Use the paint-brush tool to paint white onto the layer mask so your skin colour shows through. It is a good idea to use a brush that isn’t 100% hard, as 100% hard can seem harsh around edges. Zoom in and out as needed to paint accurately. Remember, you can always switch to black to remove your white where you’ve made a mistake.
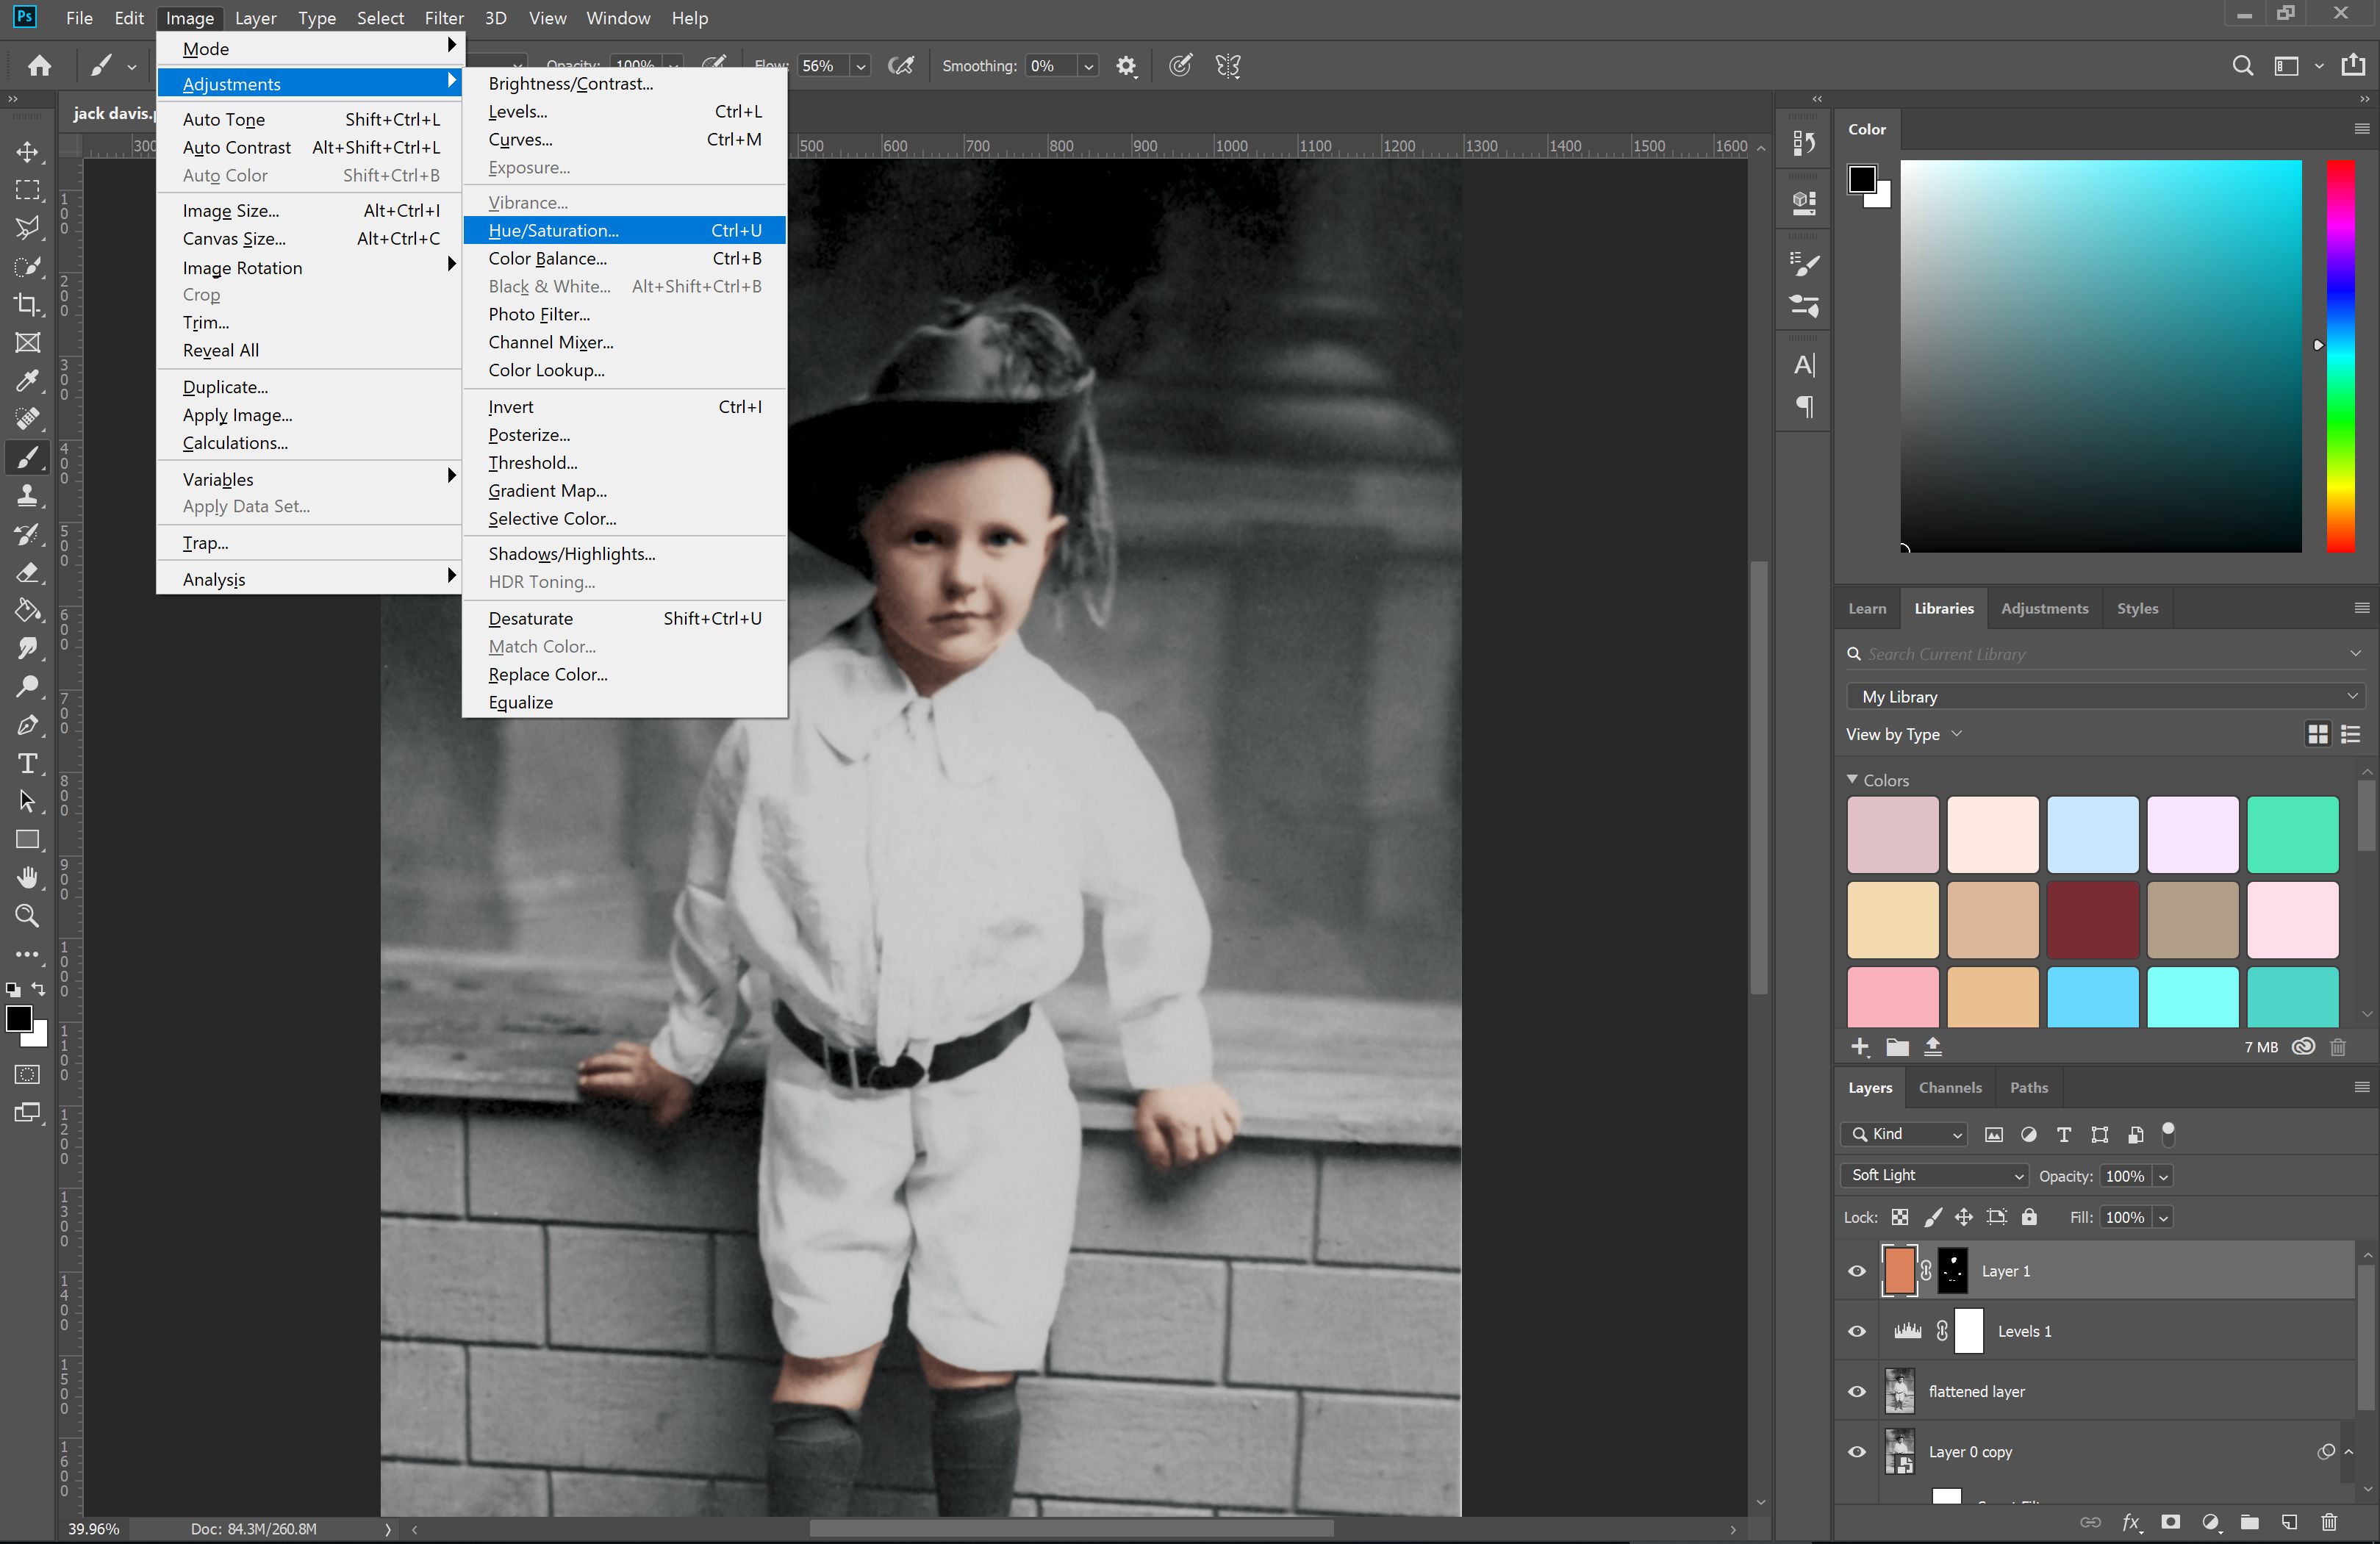
If you need to adjust the colour of your layer so that it suits better select the layer again (make sure the border is around your layer, and not your layer mask), and adjust the hue/saturation via the ‘Image’ and ‘Adjust’ menu.
Build Up the Colour
Repeat this process with each subsequent layer to build up your colour - use one layer per colour so that you can easily adjust them individually as needed.
- You add multiple colours on top of each other to build up subtle variation and depth - eg, bluish tones in the shadow areas, or rosy red on the cheeks.
- Play with layer opacity if the results initially seem too intense.
- You can draw directly on the layer and forego masking, for finer detail and one-off areas of colour.
- Don't be concerned if this process takes some time. It can really help if you're using a graphics tablet rather than a mouse to speed up this process.

Add Final Touches
It can be a good idea to add an adjustment layer at the end to tie everything together. Colour balance, curves and levels are good ones to play with at this point.
- Adjusting colour balance can 'unify' the image by shifting colours subtly into similar high, mid and low-light shades.
- Curves and levels allow you to adjust the brightness, contrast and tonal distribution in your image.

Compare to the Original
Compare to the original, refine, and adjust as necessary. It can take some time and practice to come up with a good image - the first time is not likely to be your best! Experiment with transparency levels, adjustment layers, and painting techniques to find a method and style that works best for you.
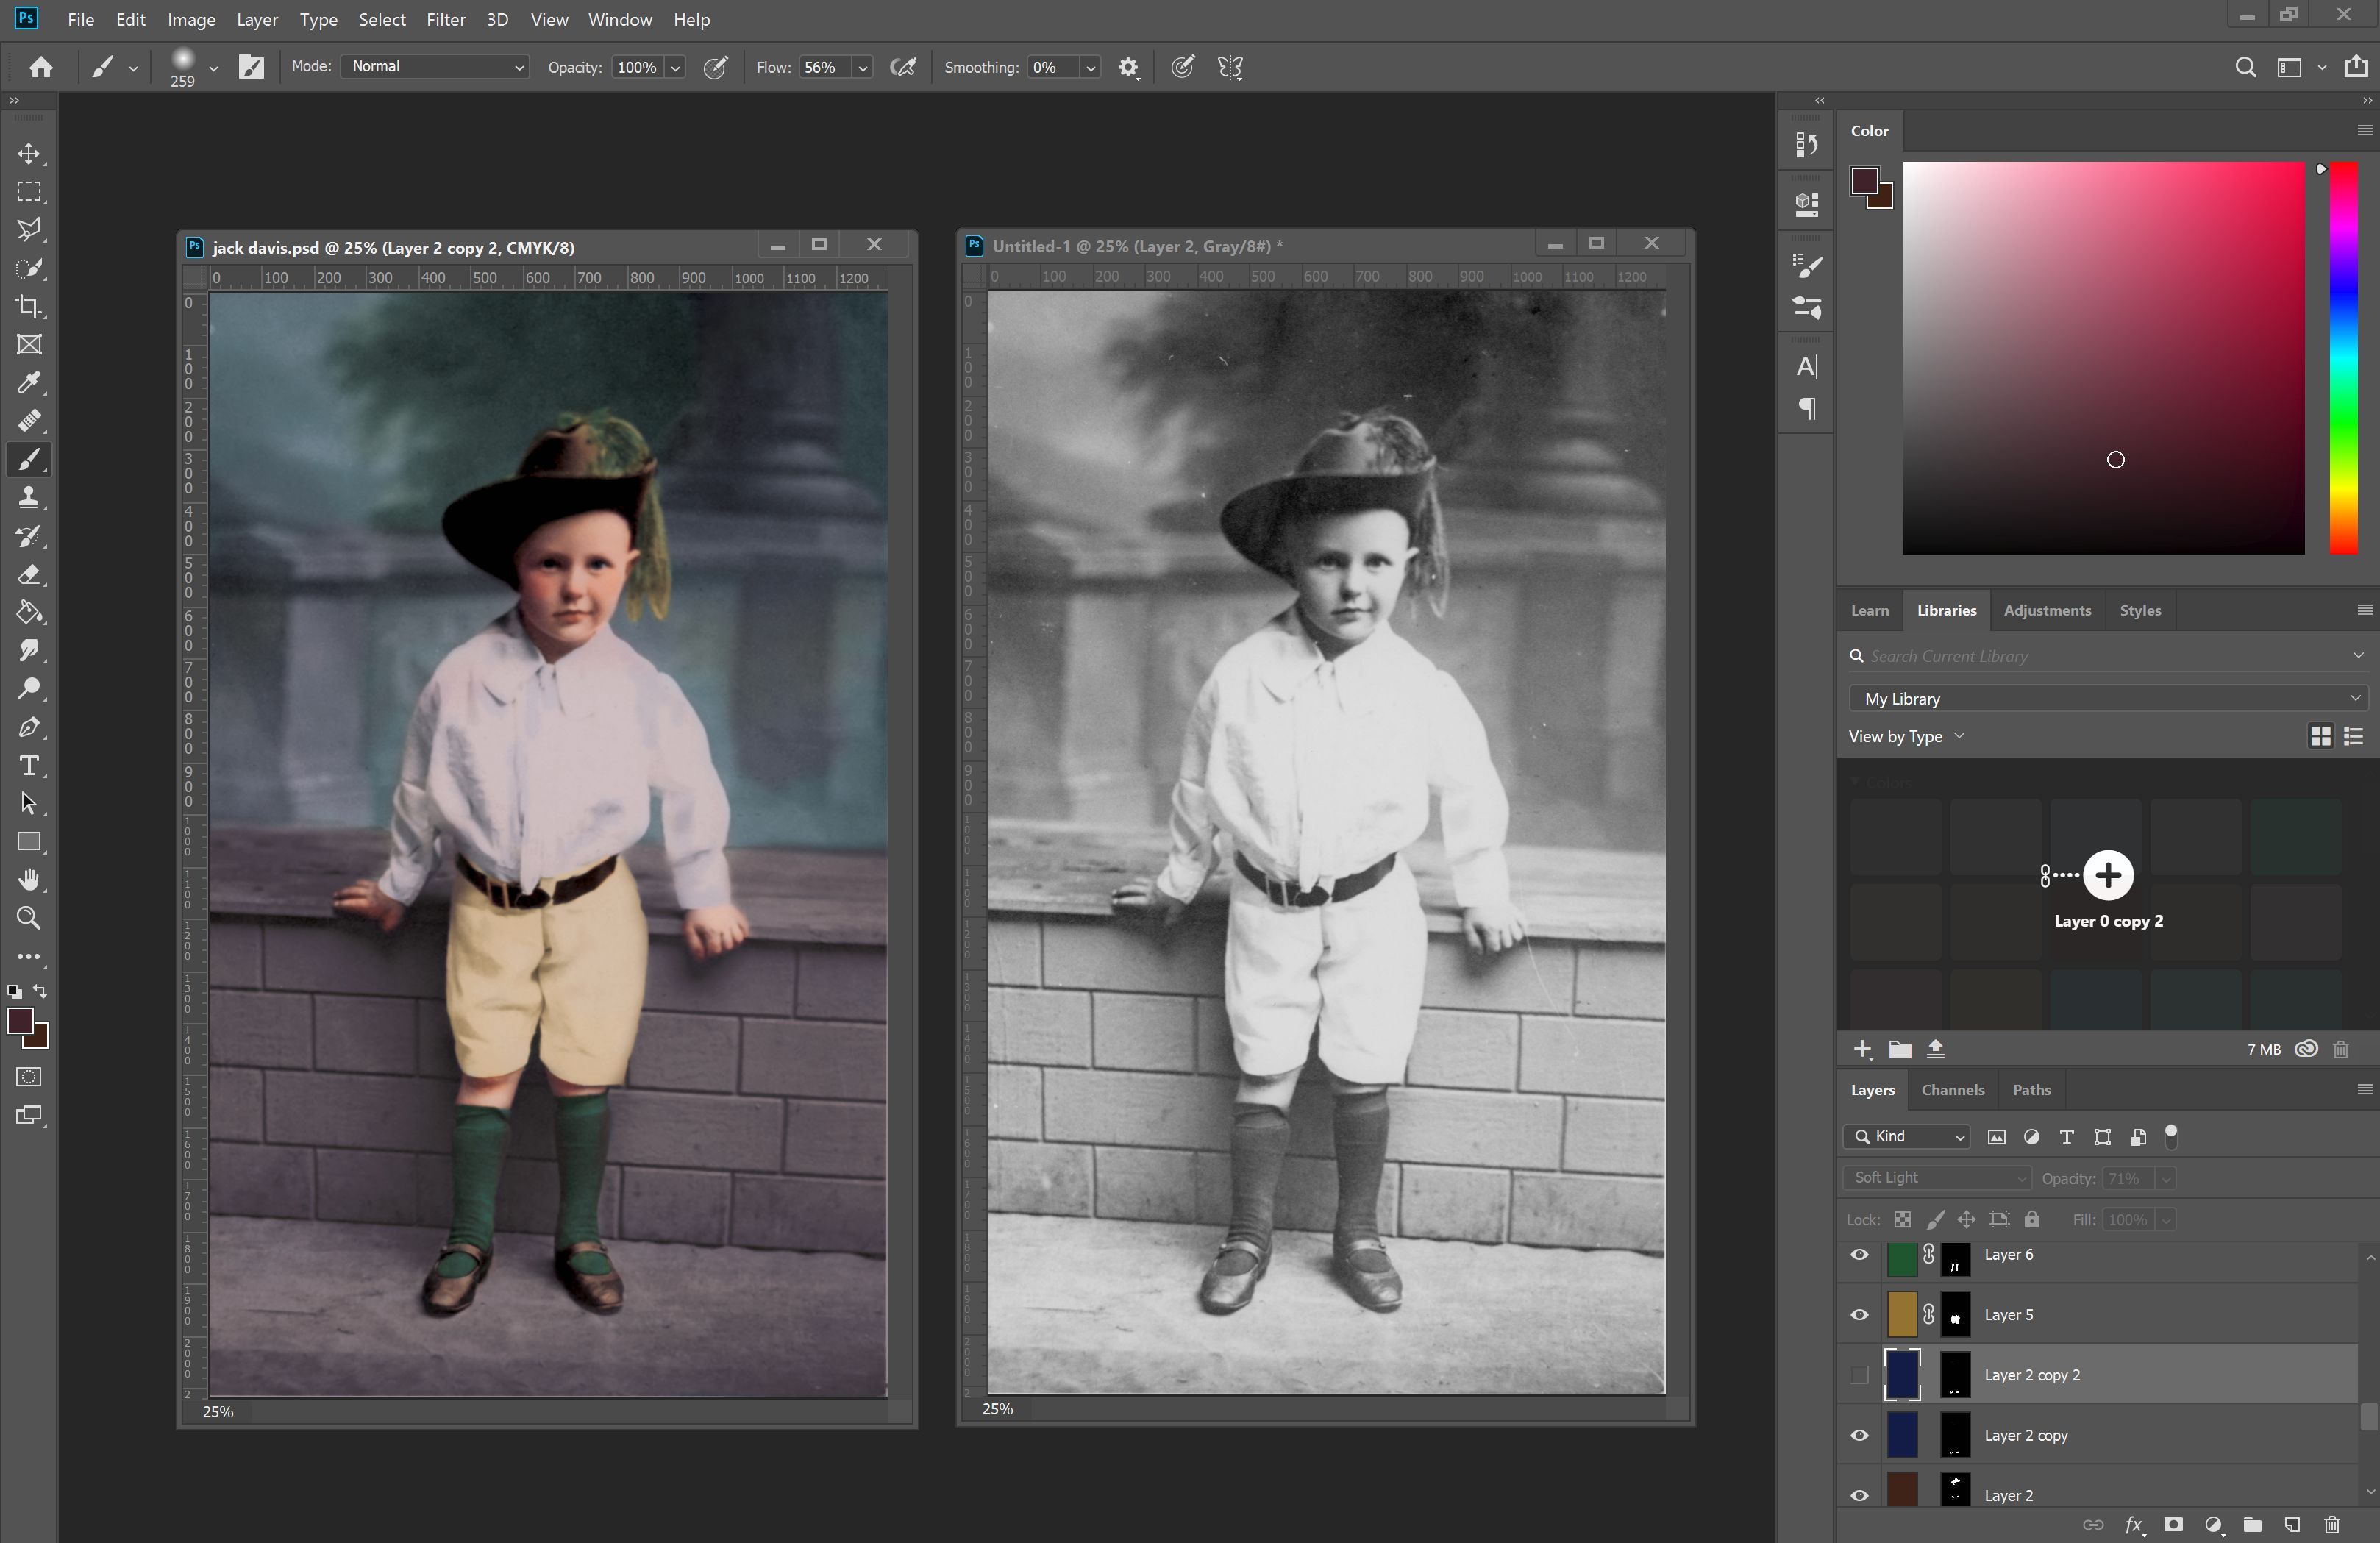
We can keep adjusting from here to layer in colour and produce a result that appears more like a modern photograph, however many prefer to stop at a point like this to maintain the 'vintage' feel.
Congratulations! You've recoloured a photograph!