Table of Contents
Digital Counter Bell
Proposal
Activity Summary
Take a traditional counter top bell and fit it with tech that can play custom sound clips/audio files. This creates a more fun and interesting bell for customers and staff to enjoy.
Requirements
In order to make this project accessible to everyone there are some requirements set in place.
- Preserve as much of the original presentation, the digital counter bell needs to look like a traditional bell. Ultimately this means that all components must fit in the standard housing.
- Powering the device mustn't be a hassle for the user. It will either need to be easily chargeable or batteries need to be easily and swiftly replaceable.
- The bell needs to be loud enough to be heard from a distance of 5 m or more in a busy cafe environment.
Design Brief
As this was a personal project to start with there were initially no plans to make this a workshop. As the project developed it was decided to trial it via the TryIt workshops.
The counter bell is a great way for small business/shop owners to create a custom experience for their customers and give the classic counter/service bell a unique twist that reflects the soul of the business.
Trough basic soldering and electronics participants can engage in the making the tool for their own shop or a gift for someone else.
Version 3
There are plenty of changes in this version. After a lot of research and a little luck I have managed to get the price of the components down by more than half. We can easily remove the amp and the expensive soundboard and replace it with a mini mp3 player by DFRobot which takes micro SD cards and can power speakers less than 3W. Its size is about half the size of the soundboard and relinquishes the need for a separate amp. As luck would have it, this circuit can be bought at a fraction of the price from oversees.
I have managed to find a desk bell for $2.80 locally which is a big difference to the retail version I've used in the past.
So hopefully this version will be smaller, use less wires, cost a lot less and be more energy efficient (as a result of less components). Also hoping to find a solution for a button that feels good and also a way to mount the components inside the bell.
Parts
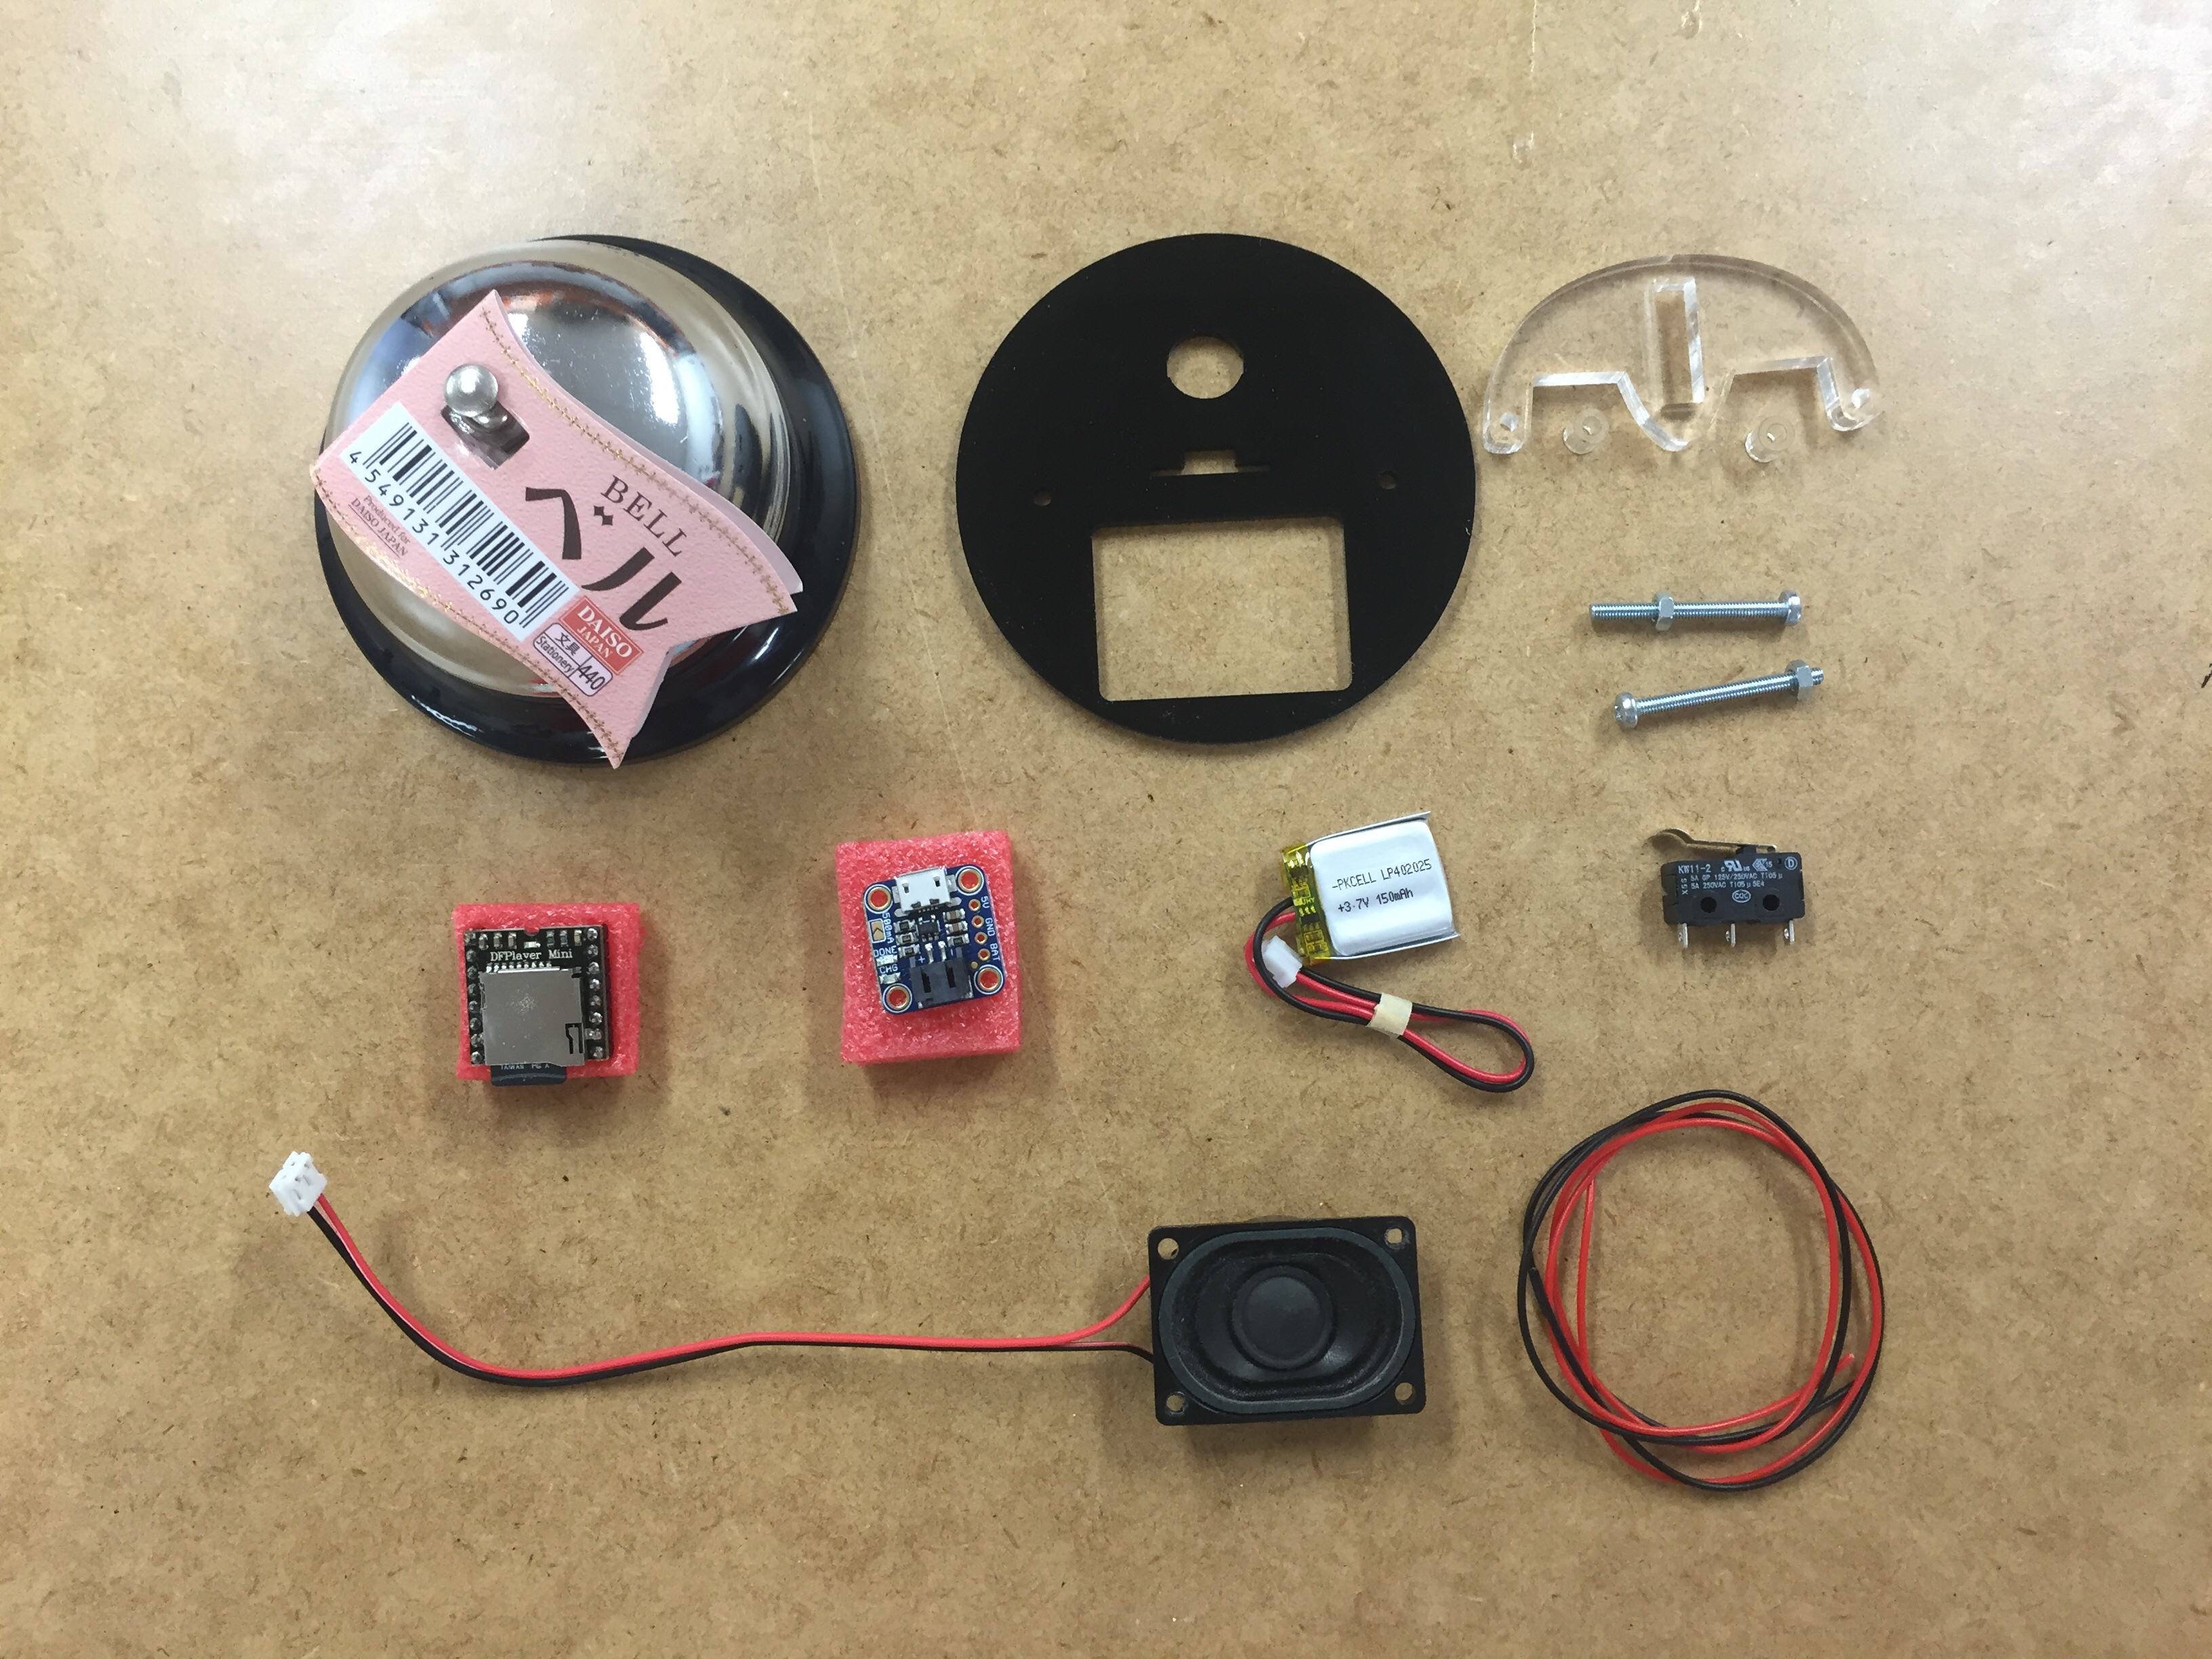
- Counter Bell Daiso Online $2.80 (Cheaper online, in bulk)
- 3.7V 150 MAH Lithium Ion Battery Aliexpress $3.80 (per piece in lots of 10)
- Momentary Limit Switch eBay <$0.50
- TP4056 5V 1A USB Charging Module eBay <$0.30
- Speaker, 4ohm 3W (from computer)
- Hookup Wire
- Laser cut Support for button, 6mm
- Laser cut spacer x 2, 6mm
- Laser cut Base, 3mm
- USB Cable (for charging)
- Micro SD Card 8Gb Aliexpress $3.82
- M3 25mm nuts & bolts x 2
Tools
- Soldering Kits
- Soldering Iron
- Solder
- Wire stripper
- Sidecutters
- Cutting mats (to protect workbench)
- Hot glue gun
Instructions
Tips
- Tin your wires
- Always keep track of which pins to solder and the orientation of the different components
- Solder onto a single point
- Make sure your soldering iron isn't toucing any of the electronics
- Work in pairs. This will make things so much easier
Step Zero: Preparation
- Unless you are using 2.5mm bolts you will need to expand the existing holes in the bell to 3mm by drilling. This is best done in preparation for the workshop
- Make sure you laser cut the files in the files section below (3mm and 6mm acrylic) - Plywood works too. Files contain enough material for 10 participants
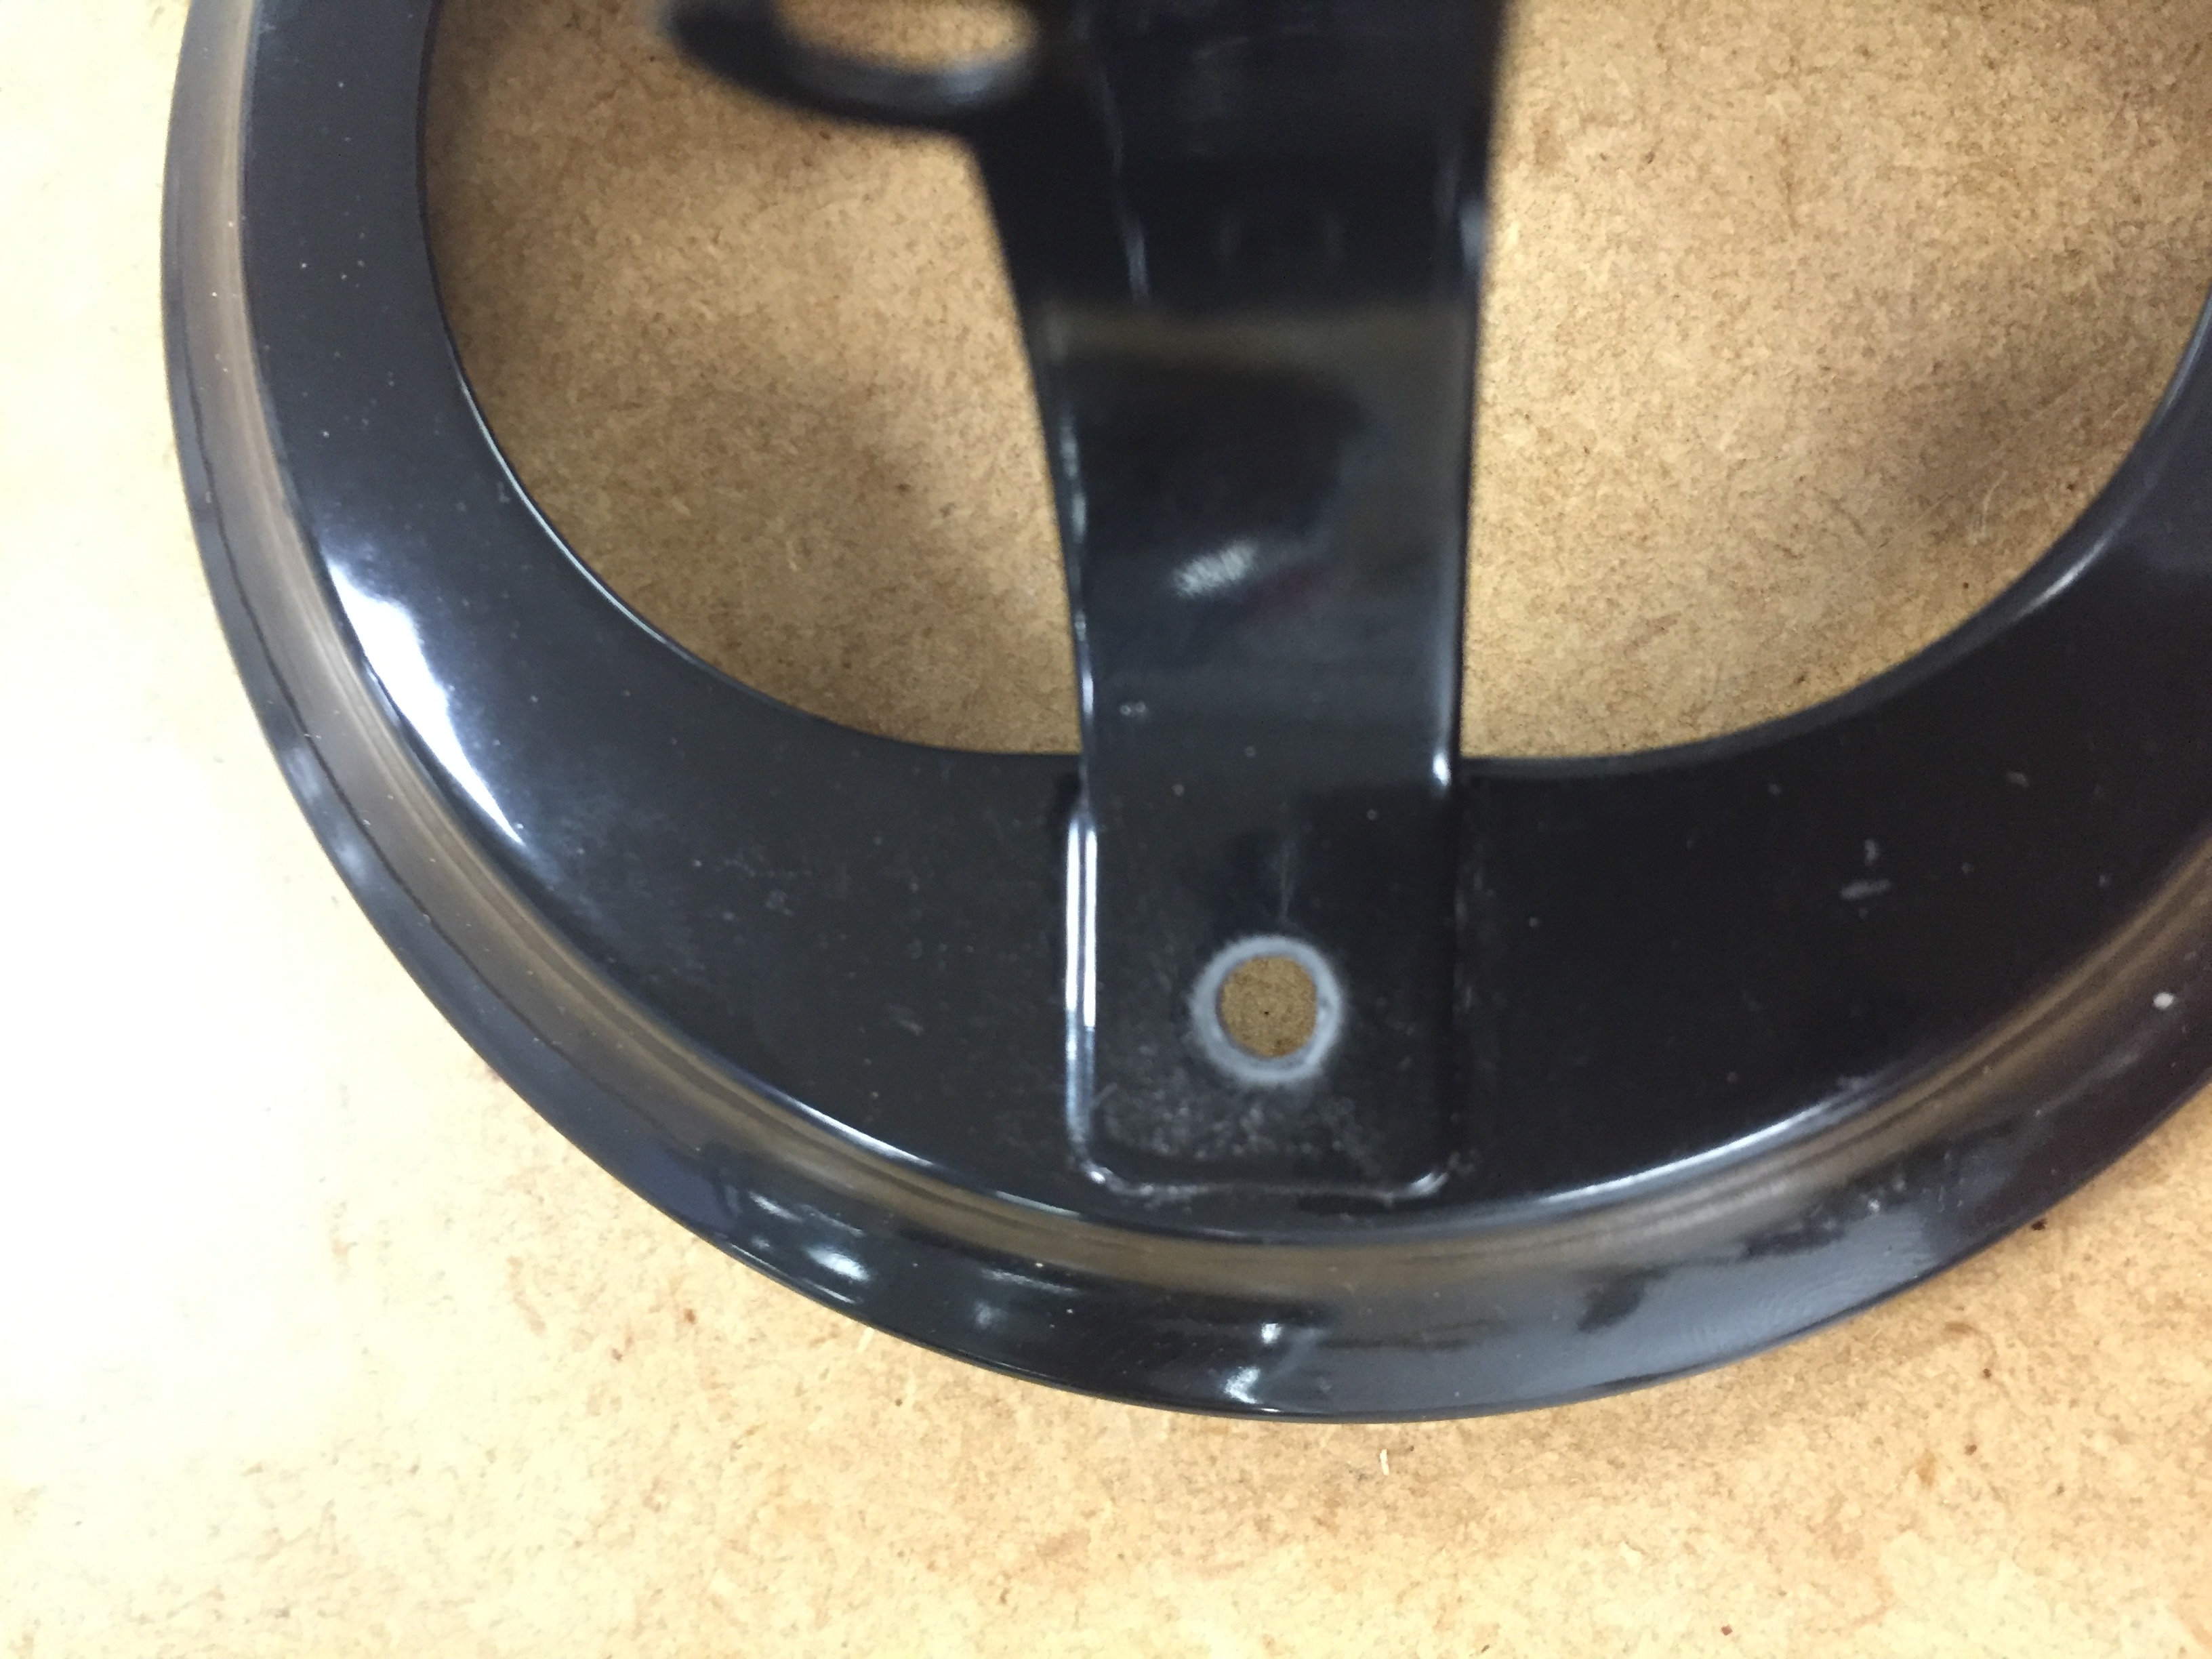
Step One: Bell Disassembly
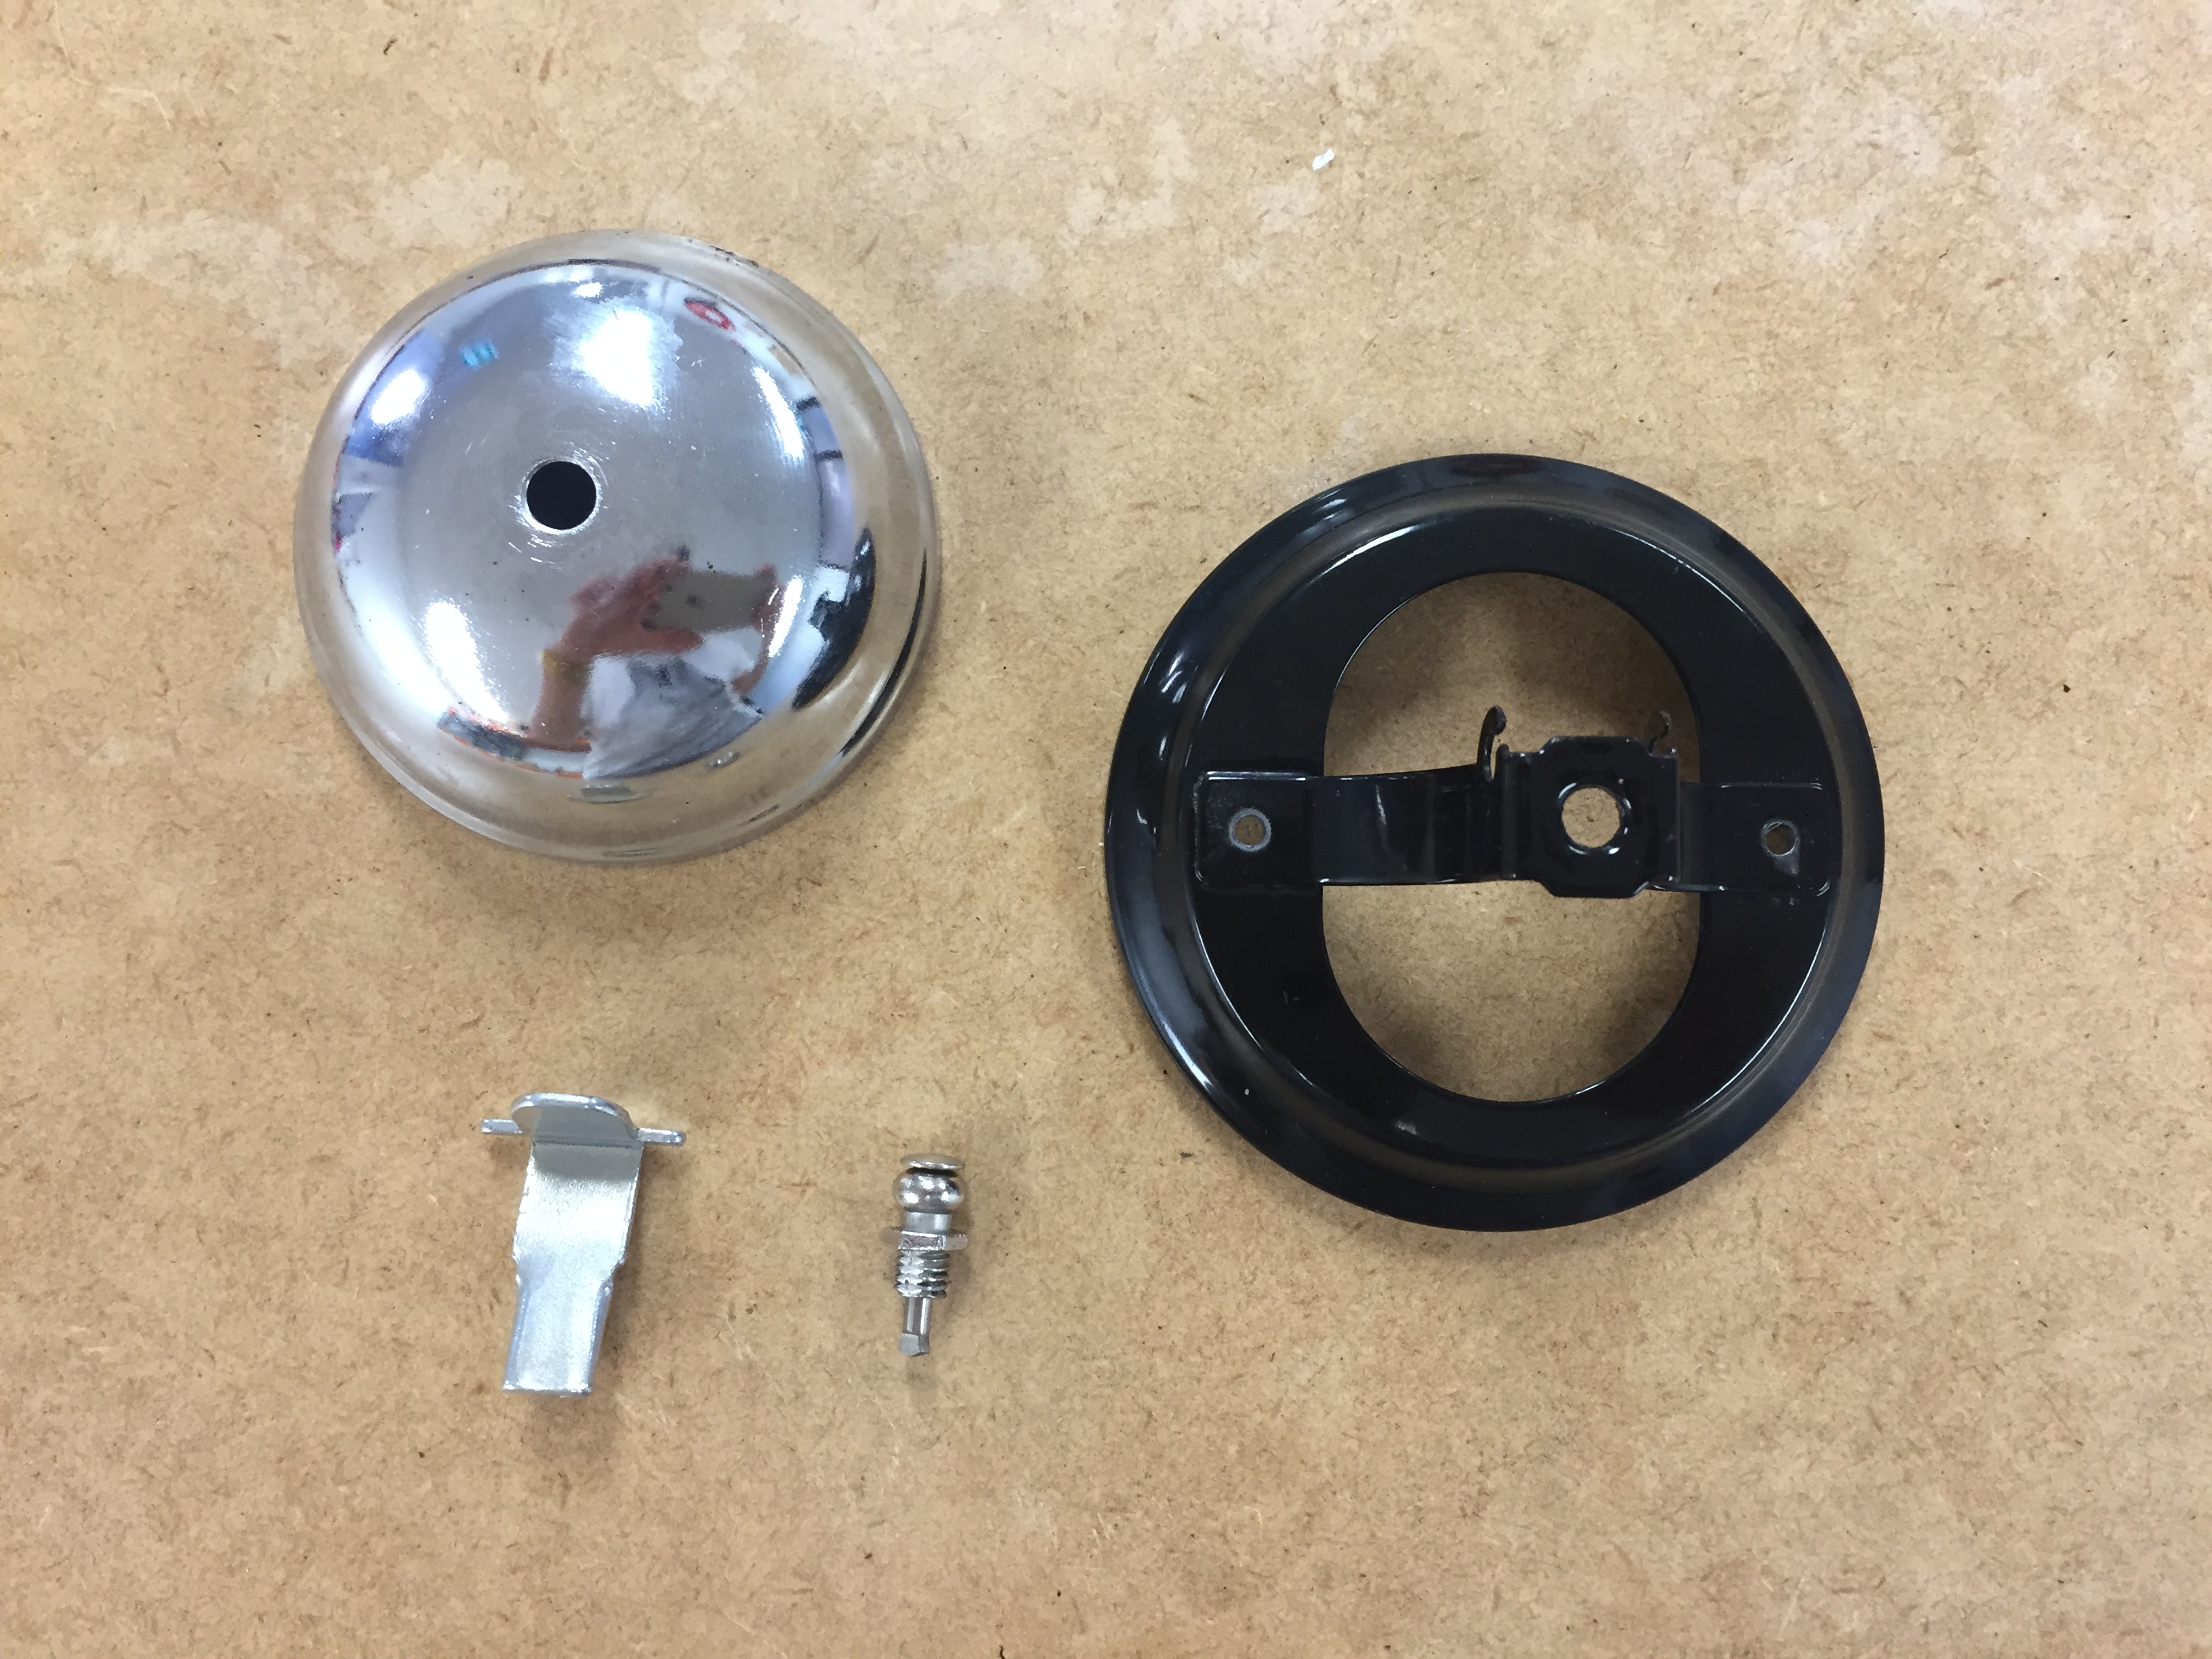
- Unscrew the button (you might need to use a pair of pliers). This will let you take off the top part of the bell
- Remove the metal arm and put it aside, we won't need it anymore
Step Two: Switch
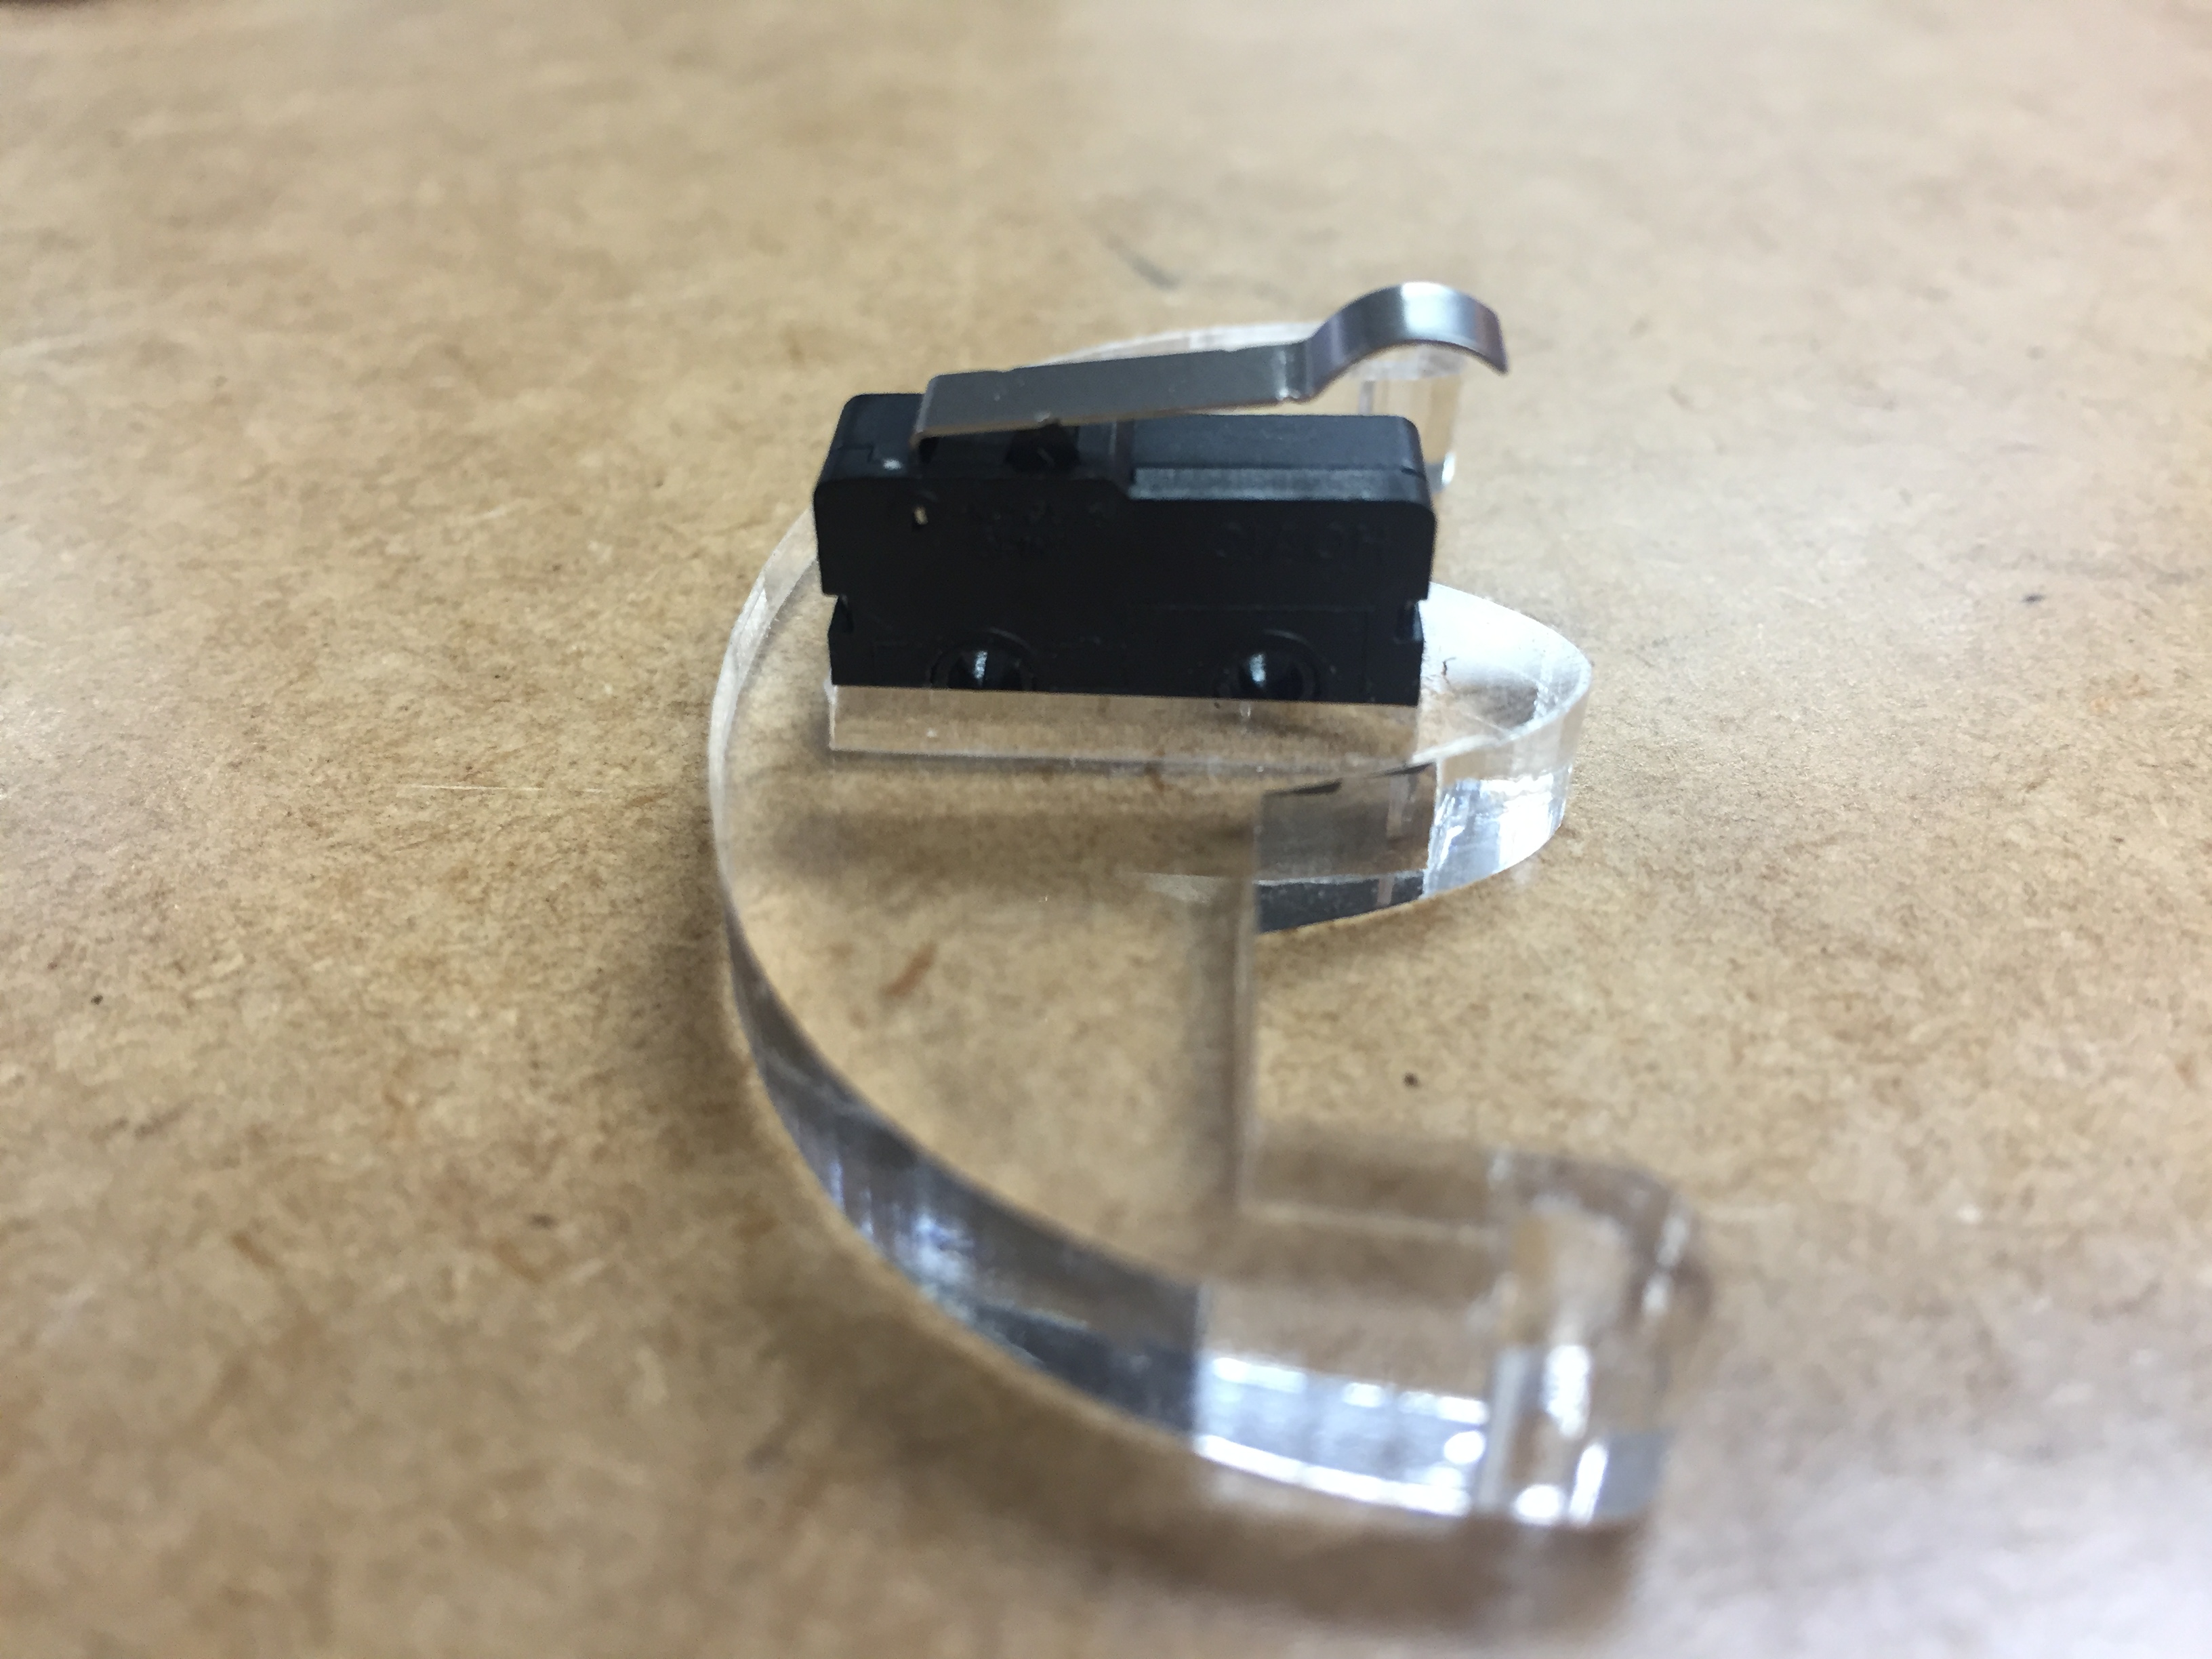
- Grab the button holder (clear acrylic) and then the switch/button. Align the button as show in the picture, make sure the bottom tabs align with the bottom of the acrylic (and aren't sticking out at the bottom). Part of the holes in the switch should be sticking out the top

- Cut and strip two pieces of wire (black & red) on both sides and thread each through the middle and the back tabs. Solder into place
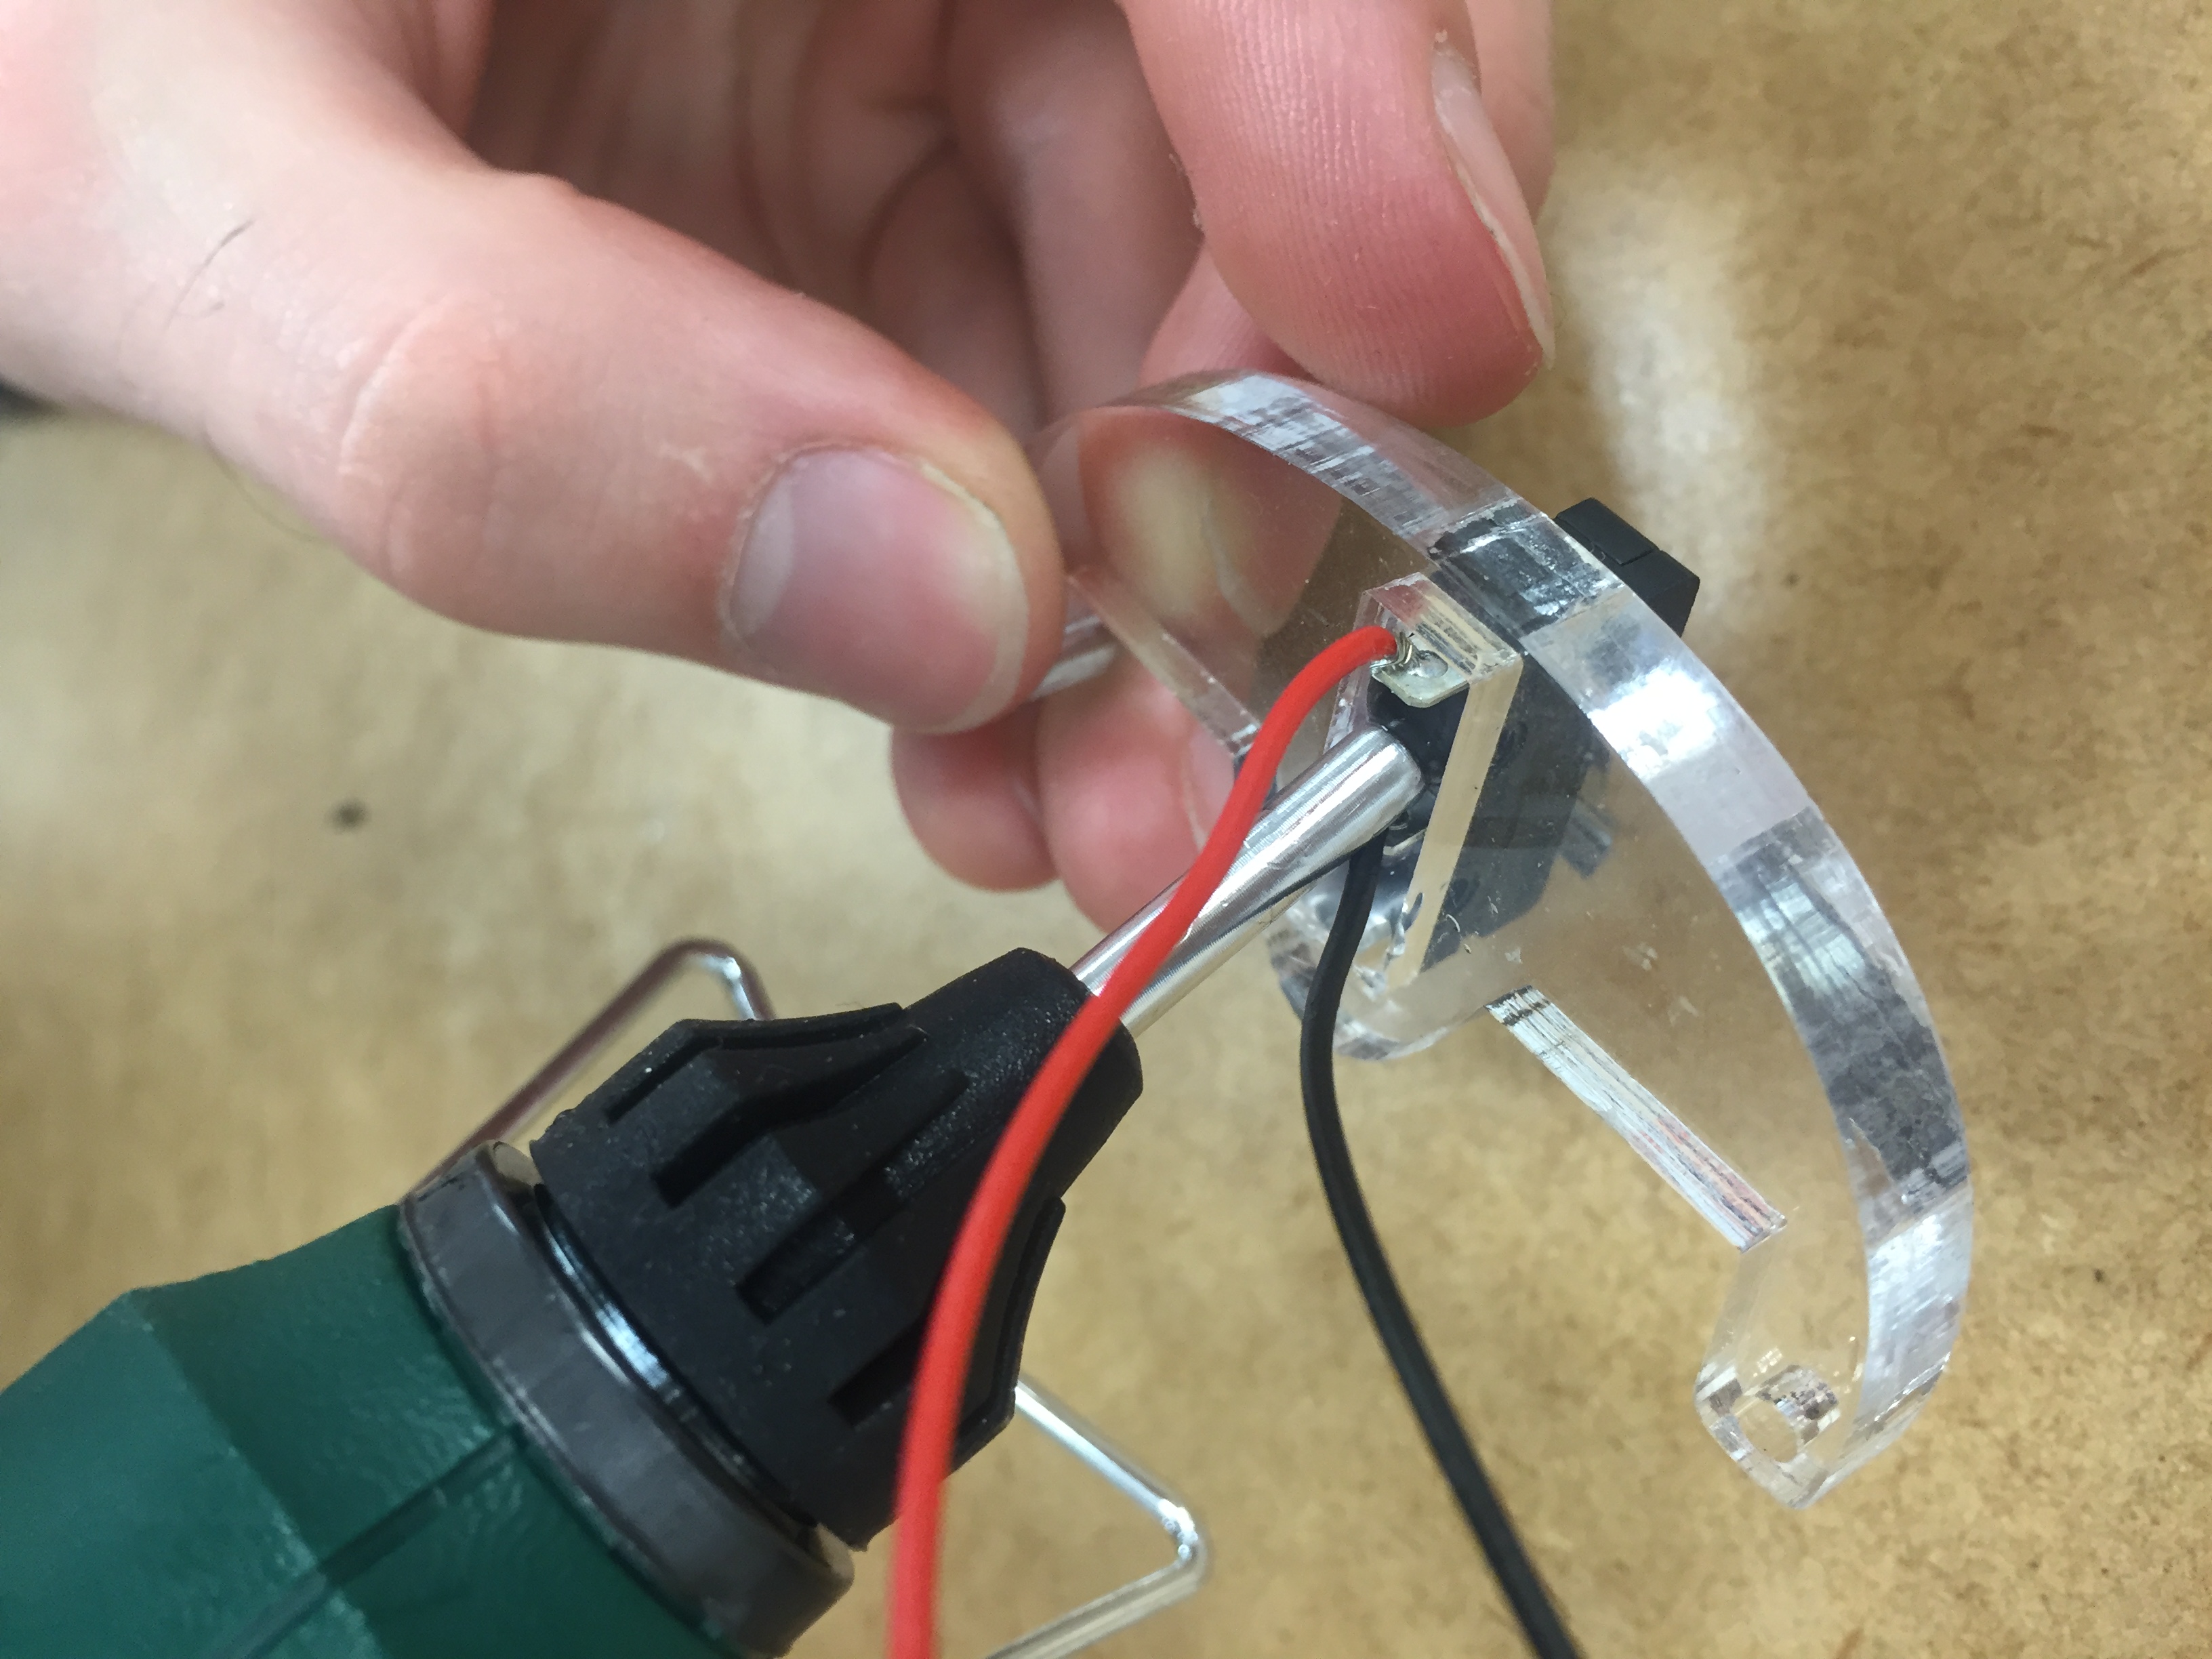
- Once you're happy with the soldering fill the cavity in the acrylic with hot glue. Make sure that you cover solder and any exposed metal to reduce the chance of a short in the circuit
Step Three: Component Layout
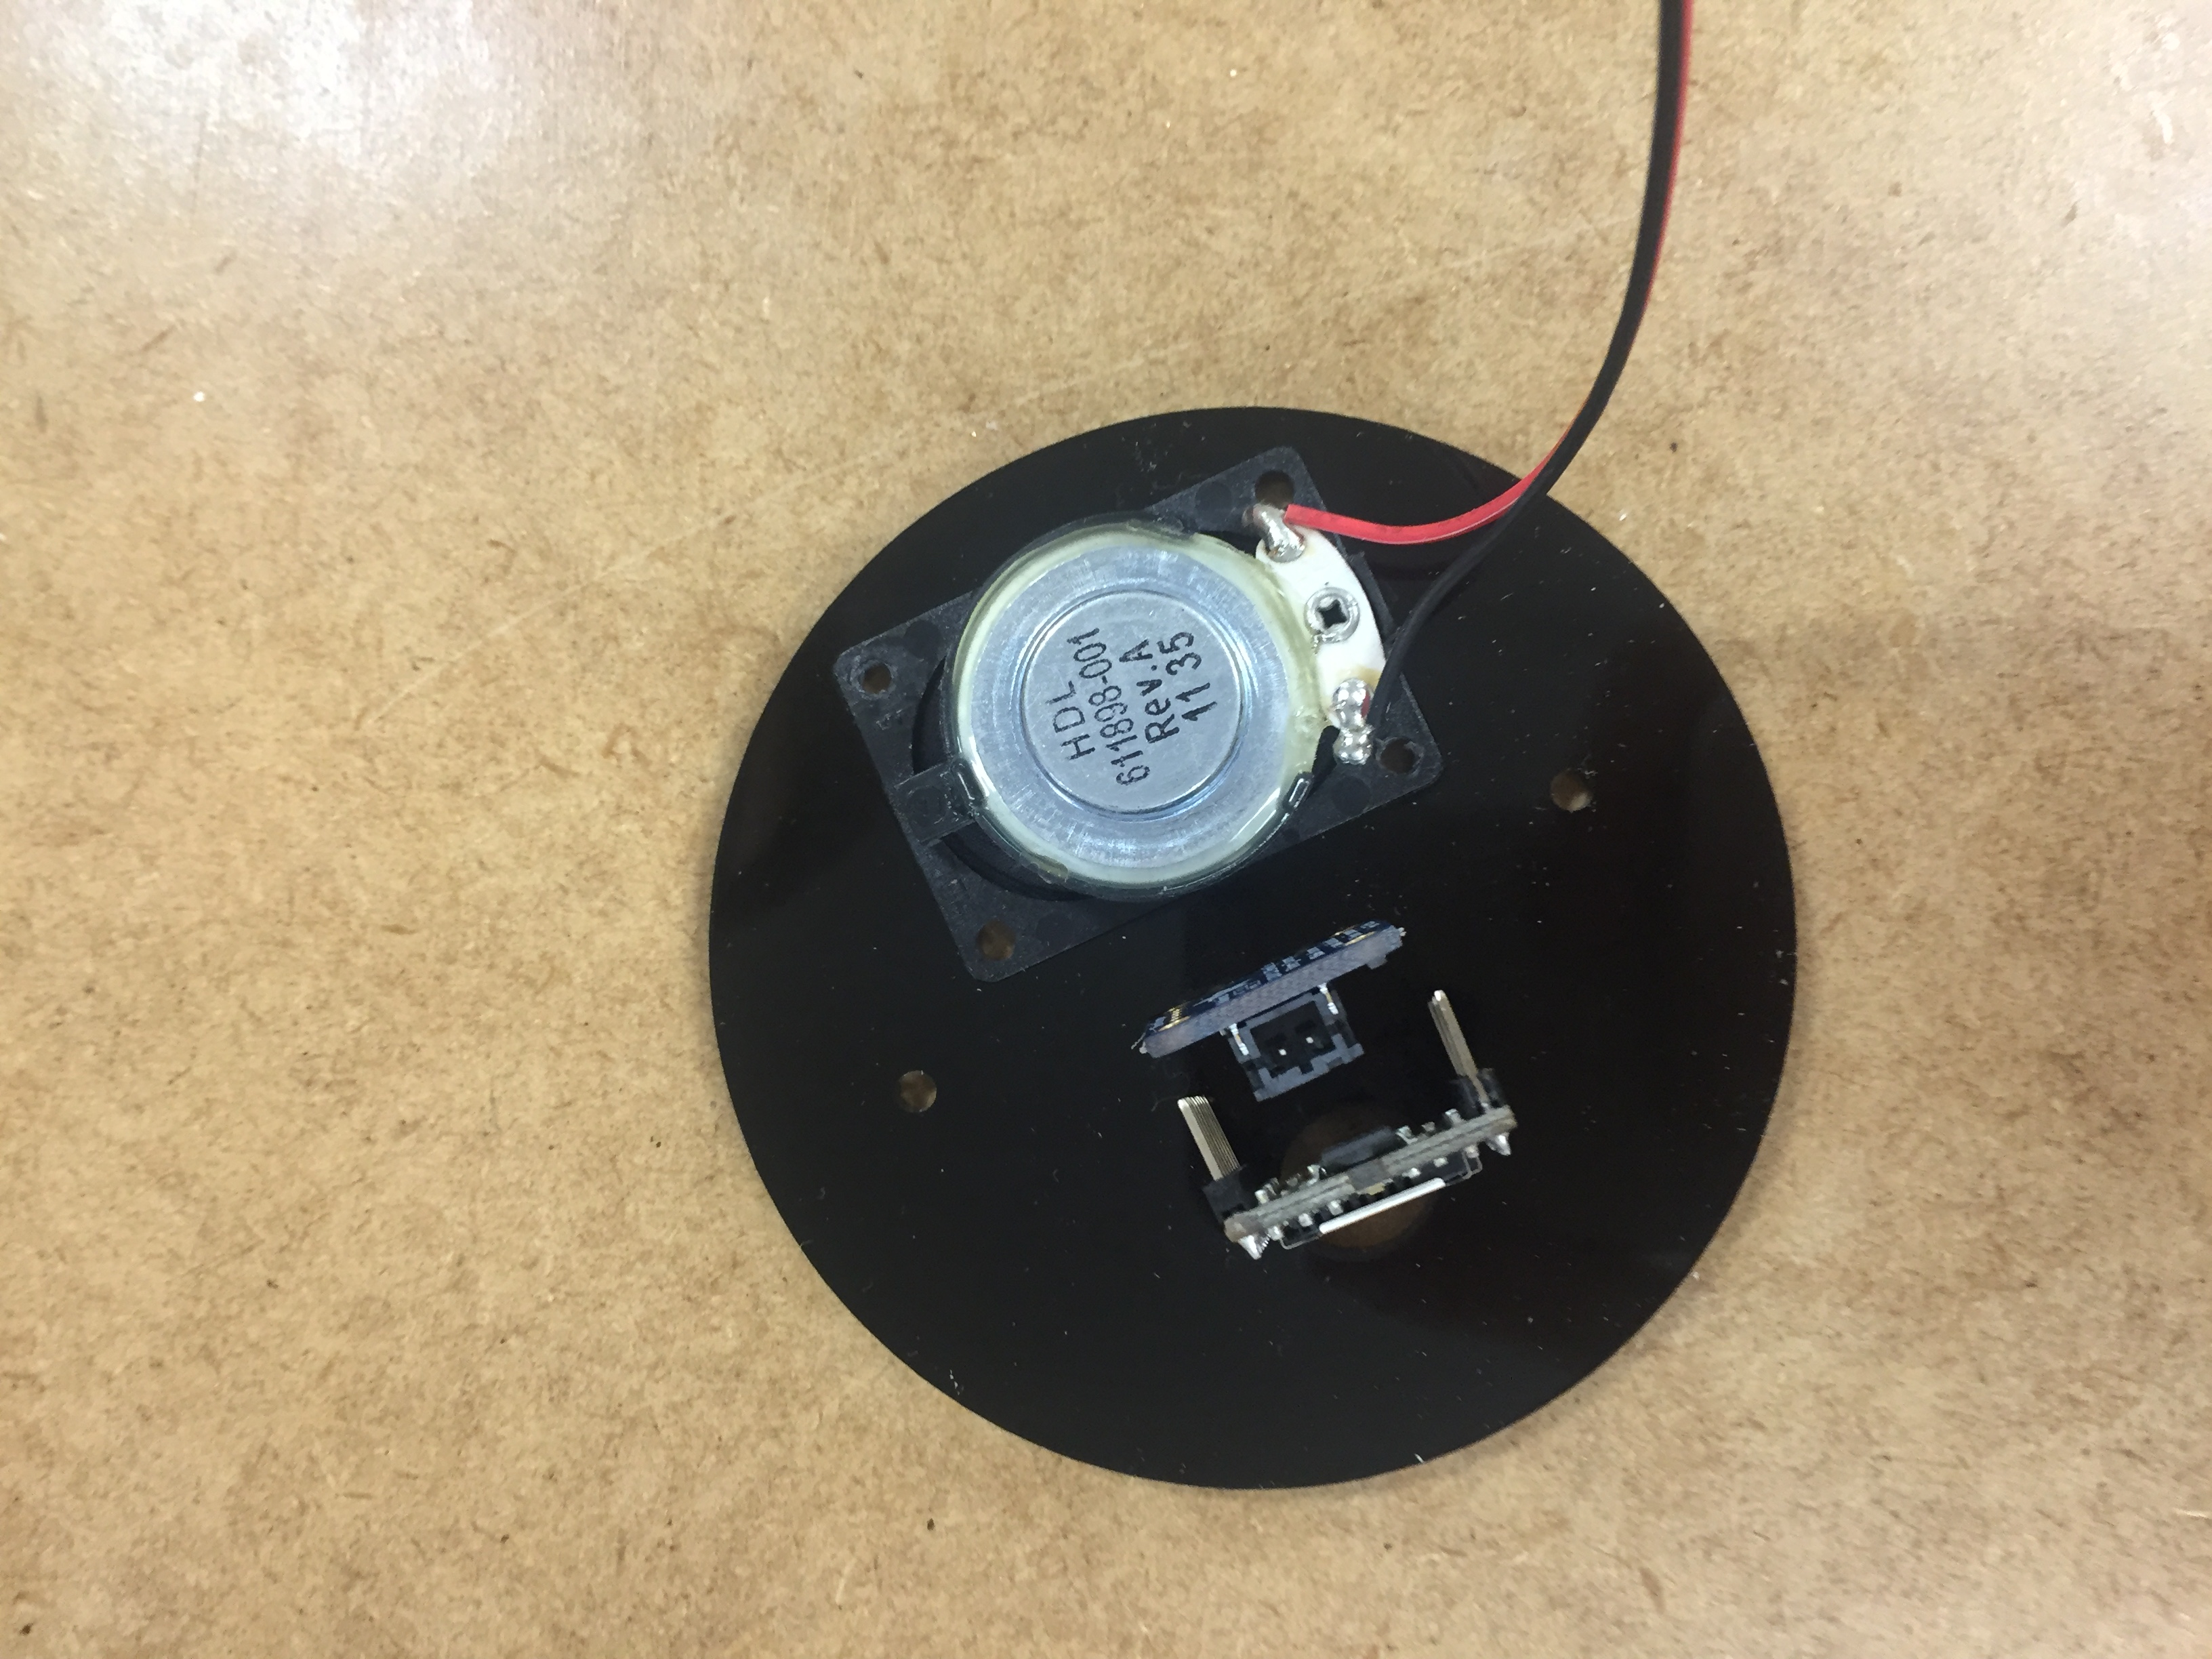
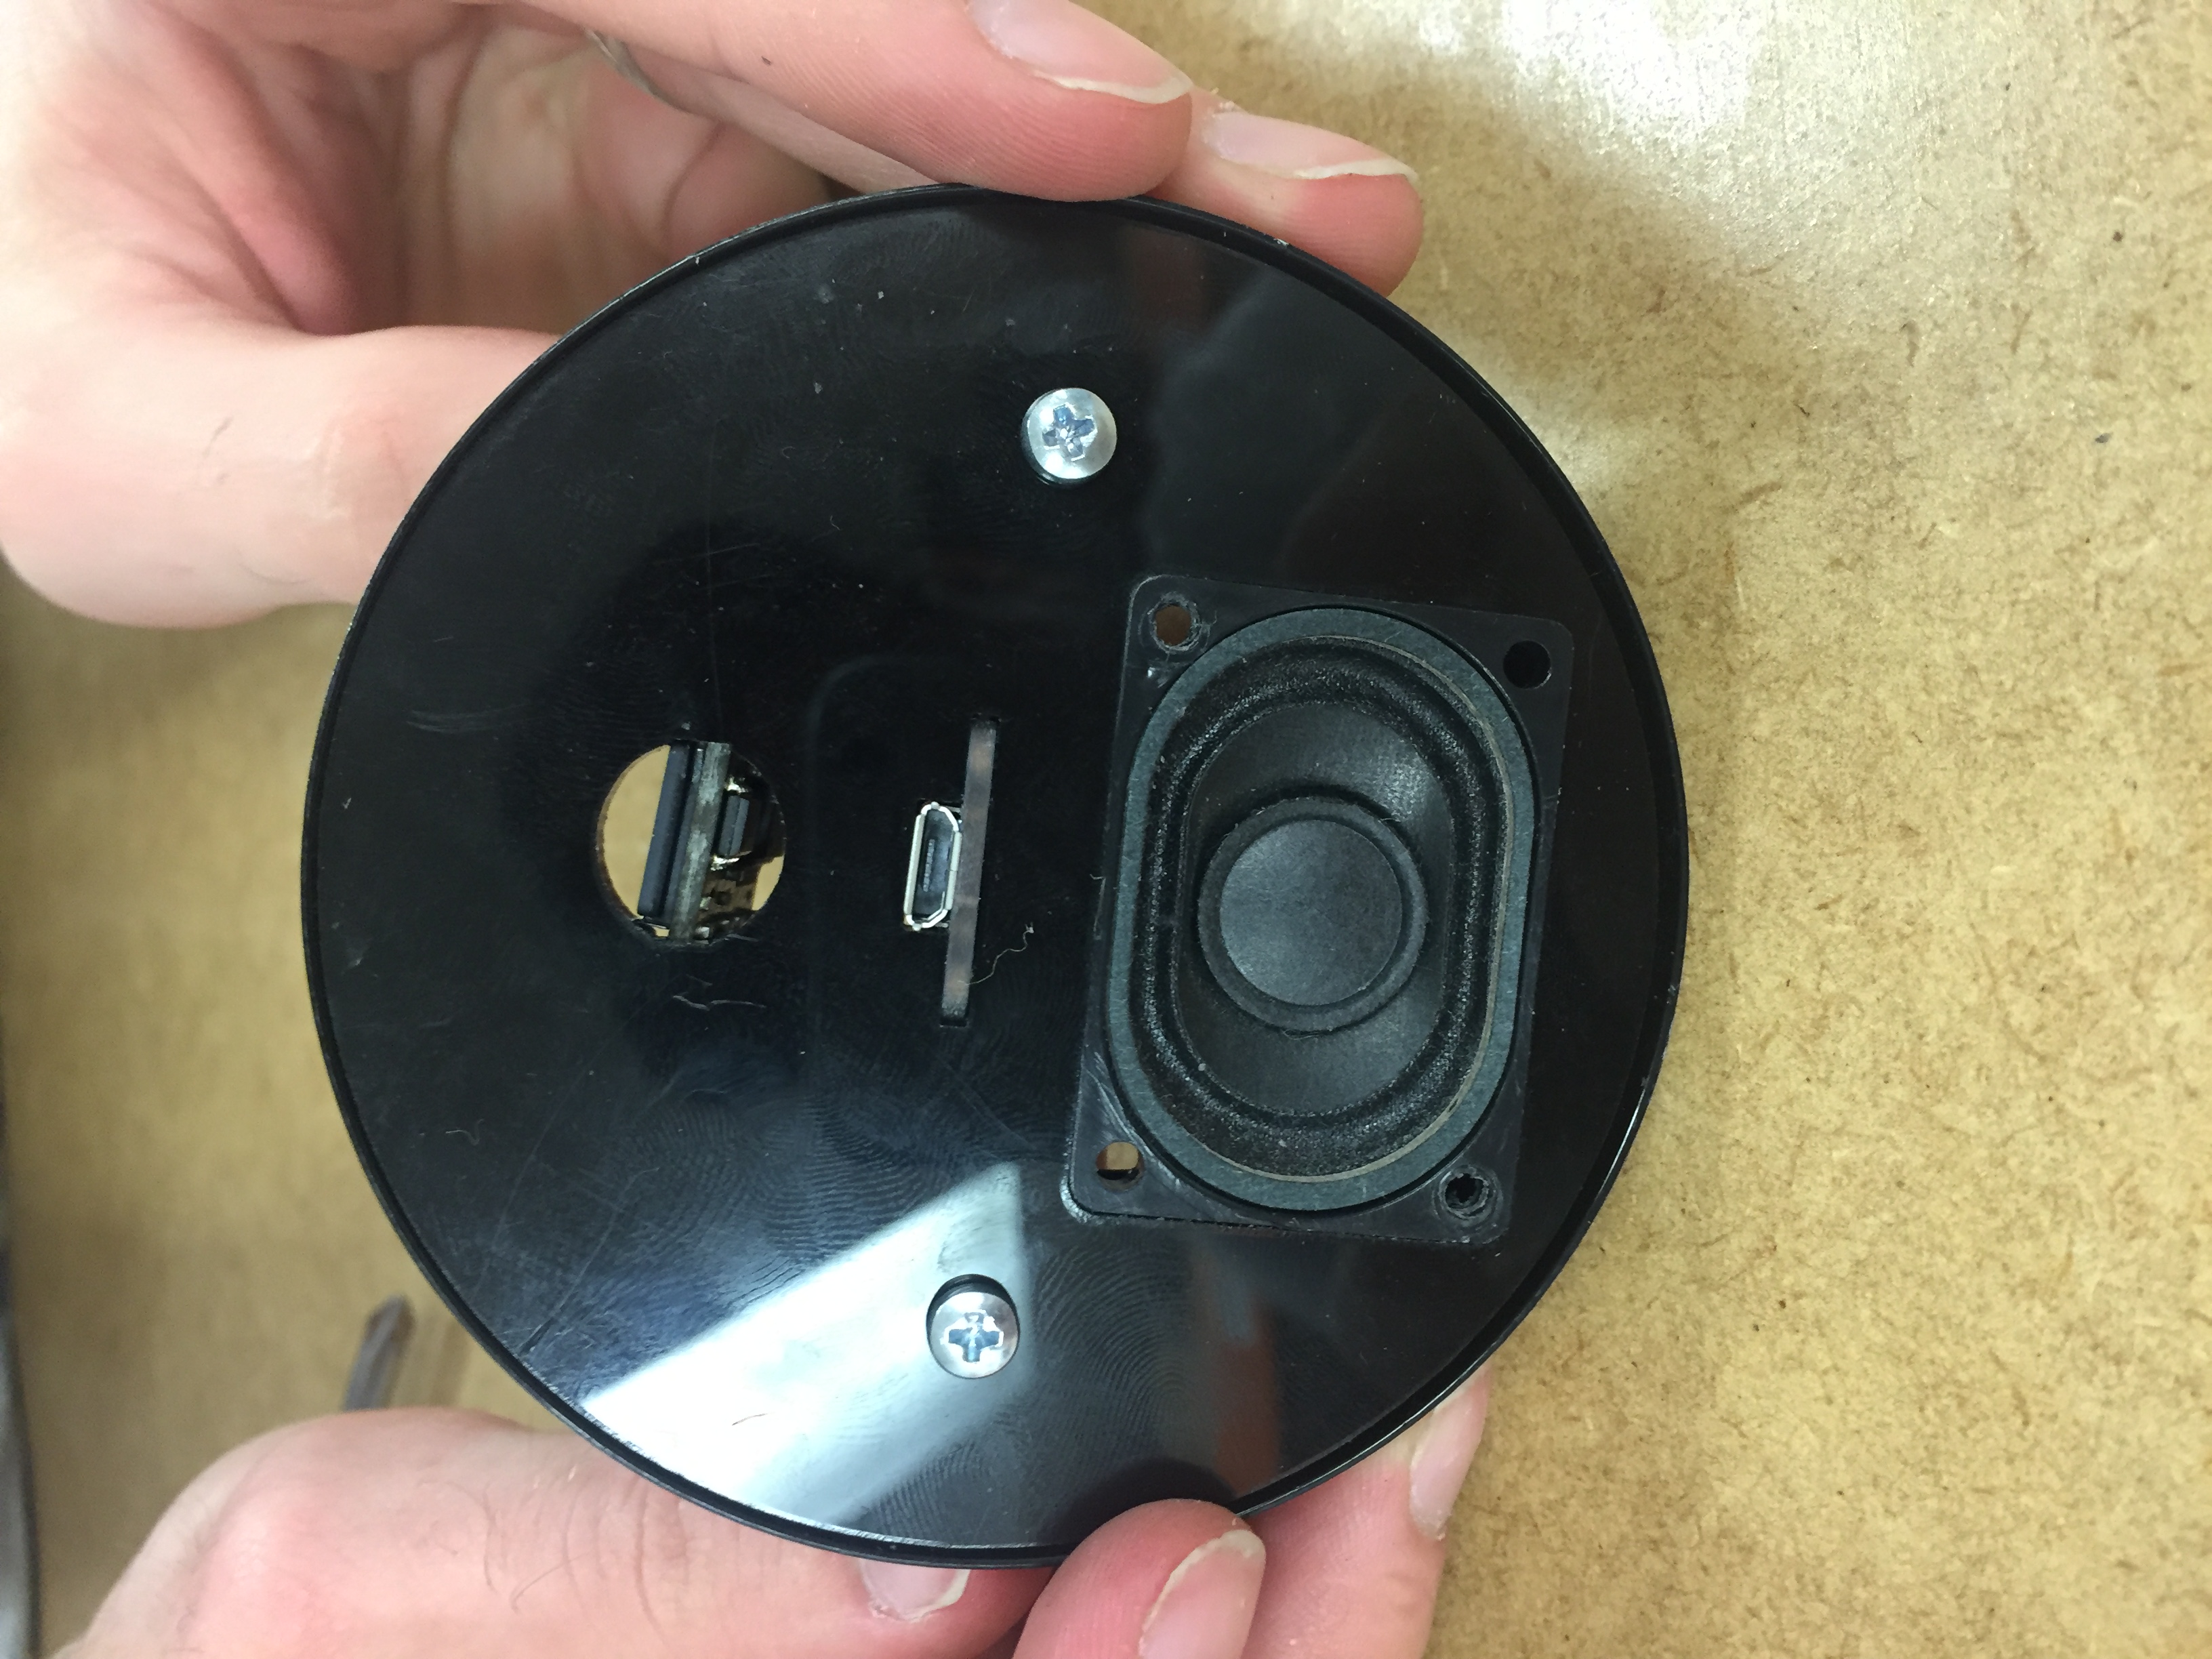
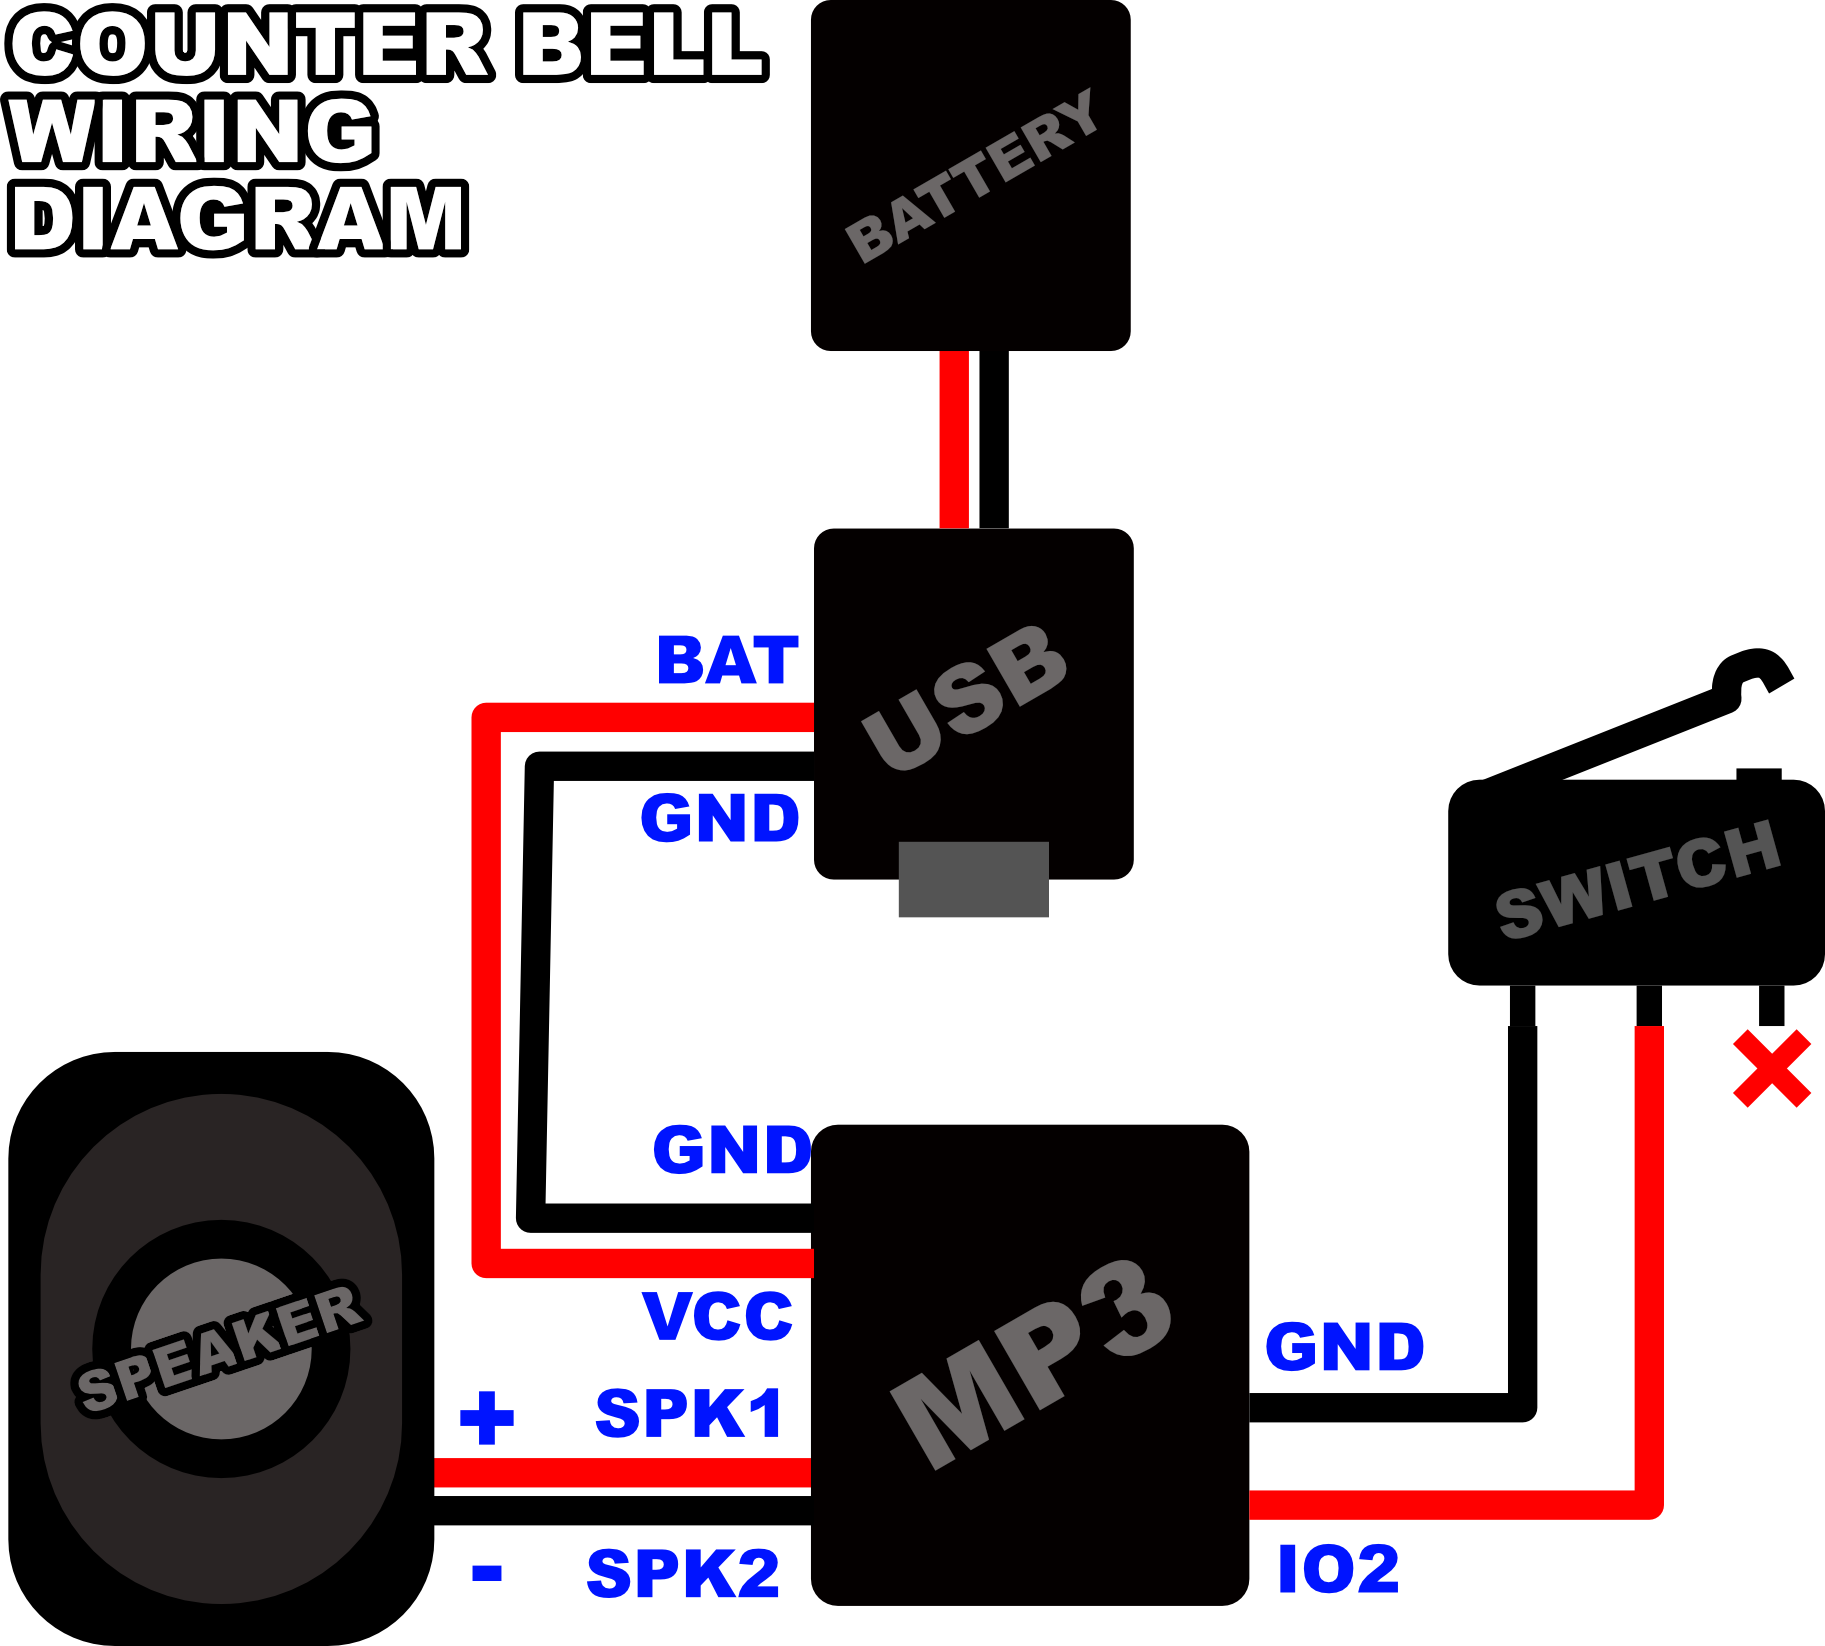
- Find the base plate and layout the MP3-player, USB-charger and speaker to get an idea of what it will look like and how the components will be aligned to each other. The speaker is a tight fit but will be kept in place once properly seated
Step Four: USB Battery Charger

This picture is incorrect, wires need to be soldered from the opposite side of the board!
- Solder a short and stripped black wire (~1-2cm) to GND (Ground/Negative) on to the charger board
- Solder a short and stripped red wire (~1-2cm) to BAT(Battery/Positive) on to the charger board
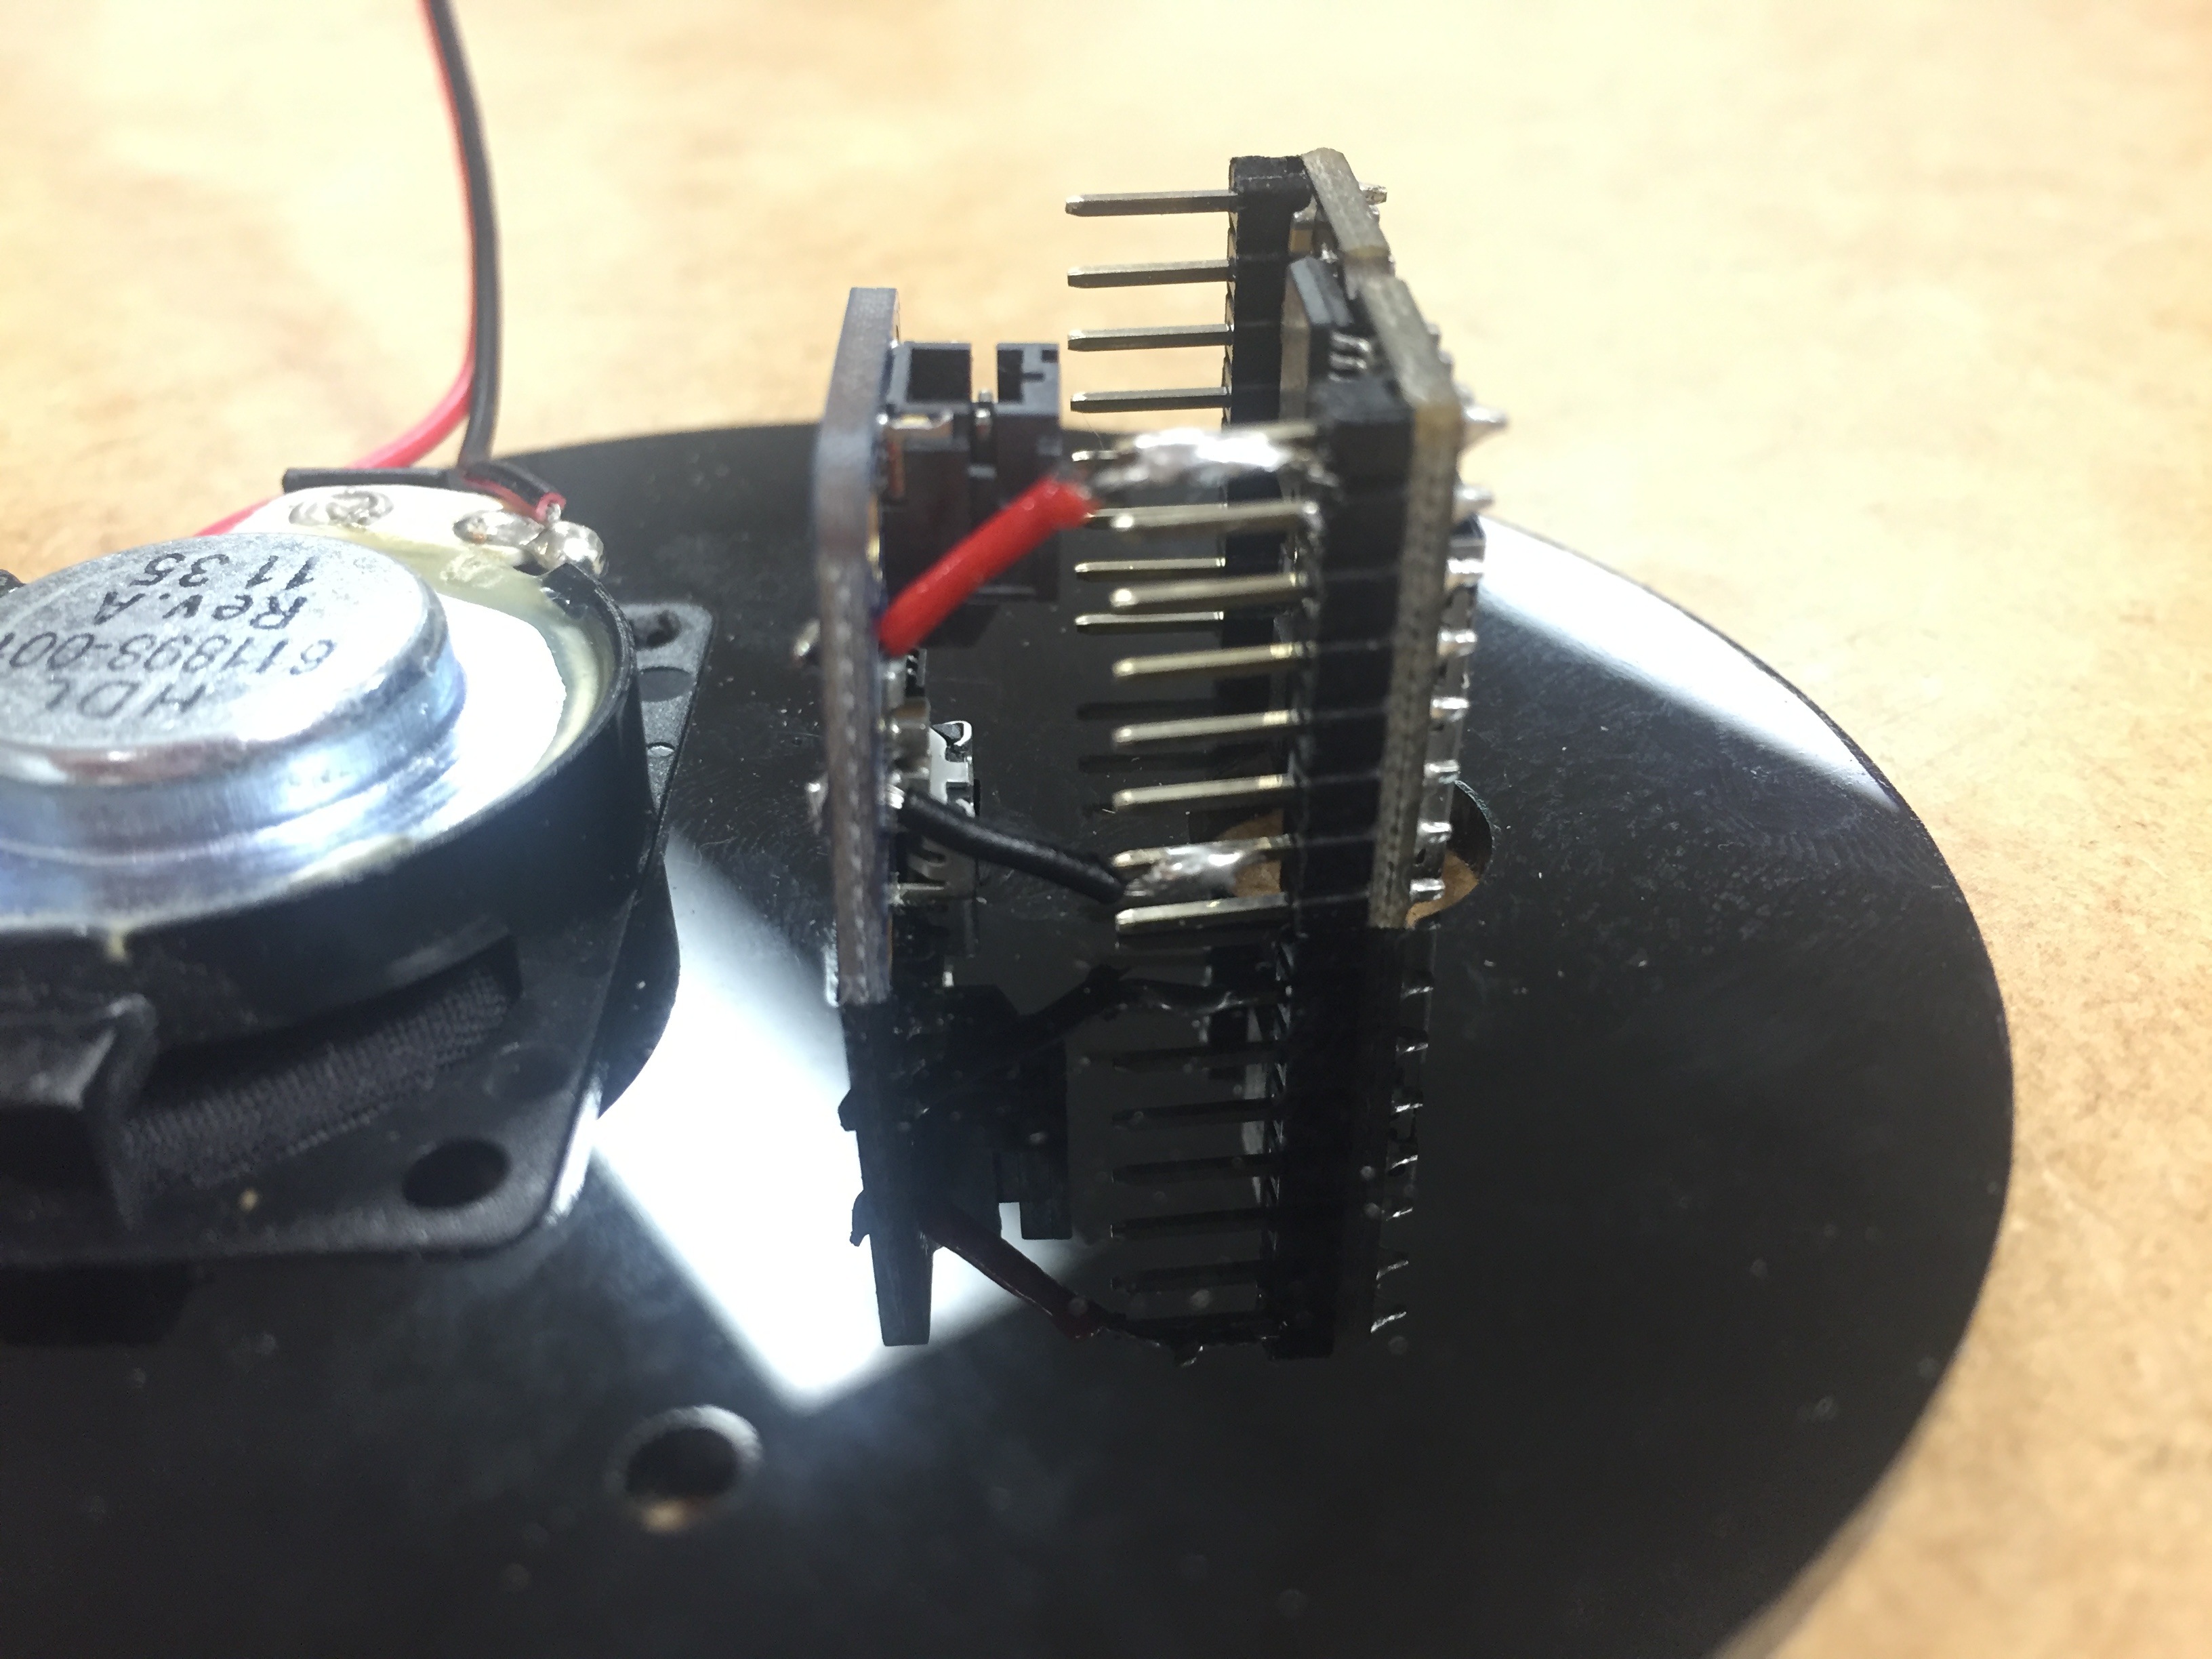
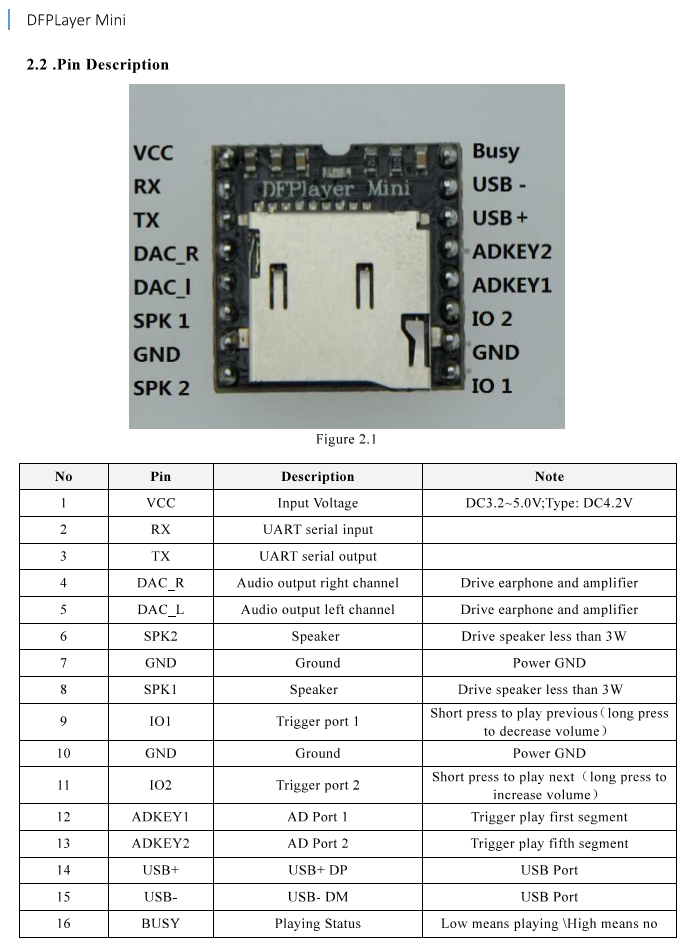
- Solder the Positive and Negative wires to the MP3-player. Check the Pin Chart to see where they need to go!
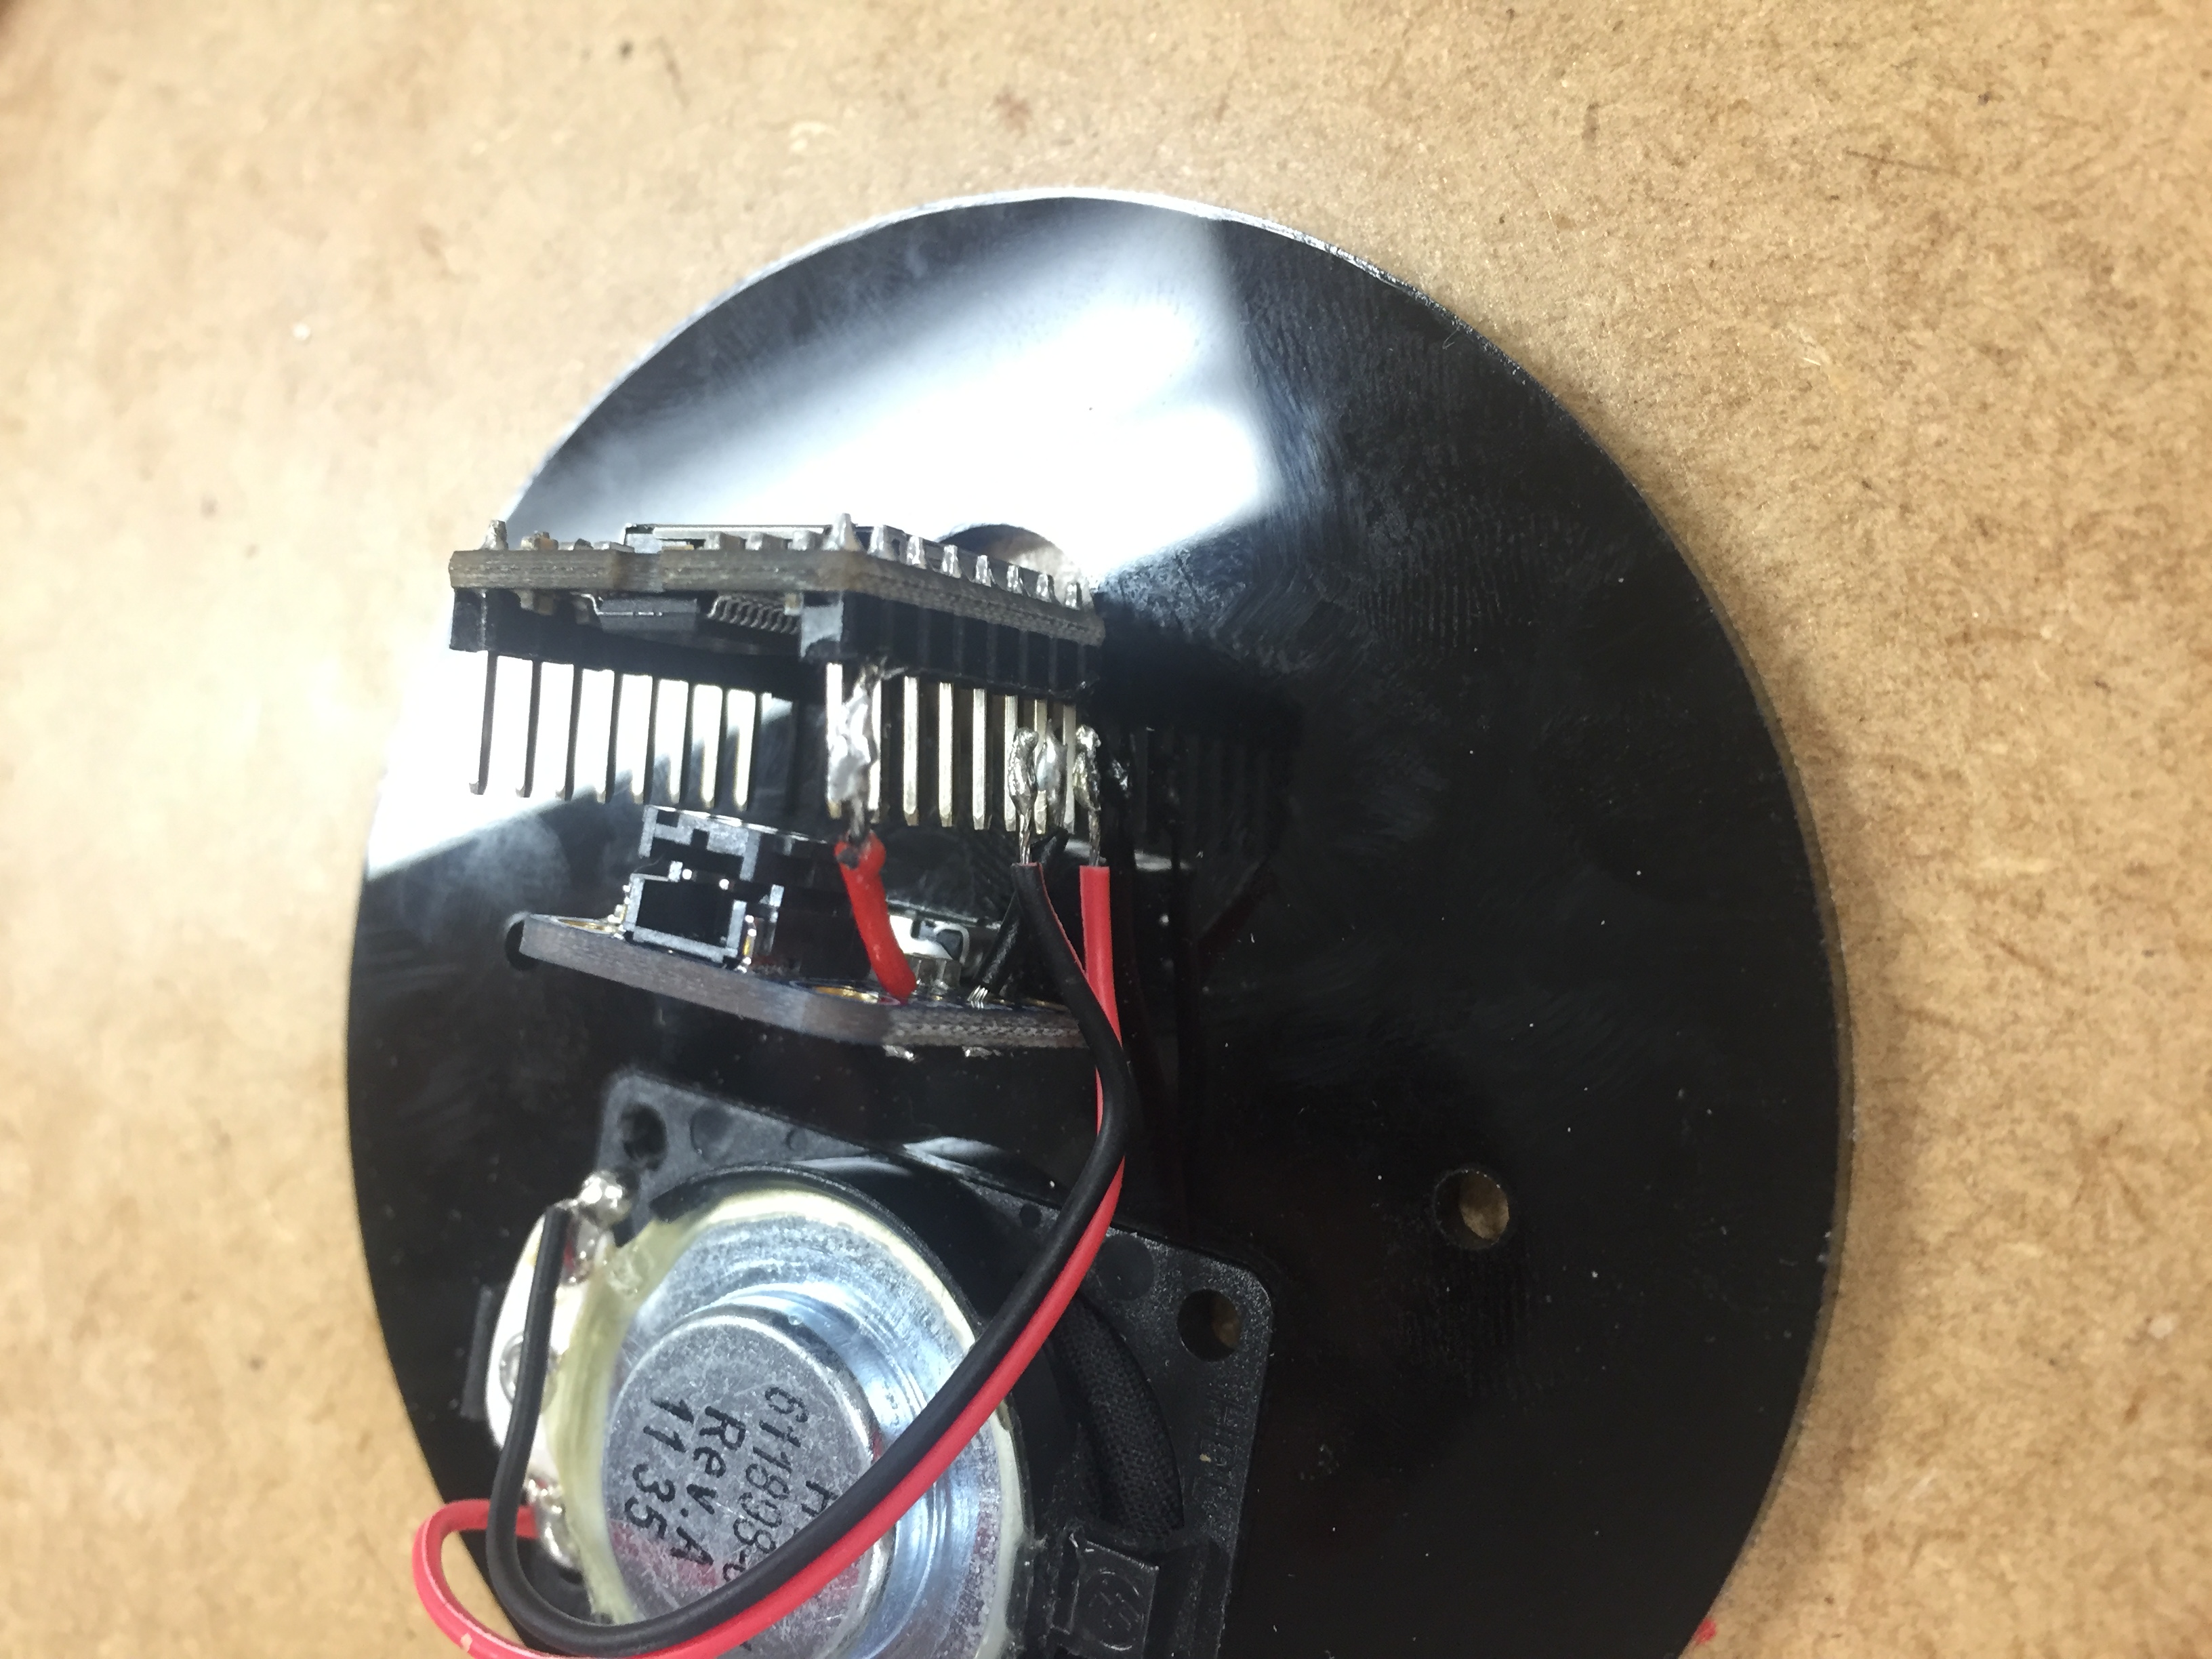
Step Five: Speaker

- Cut off the speaker wire, but leave a few centimeters so that it comfortably reaches the MP3-Player. Once again, use the pin diagram to find where to solder the speaker cables
Step Six: Assembly
- Insert the M3 Bolt from the bottom up
- Thread the bolt through the body of the bell
- Add the acrylic spacers
- Add the button holder
- Add bolts and tighten with fingers and/or screwdriver
- Make sure the base plate is flush and the bell doesn't wobble
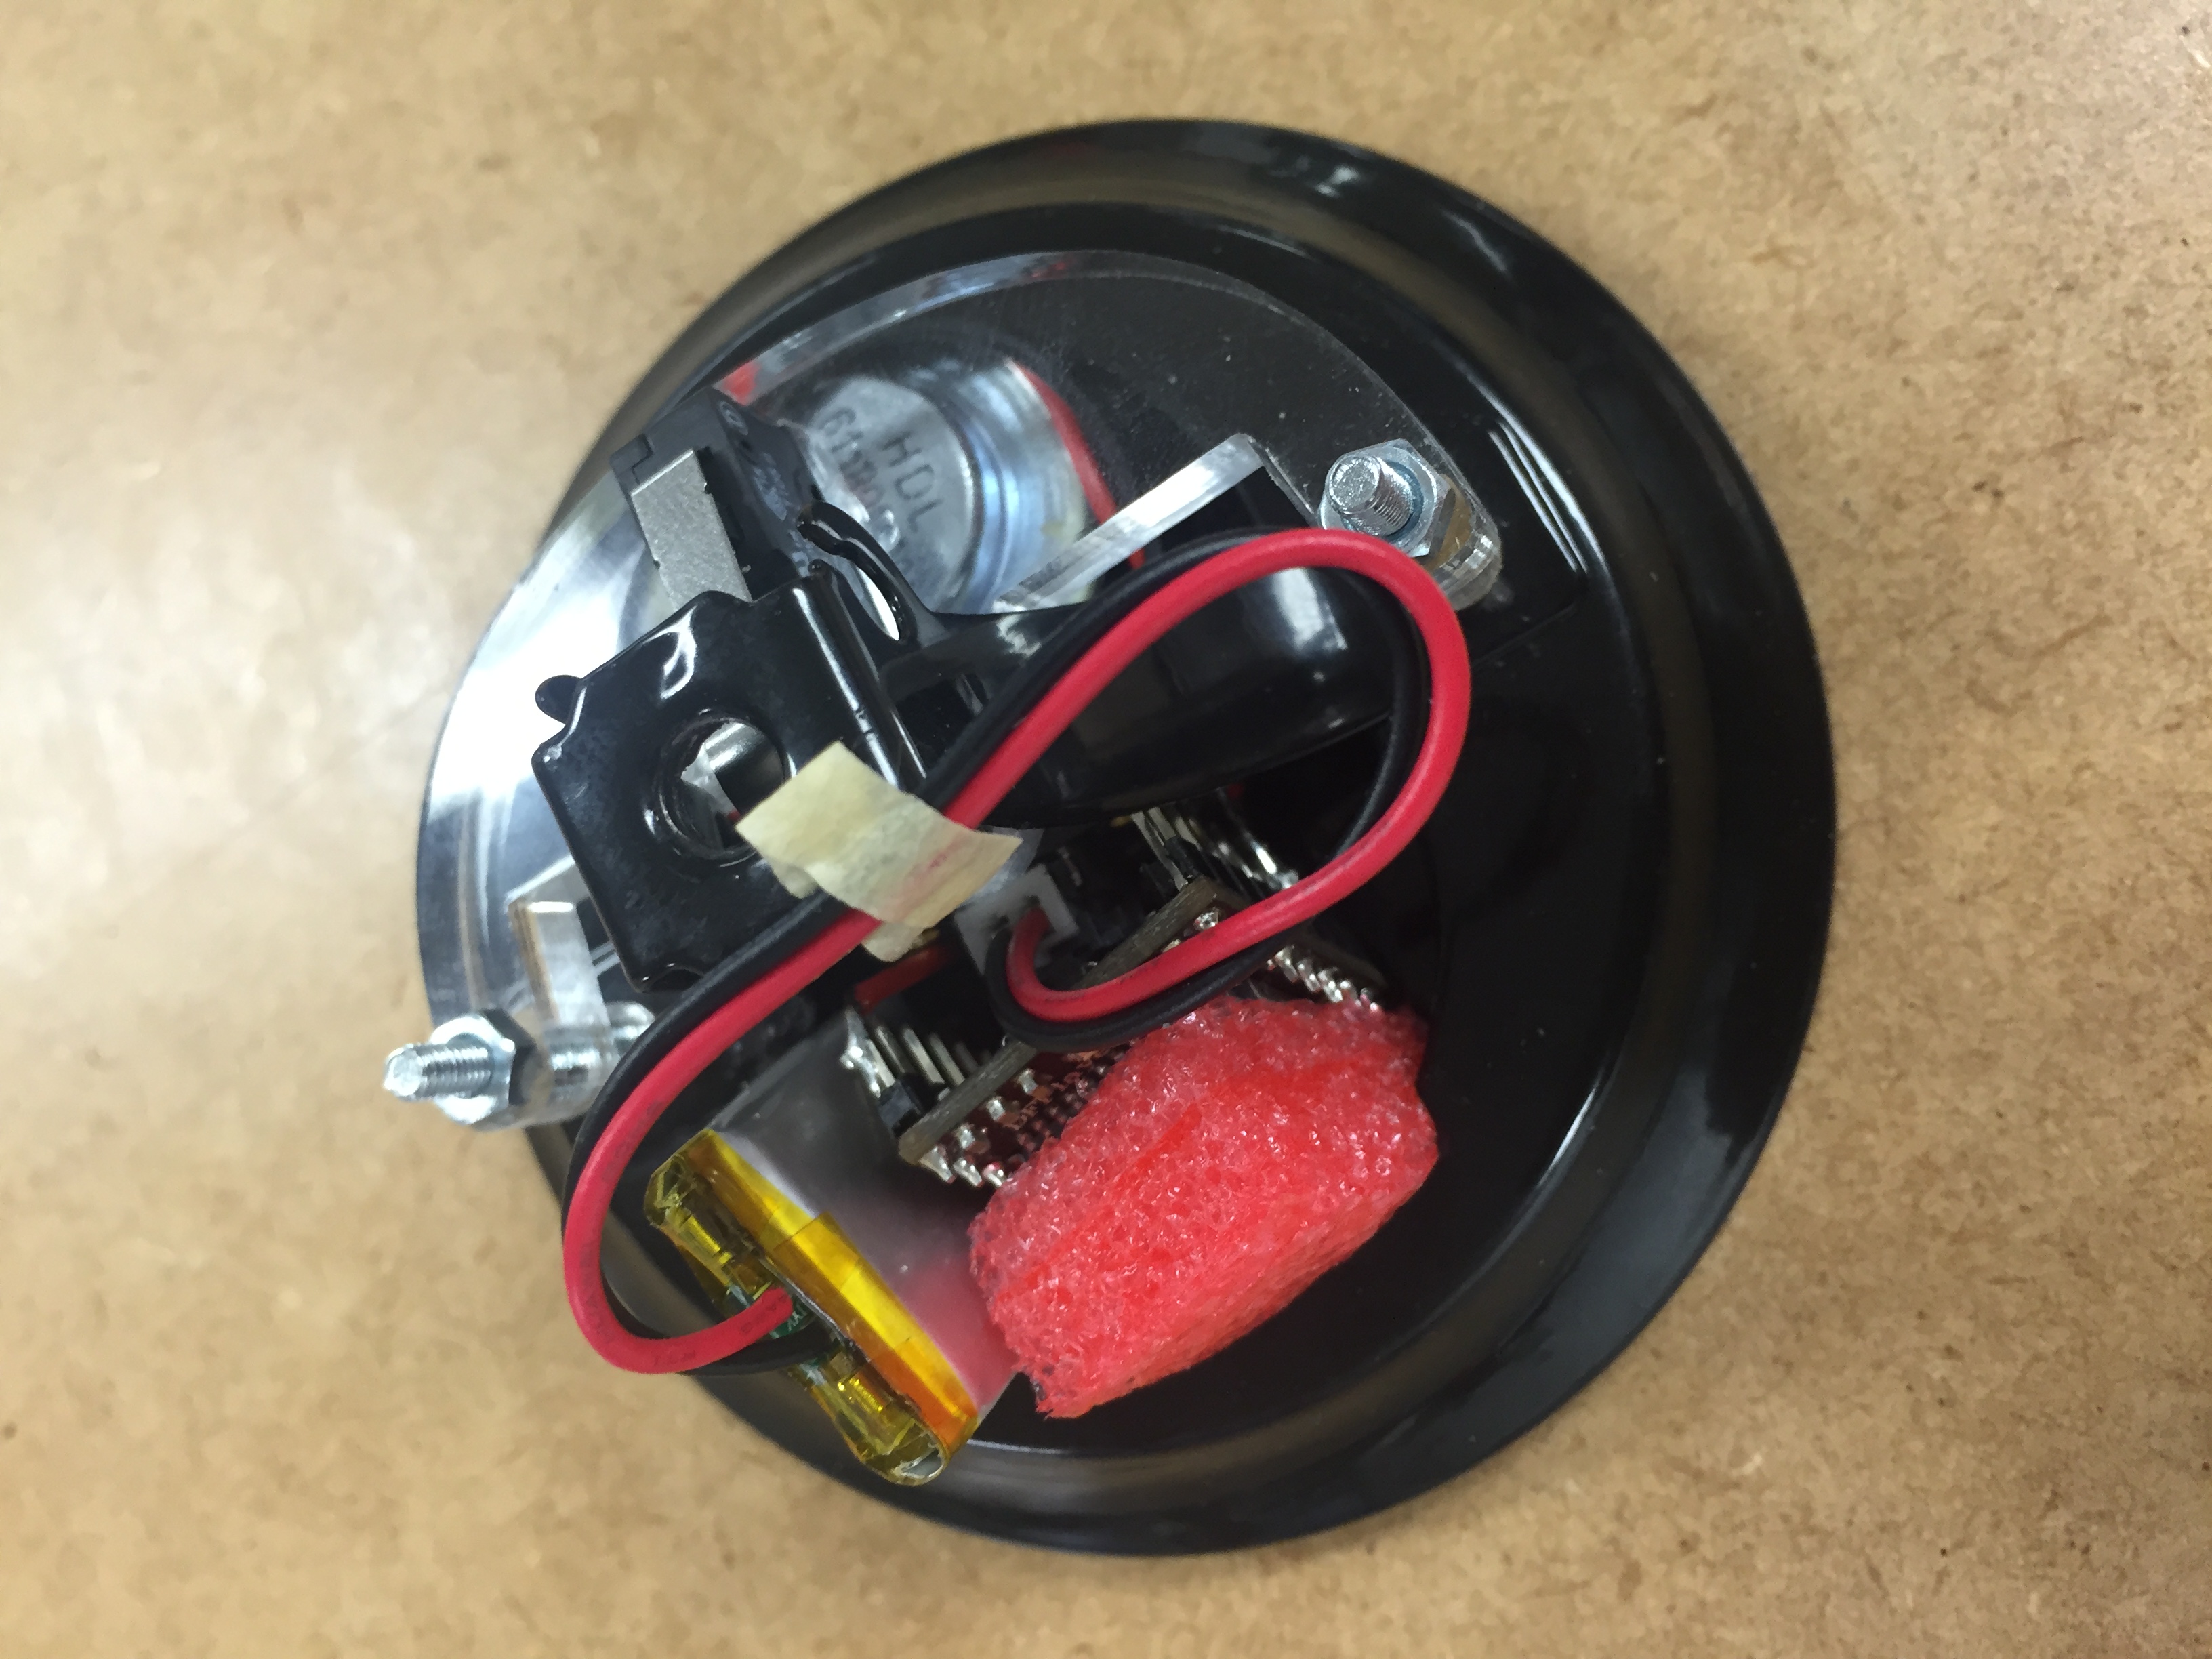
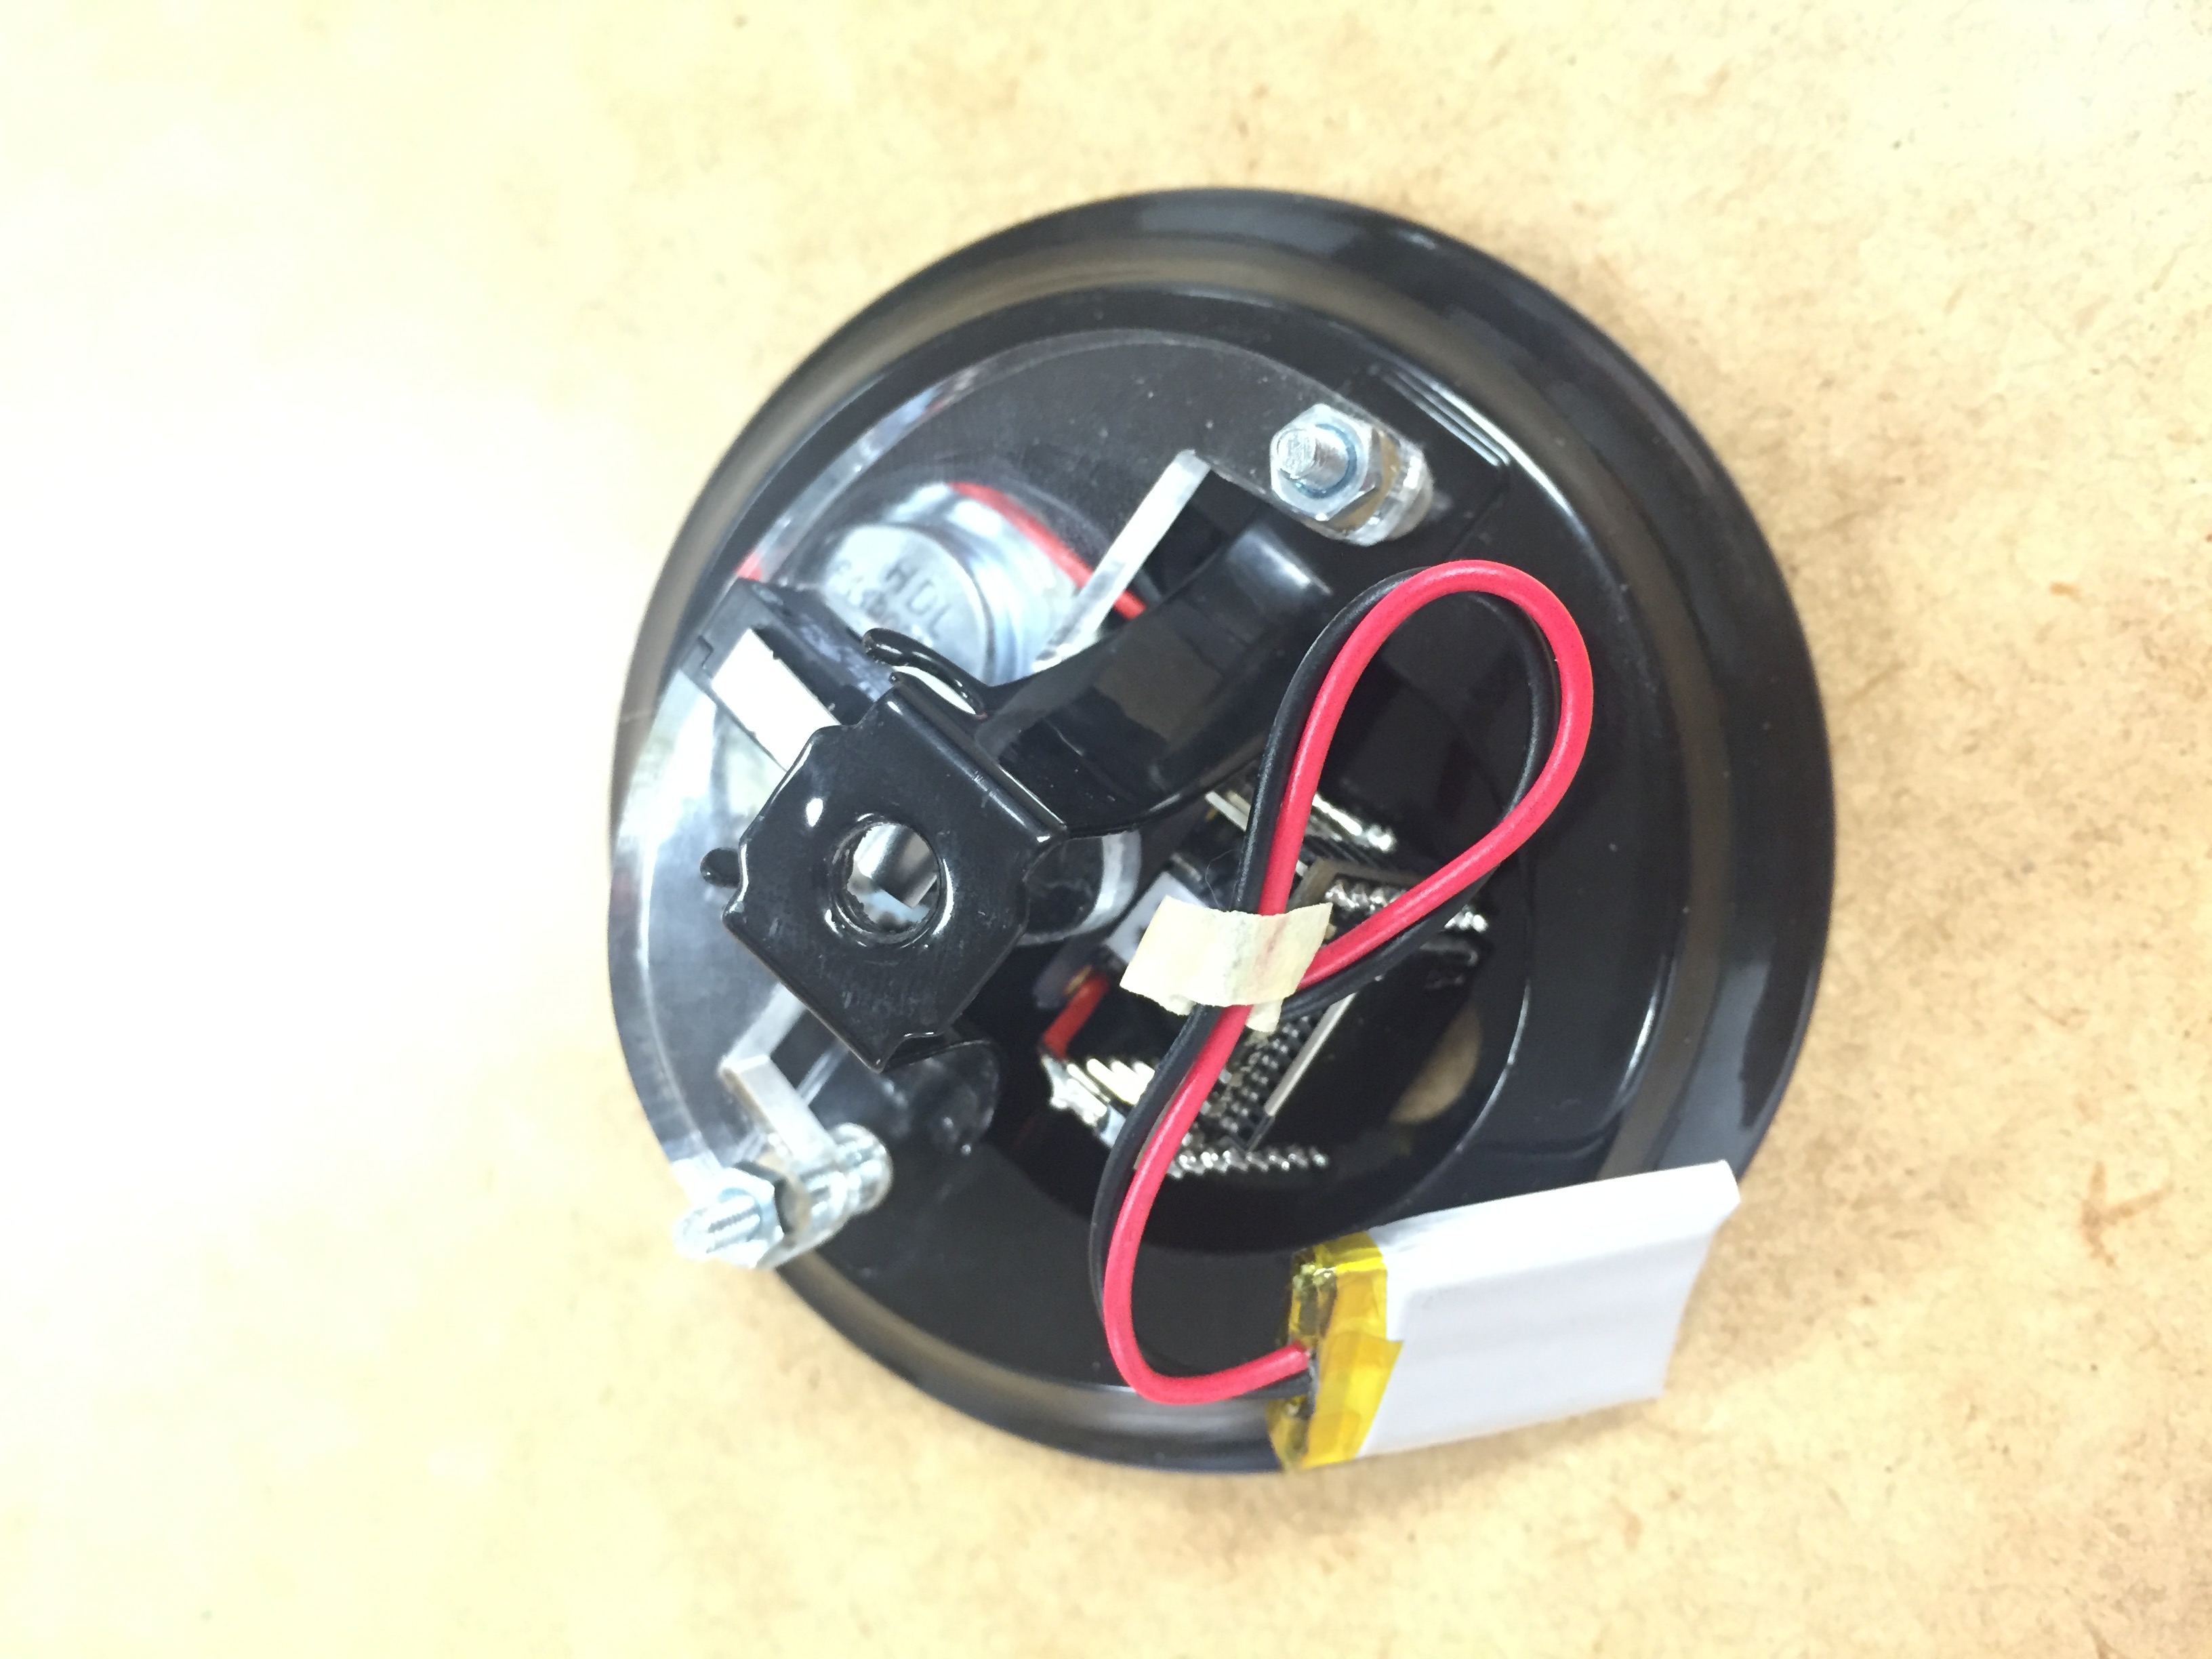
- Add some foam padding where needed to avoid shorting the circuit
- Slide in the SD card with audio files on it
- Plug in the battery and press the switch (you should be able to hear the files being played)
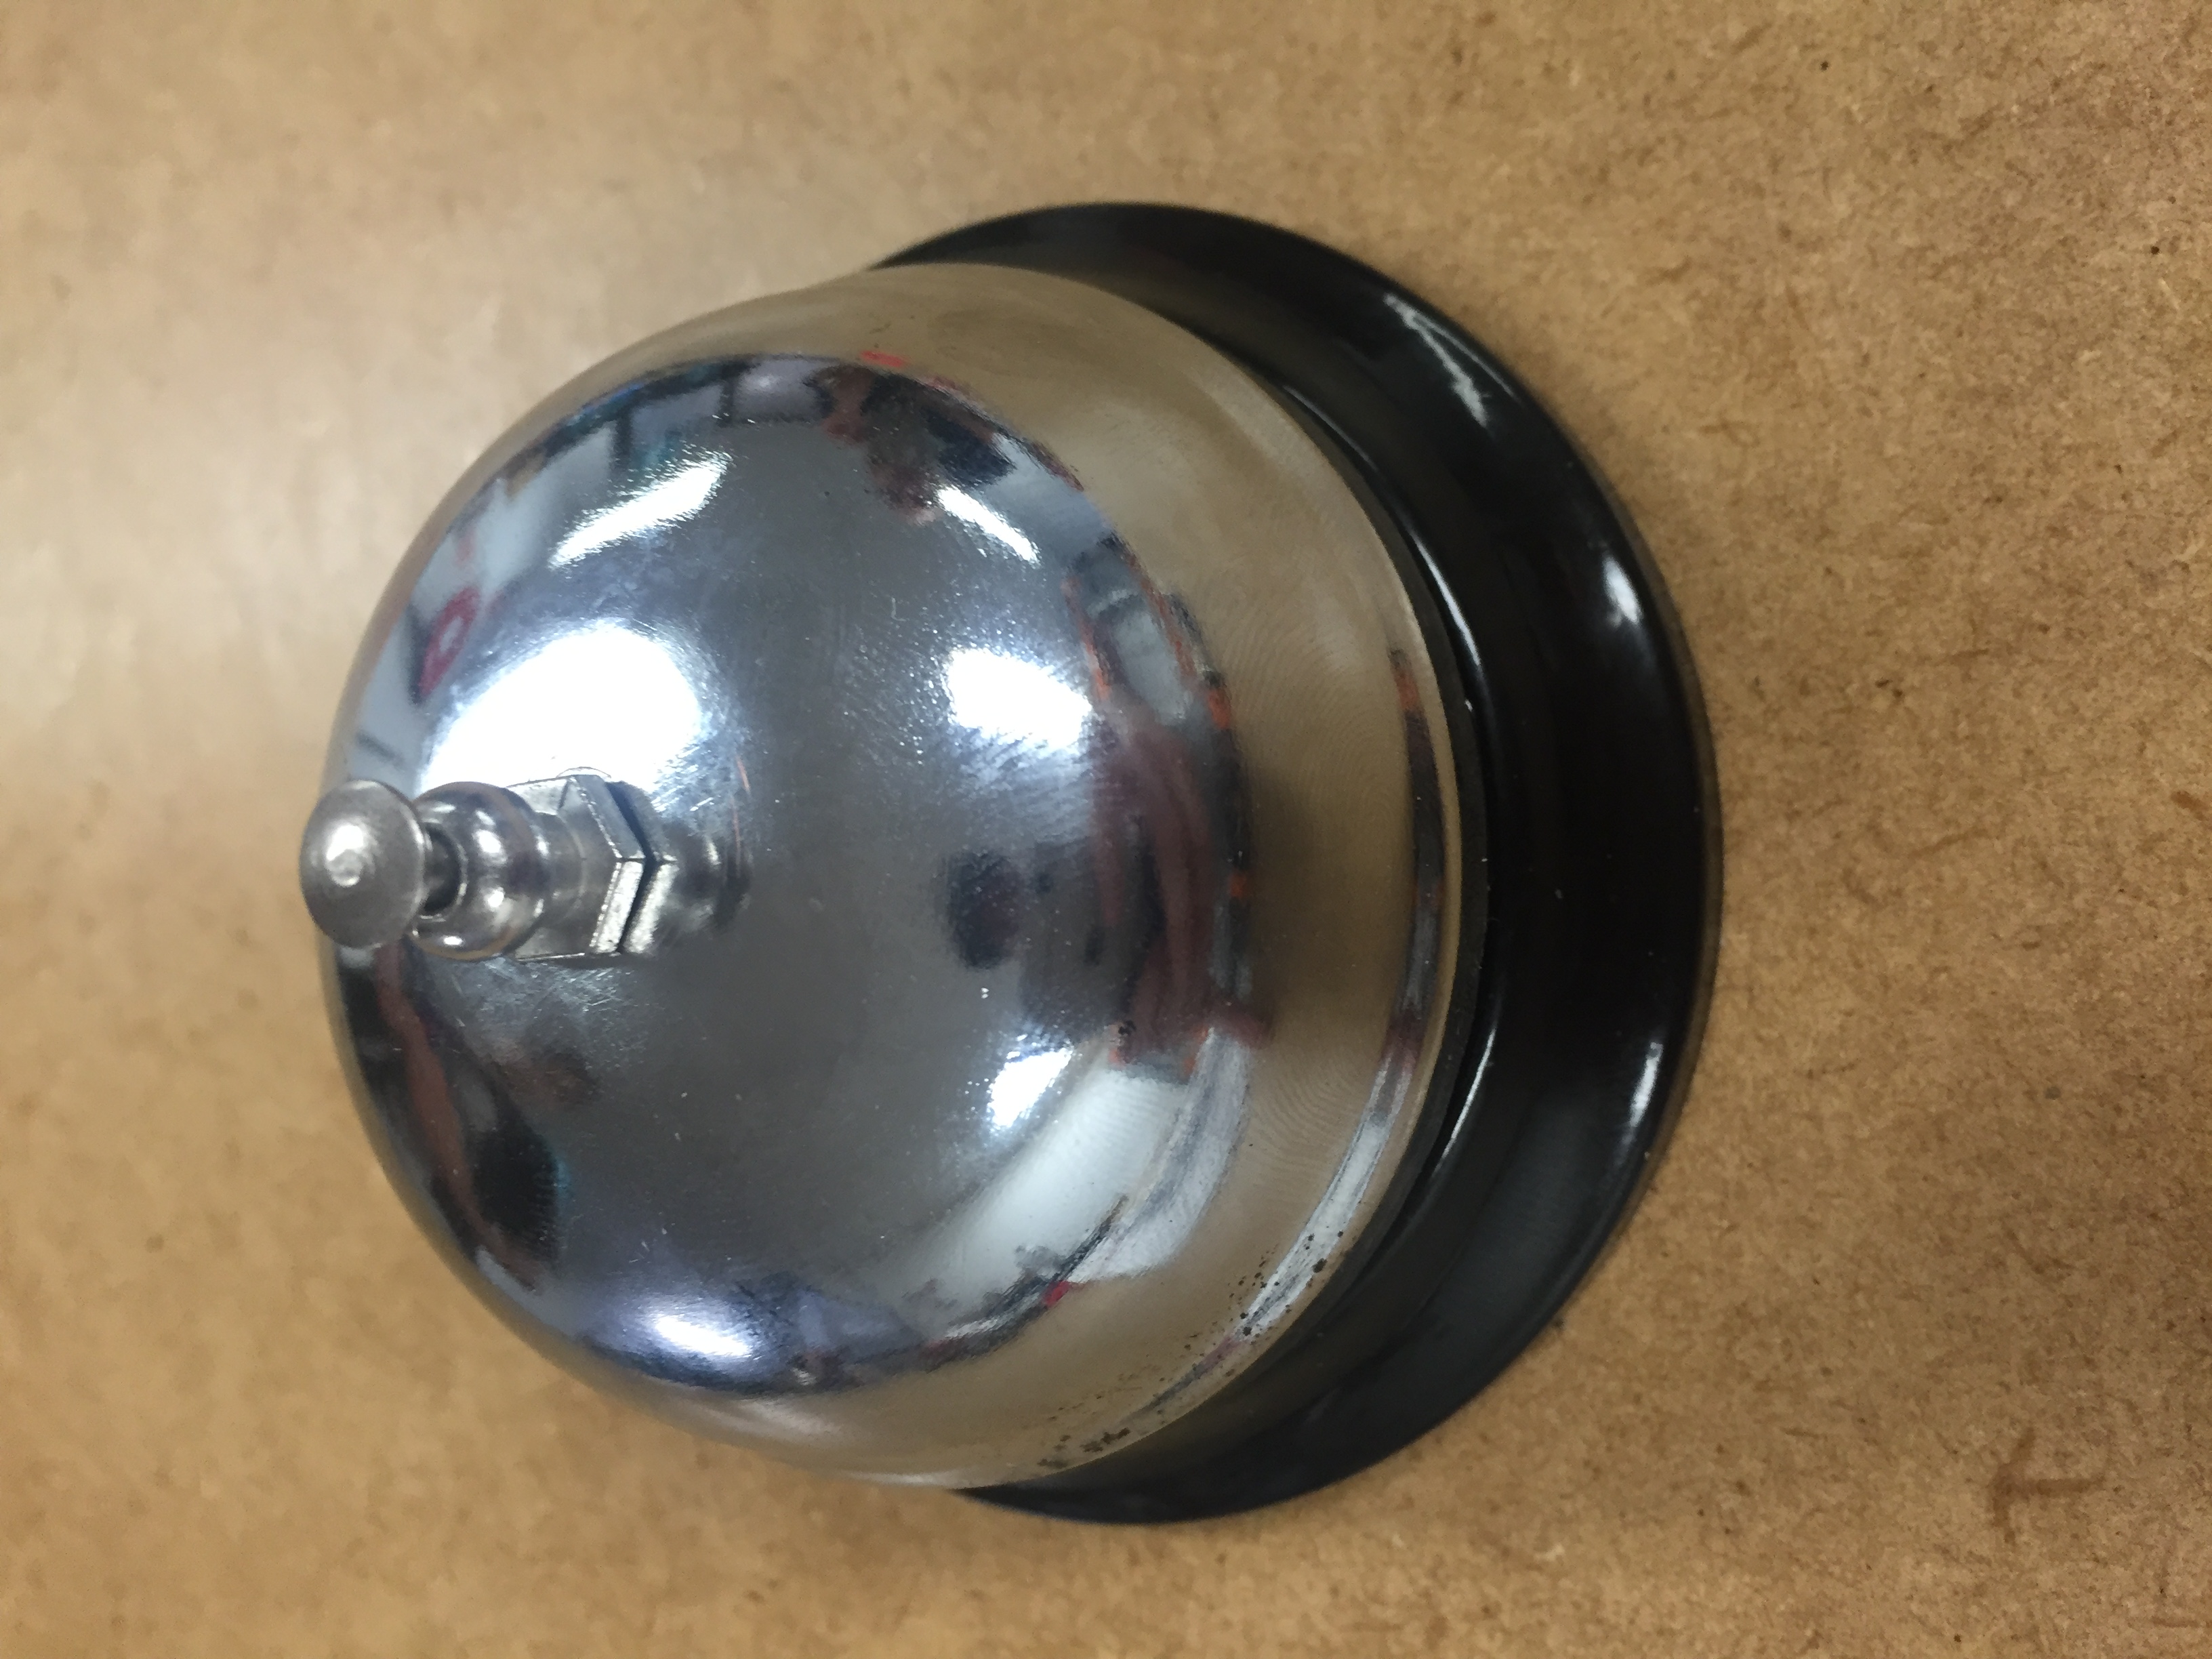
- If everything works re-attach the bell top and screw its button back on!
Resources
Files
Laser cutting files